
Introdução
A prerequisite guide for disconnecting the Li-ion battery in a Nintendo Switch.
-
-
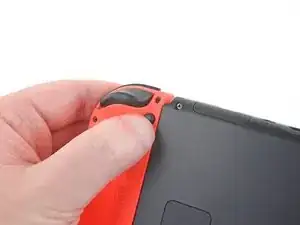
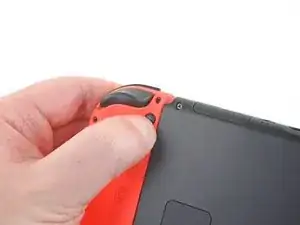
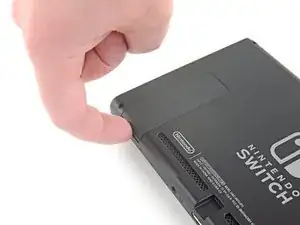
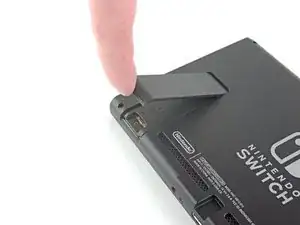
Press and hold down the small round button on the back of the Joy Con controller.
-
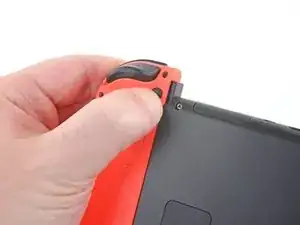
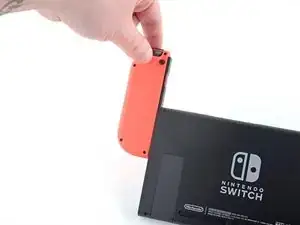
While you hold down the button, slide the controller upward.
-
-
-
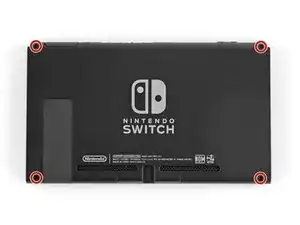
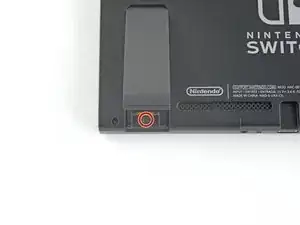
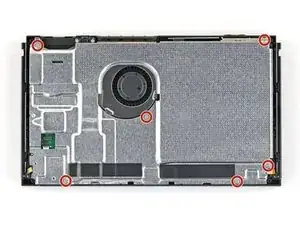
Use a JIS 00 driver to remove the following screws securing the rear panel:
-
One 2.5 mm-long screw on the top edge of the device
-
Two 2.5 mm-long screws on the bottom edge of the device
-
-
-
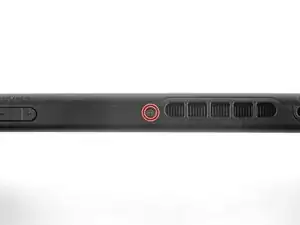
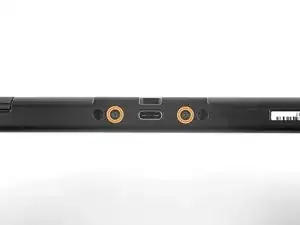
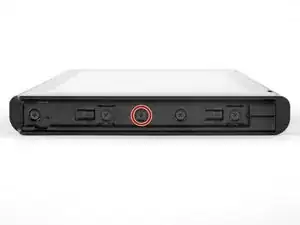
Use a JIS 00 driver to remove the two 3.8 mm center screws on the sides of the device (one on each side).
-
-
-
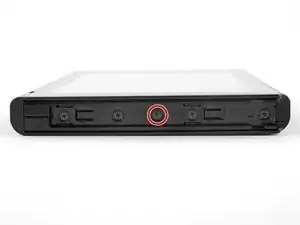
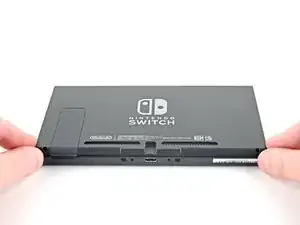
Open the game card cartridge flap.
-
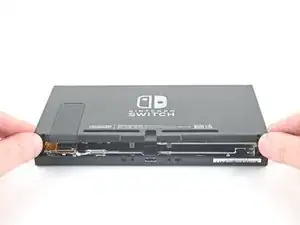
Lift the rear panel straight up from the bottom of the device and remove it.
-
-
-
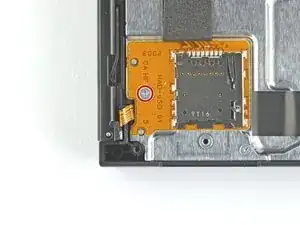
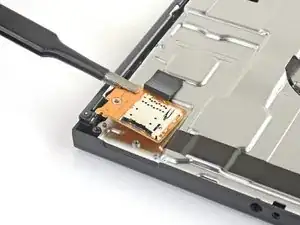
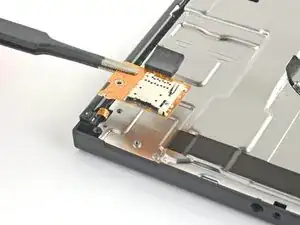
Use a JIS 00 driver to remove the 3.1 mm screw securing the microSD card reader to the device.
-
-
-
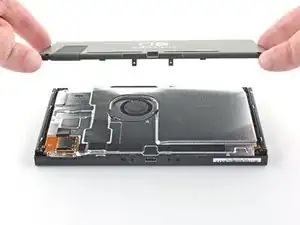
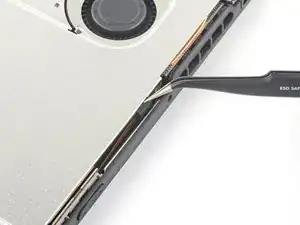
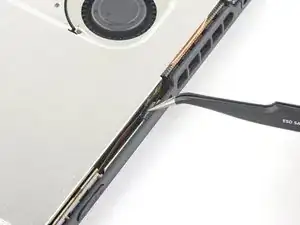
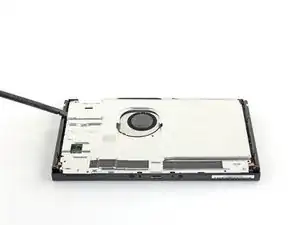
Insert a spudger underneath the shield plate along the edge of the device.
-
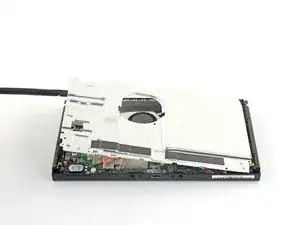
Pry up to lift the shield plate and remove it from the device.
-
You can reuse the pink thermal compound if you're careful. Keep the compound clean and make sure it makes solid contact between the heat sink and the shield during reassembly.
-
If you need to replace it, refer to our thermal paste guide to remove the old thermal compound and replace it with an appropriate compound, such as thermal putty or K5 Pro, during reassembly.
-
-
-
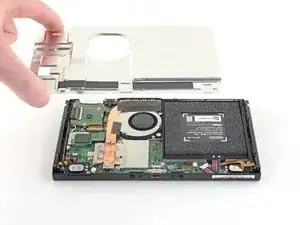
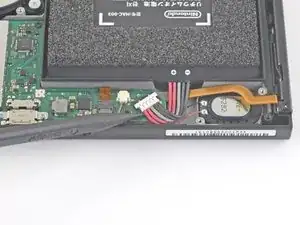
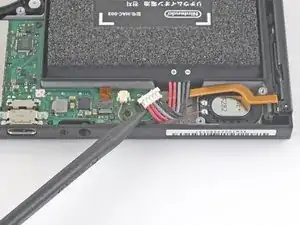
Use the point of a spudger to pry the battery connector straight up and out of its socket on the motherboard.
-


To reassemble your device, follow these instructions in reverse order.

Kann ich diese Anleitung auch für die OLED anwenden? Habe im INet sonst leider nichts brauchbares gefunden.
Ina Barz -
backup all your sd card data i had to format mine after this tutorial and lost all my game data
JustForThisComment?ComeOn -
do not watch the video! i broke the metal shielding on my switch because they didn't mention a screw!!!
Macro Man -