Introdução
-
-
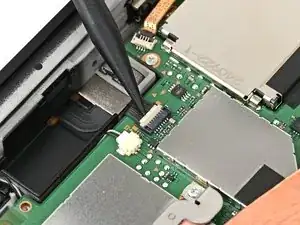
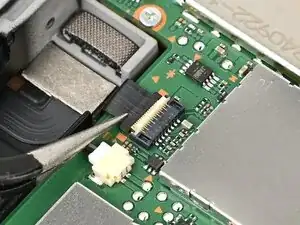
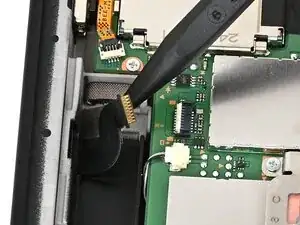
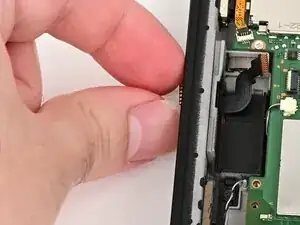
Use the point of a spudger to flip up the locking flap on the right Joy‑Con 2 connector cable ZIF connector, located on the edge of the console's board.
-
-
-
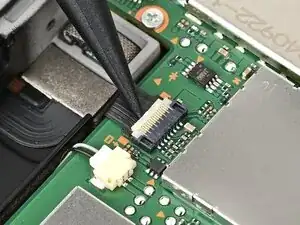
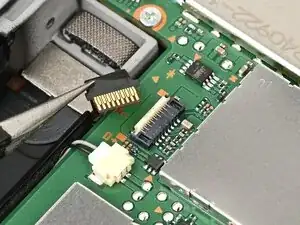
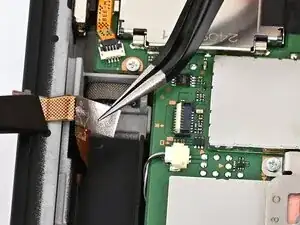
Use tweezers to pick up and remove the silver sticker covering the right Joy‑Con 2 connector cable.
-
-
-
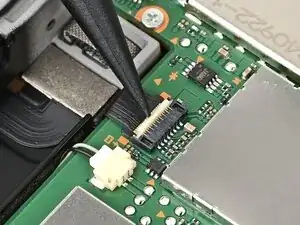
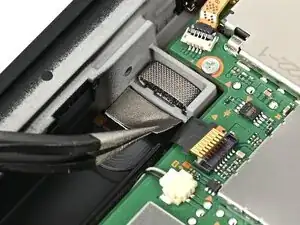
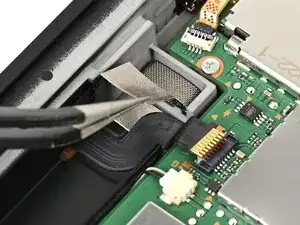
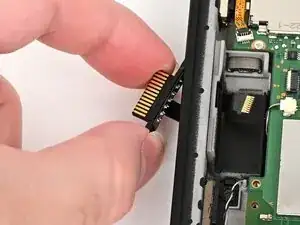
Insert the point of a spudger underneath the cable and lift it up to separate the adhesive securing it to the frame.
-
If the silver sticker beneath the cable remains attached to the cable, remove that, too.
-
-
-
Use a JIS 00 driver to remove the two 3.2 mm‑long black screws securing the right Joy‑Con 2 connector.
-
-
-
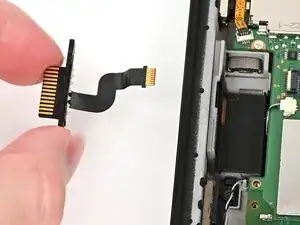
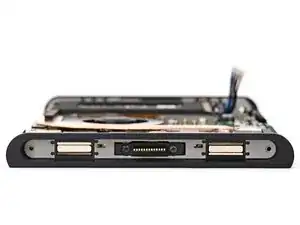
Grab the right Joy‑Con 2 connector and carefully thread its cable out of the frame.
-
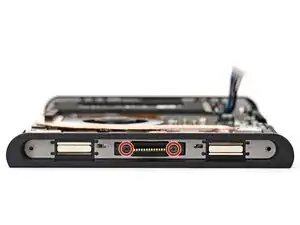
Remove the right Joy‑Con 2 connector.
-


Conclusão
To reassemble your device, follow these instructions in reverse order.
