Introdução

  1. sZaQCCjEu3BjfpV5
    sZaQCCjEu3BjfpV5
    DEmqT4MXra4qsQUk
    • Align the MicroSD card reader with its pegs on the shield plate and set it into place.

  2. 2ILbKU24AgUUbpEk
    2ILbKU24AgUUbpEk
    RJvOsCHowHIfkWeS
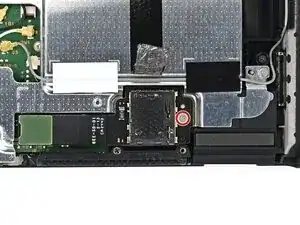
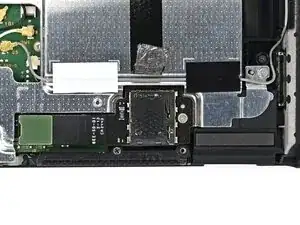
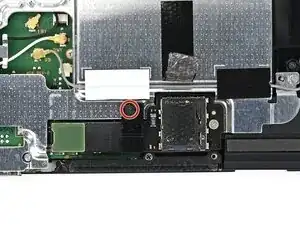
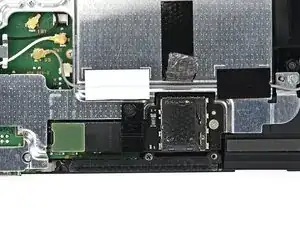
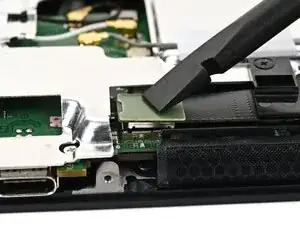
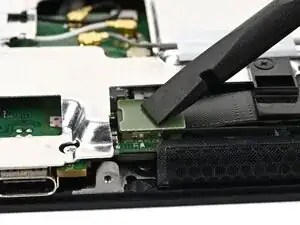
    • Use a JIS 00 driver to install the 4.4 mm‑long silver screw securing the MicroSD card reader.

  3. XpQTOjLshw2HM6ip
    XpQTOjLshw2HM6ip
    nBrbIUiqgK2APOGv
    • Set the bracket on top of the MicroSD card reader's cable, aligned with its screw hole.

    • Ensure the black tab on the bottom of the bracket sits between the shield plate and card reader's cable.

  4. NiwSJfORjQYYSFAW
    NiwSJfORjQYYSFAW
    xRNN4FhX5mYrQLfu
    • Use a JIS 00 driver to install the 1.6 mm‑long black screw securing the cable bracket.

  5. VXpgSlpLW4ahXAPI
    VXpgSlpLW4ahXAPI
    rIyQ4afIkkvGDBUF
    • Press the black tape onto the top of the MicroSD card reader.

  6. CZglMZqMWPTubnu1
    CZglMZqMWPTubnu1
    MXcJFheWtqfMaU23
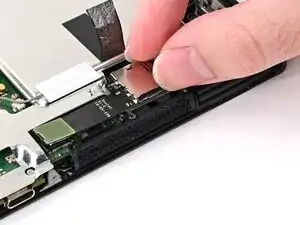
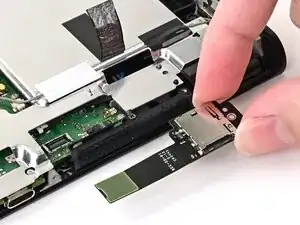
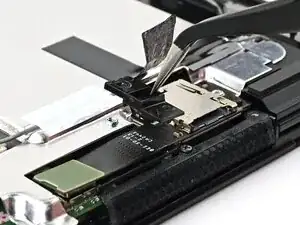
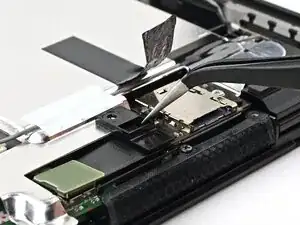
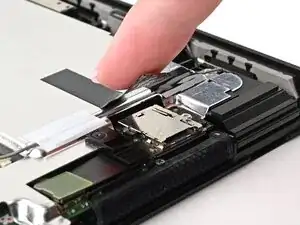
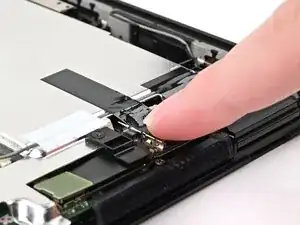
    • Use your finger or the flat end of a spudger to press the MicroSD card reader press connector onto its socket on the board.

    • Don't try to force the connector into place. If you're having trouble, lift it and try again.

Conclusão

To reassemble your device, follow these instructions in reverse order.

Nick Schultz

Membro desde: 24/03/24

45909 Reputação

0 comentários