Introdução
-
-
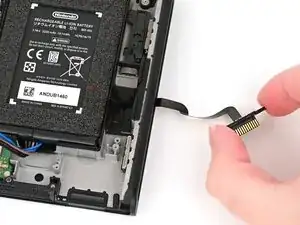
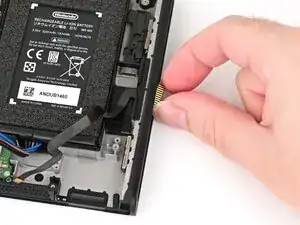
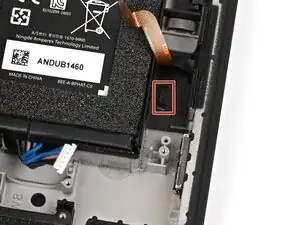
Route the left Joy‑Con 2 connector cable through its slot in the frame until the connector itself is aligned with its screw holes.
-
-
-
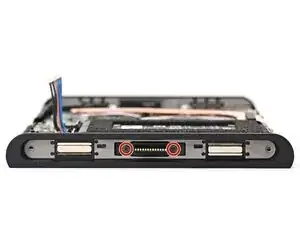
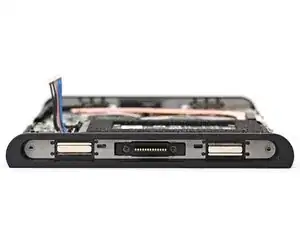
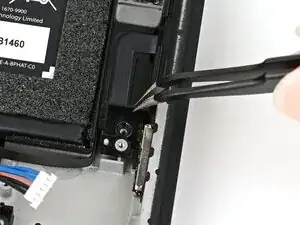
Use a JIS 00 driver to install the two 3.2 mm‑long black screws securing the left Joy‑Con 2 connector.
-
-
-
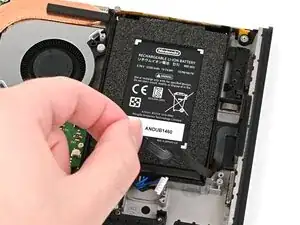
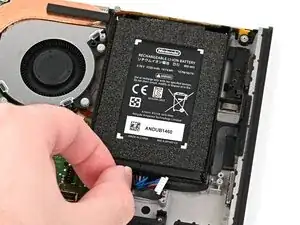
Stick the cable onto its adhesive securing it to the frame.
-
Route the connector's cable beneath the battery cable.
-
-
-
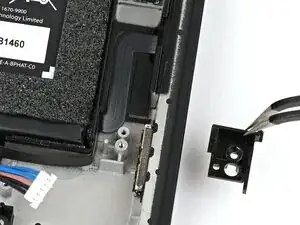
Align the cable's bracket with its posts and set it into the frame.
-
Use a JIS 00 driver to install the 2.3 mm‑long black screw securing the bracket.
-
-
-
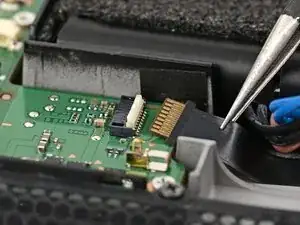
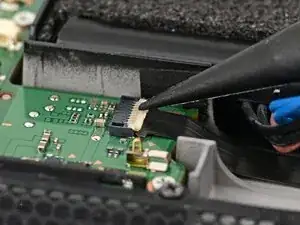
Use tweezers to insert the left Joy‑Con 2 connector cable into its ZIF connector on the board until it's fully seated.
-
Flip the hinged locking flap down to secure the cable.
-


Conclusão
To reassemble your device, follow these instructions in reverse order.
