
Introdução
Ferramentas
-
-
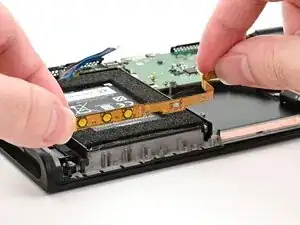
Set the button board into its slot, formed by several protruding pegs along the top of the frame.
-
-
-
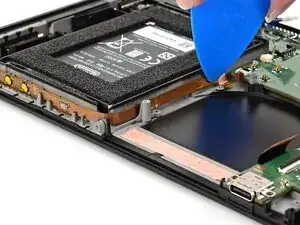
Route the button board cable alongside the battery well.
-
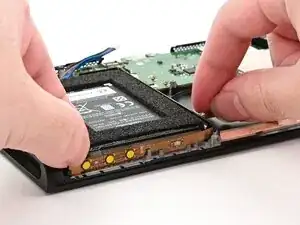
Slide an opening pick across the length of the cable to adhere it to the battery well.
-
-
-
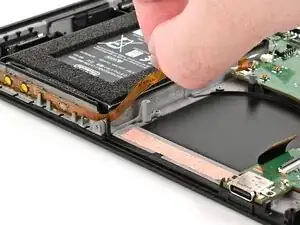
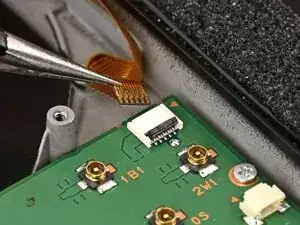
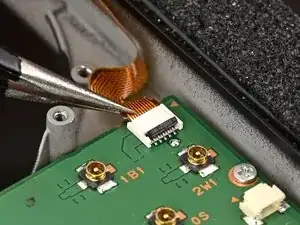
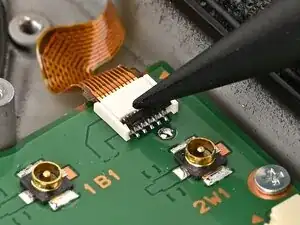
Use tweezers or your fingers to insert the button board cable into its ZIF connector until it's fully seated.
-
-
-
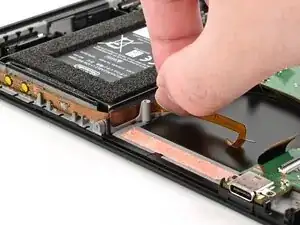
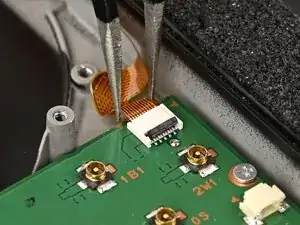
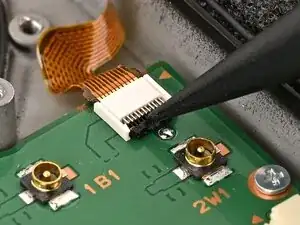
Use your finger or a spudger to flip the hinged locking flap down to secure the button board cable.
-
Conclusão
To reassemble your device, follow these instructions in reverse order.
