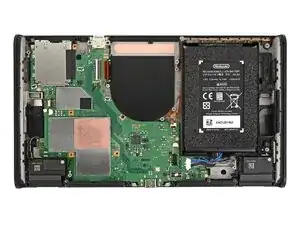
Introdução
-
-
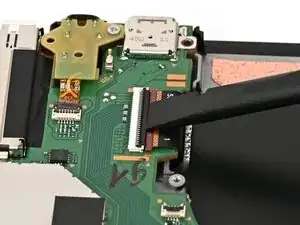
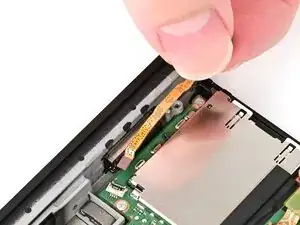
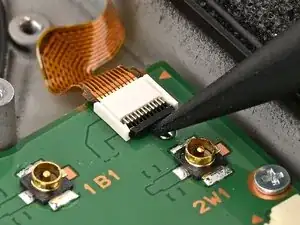
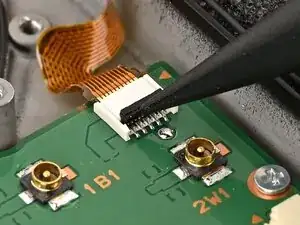
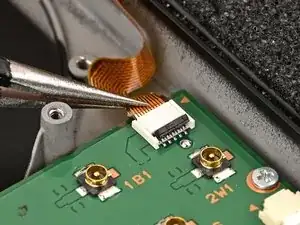
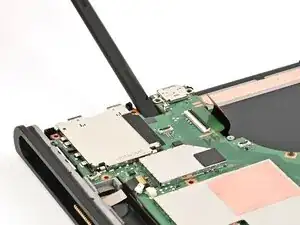
Use your finger or the flat end of a spudger to flip up the locking flap on the screen cable ZIF connector.
-
-
-
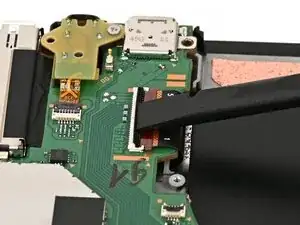
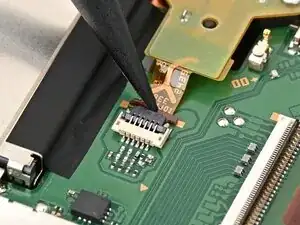
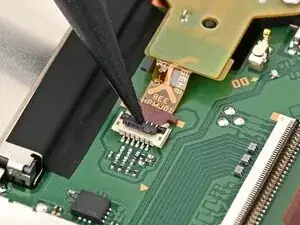
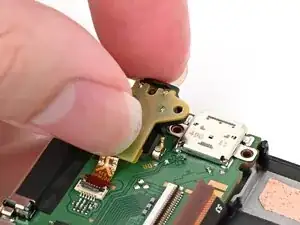
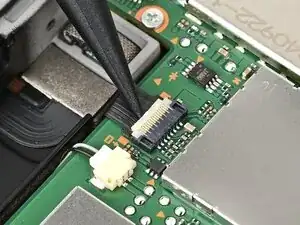
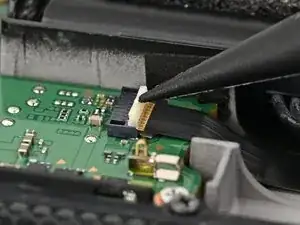
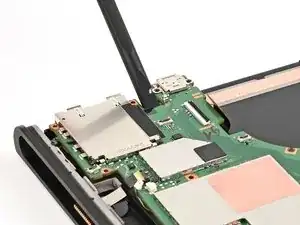
Use the point of a spudger to flip up the locking flap on the headphone jack ZIF connector, located on the top edge of the console's board.
-
-
-
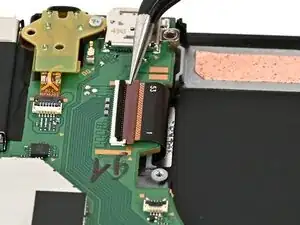
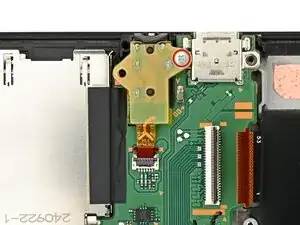
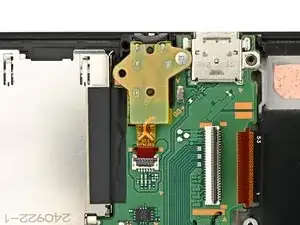
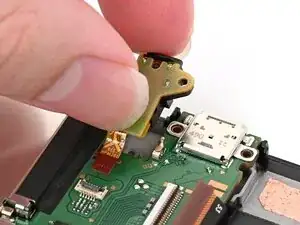
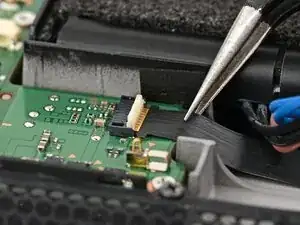
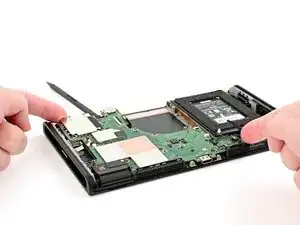
Pick up the headphone jack assembly and pull its cable straight out of its connector to remove it.
-
-
-
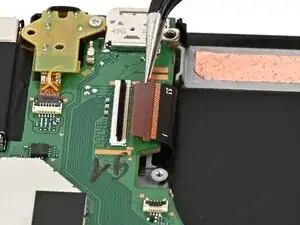
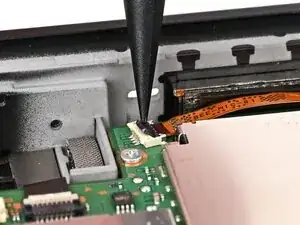
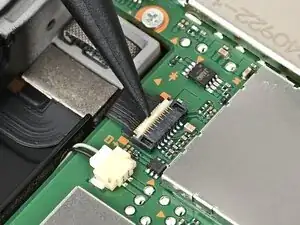
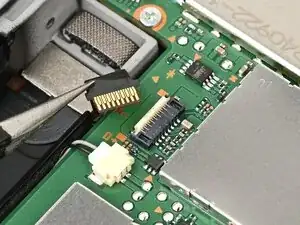
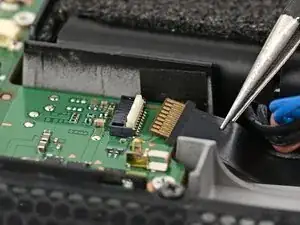
Use the point of a spudger to flip up the locking flap on the right Joy‑Con 2 connector cable ZIF connector, located on the edge of the console's board.
-
-
-
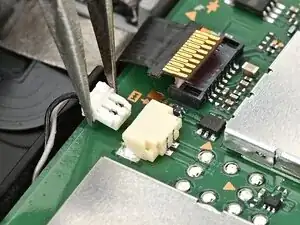
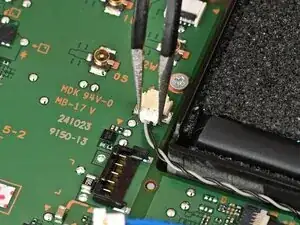
Use tweezers or your fingers to firmly grip the right speaker cable's white JST connector and pull straight away from its socket to disconnect it.
-
-
-
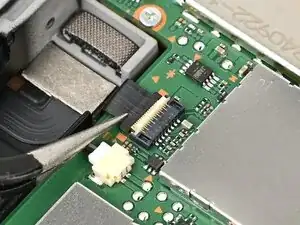
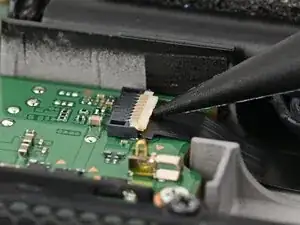
Use the point of a spudger to flip up the locking flap on the button cable ZIF connector, located next to the battery.
-
-
-
Use tweezers or your fingers to firmly grip the left speaker cable's white JST connector and pull straight away from its socket to disconnect it.
-
-
-
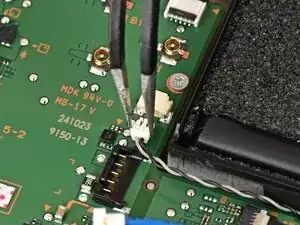
Use the point of a spudger to flip up the locking flap on the left Joy‑Con 2 connector cable ZIF connector, located next to the battery on the console's board.
-
-
-
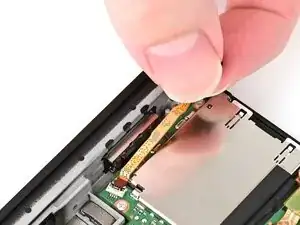
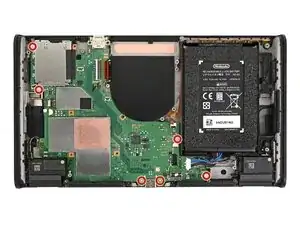
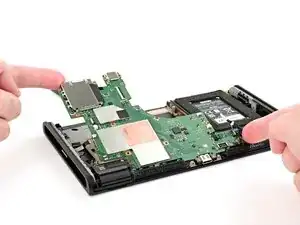
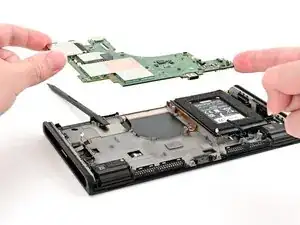
Use the flat end of a spudger to lift the board off the frame from the headphone jack cutout.
-


To reassemble your device, follow these instructions in reverse order.
