Introdução
-
-
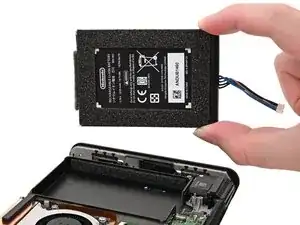
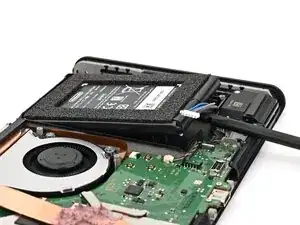
Tilt the bottom edge of the console upward.
-
Apply a few drops of adhesive remover or high-concentration (90% or higher) isopropyl alcohol inside the battery well from its bottom cutout to weaken the adhesive.
-
Hold the console upright for 1–2 minutes for the solvent to flow under the battery and weaken the adhesive.
-
-
-
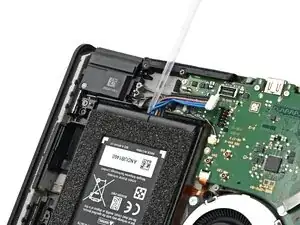
Insert the flat end of a spudger underneath the battery from the battery well cutout.
-
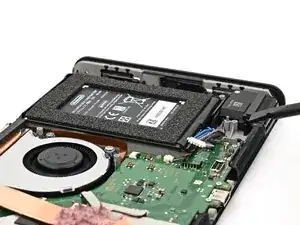
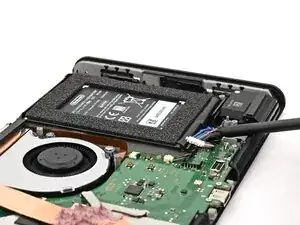
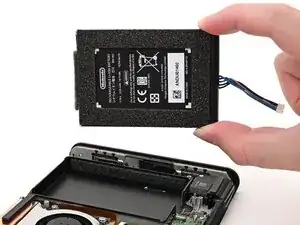
Slowly pry the battery up until its adhesive is fully separated from the frame. You can pry against the metal grille along the bottom edge of the console.
-
Conclusão
To reassemble your device, follow these instructions in reverse order.
