Introdução

  1. pjGoYIMeLVmy1UvQ
    pjGoYIMeLVmy1UvQ
    3QuAVGxoVkLJAutr
    XaA2wtFDKsCKjpGW
    • Fully pull out the game card tray.

    • Double-check the power and volume buttons to ensure they're seated correctly. If the rubber membrane beneath the buttons is out of place, ensure it's aligned with its pegs.

    • Check the microphone to ensure it's fully seated in its slot in the frame.

  2. sSyULZE5yvE6kQLS
    sSyULZE5yvE6kQLS
    aKWKHfsLgGKvrZRp
    LmvcHTVaG3uF1BnZ
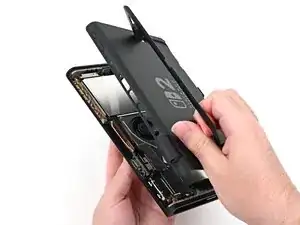
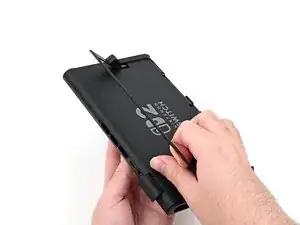
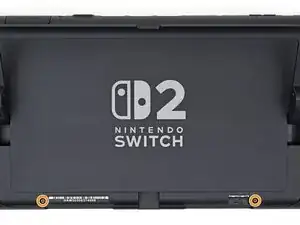
    • Align the top of the back cover with the top of the console.

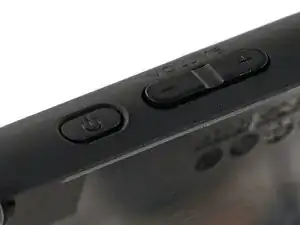
    • Set the top edge of the back cover into place, checking the buttons and ports to ensure they're aligned properly. If they aren't, lift the back cover and try again.

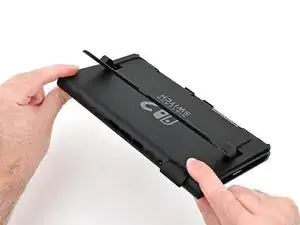
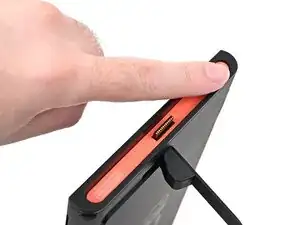
    • Press along the top edge to fasten the clips securing the back cover to the console.

  3. DT64xZbXdxJfjZYW
    DT64xZbXdxJfjZYW
    PKuZdnNTaT1cvy2V
    • Squeeze the rest of the back cover and console together to fasten the clips.

  4. RnlwvPPTcBxlp3Mc
    RnlwvPPTcBxlp3Mc
    gQEivitJcMgvO6hy
    5R1bMuQkx6bZWrNa
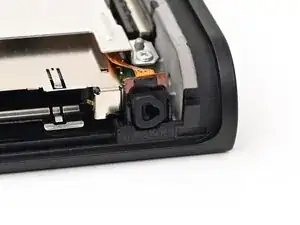
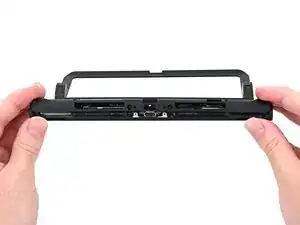
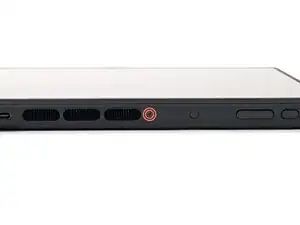
    • Use a JIS 00 driver to install the three 3.1 mm‑long screws securing the back cover: one on the top edge of the console, and two on either side of the bottom USB-C port.

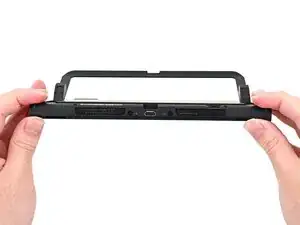
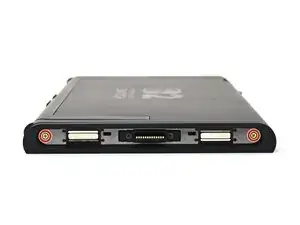
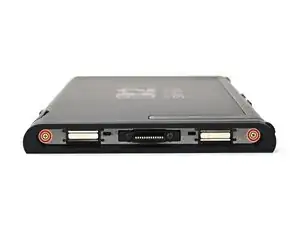
    • Use a Y00 driver to install the two 4.4 mm‑long screws in the kickstand cutout.

  5. cZ2jKSfXSxgXEuQL
    cZ2jKSfXSxgXEuQL
    Aob1o2jGToYPQD1q
    • Install the two 3.6 mm‑long gold screws on each side of the console (four in total).

  6. SAON1nUn2dJvZvWO
    SAON1nUn2dJvZvWO
    YsnER4viWUJvbNV5
    • Power on the console and test functionality to ensure it's working as expected.

  7. x1YrSApBUaLMVSjQ
    x1YrSApBUaLMVSjQ
    yxOooYlXQJgsavwD
    ExwPA1ihlwYNPaQU
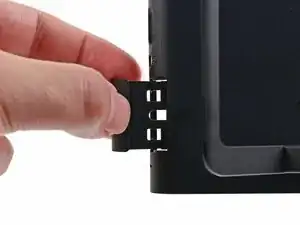
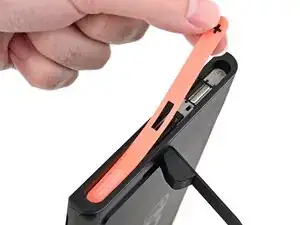
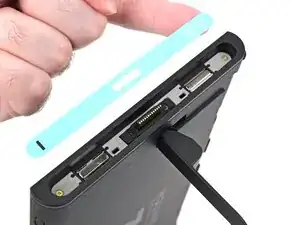
    • Align the right side sticker with its recess. Ensure the cutout in the sticker is aligned with the Joy-Con connector.

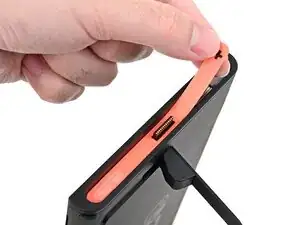
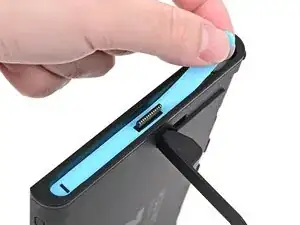
    • Set the sticker into its recess, first on one side, then the other.

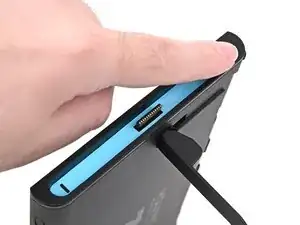
    • Use your finger or the flat end of a spudger to press the sticker into place.

    • If the sticker isn't sticking well, apply heat after you press it into place.

  8. DMSbsh2jifYxVTYr
    DMSbsh2jifYxVTYr
    UkifYsMS3XLXNjj1
    NrAcZGVWIrSFWsXM
    • Repeat this procedure to install the left side sticker.

Conclusão

To reassemble your device, follow these instructions in reverse order.

Nick Schultz

Membro desde: 24/03/24

45909 Reputação

0 comentários