Introdução

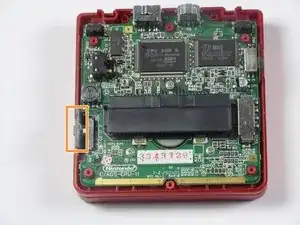
This guide will walk you through the steps necessary to replace the power switch cover on your Game Boy Advance SP. The power switch of the Game Boy Advance SP is small and attaches to the motherboard itself. For this reason, the device features a much larger cover to help the user turn their device on and off. Follow this guide if your power switch cover is damaged or needs to be swapped out.

  1. j2AtUCqeyyG2aXLv
    j2AtUCqeyyG2aXLv
    Qi1sniJYVAGfcUyg
    OCO3qBtqtET3xTk4
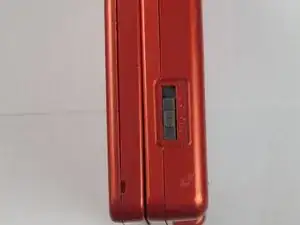
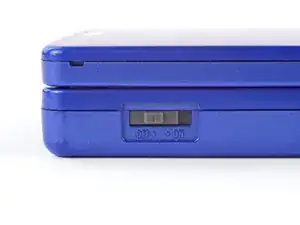
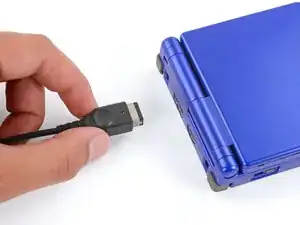
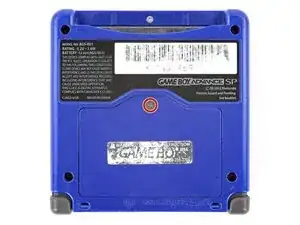
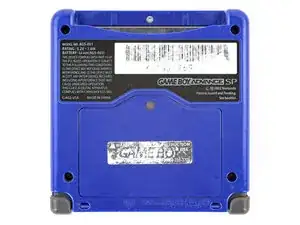
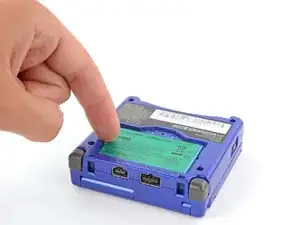
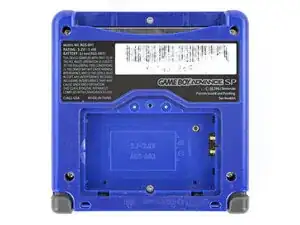
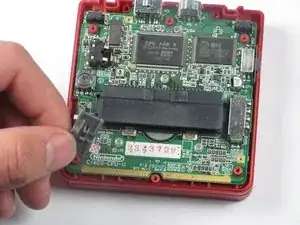
    • Slide the power switch to the OFF position and unplug any cables.

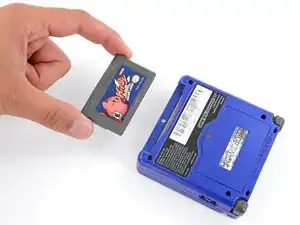
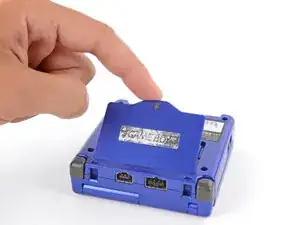
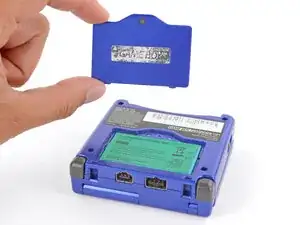
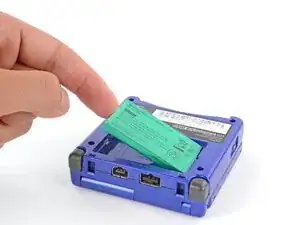
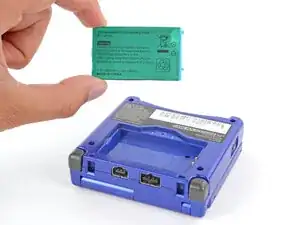
    • If you have a game cartridge in, remove it.

  2. 2IxBSKoCTnB2gSQK
    2IxBSKoCTnB2gSQK
    gg543LDhbyRGsR1l
    • Use a JIS 00 screwdriver to loosen the captive screw securing the battery cover.

    • You can try to use a non-iFixit Phillips driver in a pinch, but you risk damaging or stripping the screw. Push down firmly on the driver and twist slowly.

  3. gVQdyKTgjlKN2ixZ
    gVQdyKTgjlKN2ixZ
    2dnUFGfpIdyy1eh2
    A3KuwwETnJtnbGhI
    • Lift the edge of the cover near the screw and remove the cover.

    • During reassembly, hook the tabs on the bottom edge of the cover into their slots and lay the cover into place.

  4. U2SYItMAYfiqAwBY
    U2SYItMAYfiqAwBY
    EXJkAY3lOyJVRfAX
    rSLhhkosiZPy1hUq
    • Use your finger to lift the battery by the tab on its left edge, then remove it.

    • During reassembly:

    • Never reuse a deformed or damaged battery—it's a fire hazard. Replace it with a new battery.

    • Your replacement battery may come with a plastic enclosure that slides over the battery.

    • Insert the edge of the battery with contacts at a slight downward angle—aligning the contacts with their prongs in the recess—and press the battery into place.

  5. Ldow6GCmi5DecKU3
    Ldow6GCmi5DecKU3
    ZTRgyiDfXCxV1BMB
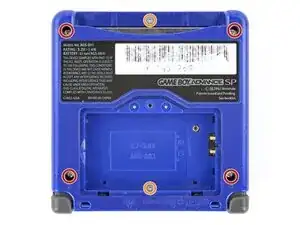
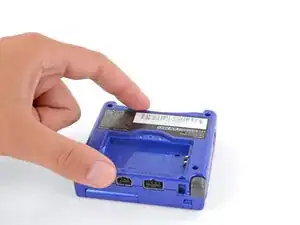
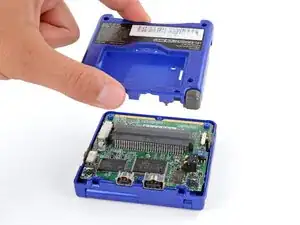
    • Use a tri‑point Y0 screwdriver to remove the six screws securing the bottom shell:

    • Four 6.3 mm‑long recessed screws

    • Two 4.6 mm‑long screws

  6. uWNU5edsGZRHAviS
    uWNU5edsGZRHAviS
    MALG6CgR561WNM6t
    • Lift the bottom shell straight up and remove it.

  7. NMRWN3MmCnTjwT3c
    NMRWN3MmCnTjwT3c
    jWBTFkCCrKRyJUmv
    • Lift the power switch cover away from the left side of the device using your fingers or tweezers.

Conclusão

To reassemble your device, follow these instructions in reverse order.

DJ Pantone

Membro desde: 11/01/13

2010 Reputação

3 comentários

This doesn't explain anything about how to replace the switch

Michael -

Maybe the guide was for replacing the power switch cover?

Dominick Scheible -

where to buy invidual y00,y0 or y1 bit?

Coola Nillon -