Introdução

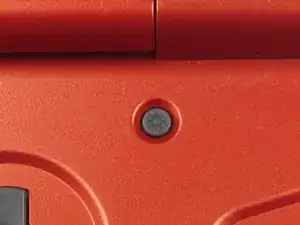
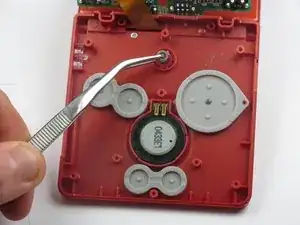
The brightness switch is the circular button with a sun symbol engraved into it. The brightness switch is located at the top of the button panel.

  1. j2AtUCqeyyG2aXLv
    j2AtUCqeyyG2aXLv
    Qi1sniJYVAGfcUyg
    OCO3qBtqtET3xTk4
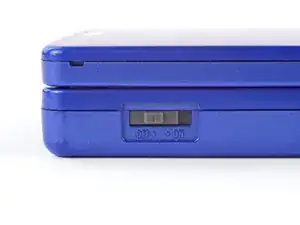
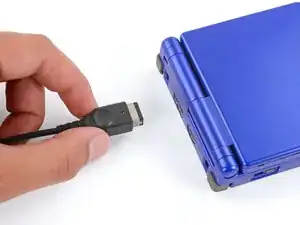
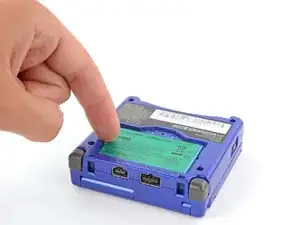
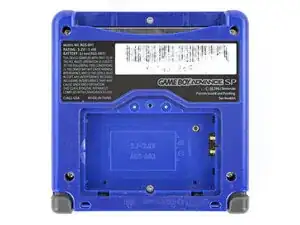
    • Slide the power switch to the OFF position and unplug any cables.

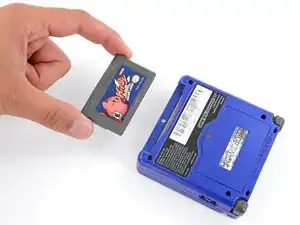
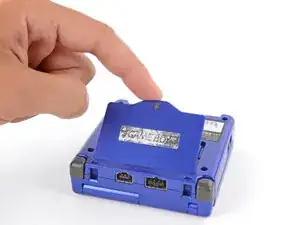
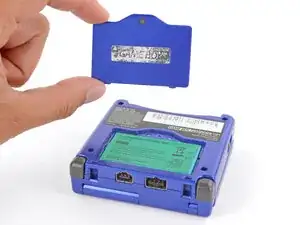
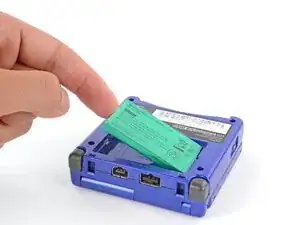
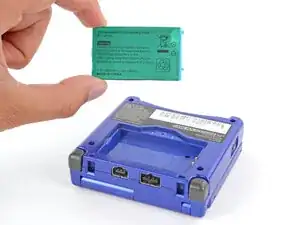
    • If you have a game cartridge in, remove it.

  2. 2IxBSKoCTnB2gSQK
    2IxBSKoCTnB2gSQK
    gg543LDhbyRGsR1l
    • Use a JIS 00 screwdriver to loosen the captive screw securing the battery cover.

    • You can try to use a non-iFixit Phillips driver in a pinch, but you risk damaging or stripping the screw. Push down firmly on the driver and twist slowly.

  3. gVQdyKTgjlKN2ixZ
    gVQdyKTgjlKN2ixZ
    2dnUFGfpIdyy1eh2
    A3KuwwETnJtnbGhI
    • Lift the edge of the cover near the screw and remove the cover.

    • During reassembly, hook the tabs on the bottom edge of the cover into their slots and lay the cover into place.

  4. U2SYItMAYfiqAwBY
    U2SYItMAYfiqAwBY
    EXJkAY3lOyJVRfAX
    rSLhhkosiZPy1hUq
    • Use your finger to lift the battery by the tab on its left edge, then remove it.

    • During reassembly:

    • Never reuse a deformed or damaged battery—it's a fire hazard. Replace it with a new battery.

    • Your replacement battery may come with a plastic enclosure that slides over the battery.

    • Insert the edge of the battery with contacts at a slight downward angle—aligning the contacts with their prongs in the recess—and press the battery into place.

  5. Ldow6GCmi5DecKU3
    Ldow6GCmi5DecKU3
    ZTRgyiDfXCxV1BMB
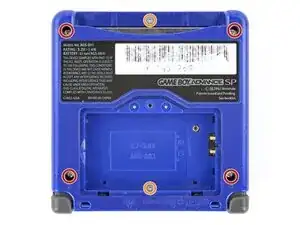
    • Use a tri‑point Y0 screwdriver to remove the six screws securing the bottom shell:

    • Four 6.3 mm‑long recessed screws

    • Two 4.6 mm‑long screws

  6. uWNU5edsGZRHAviS
    uWNU5edsGZRHAviS
    MALG6CgR561WNM6t
    • Lift the bottom shell straight up and remove it.

  7. MVpZqMAPaoYC3muR
    MVpZqMAPaoYC3muR
    GBjEXEBf2WDVUFCE
    meXU3ONcgq1PuBB2
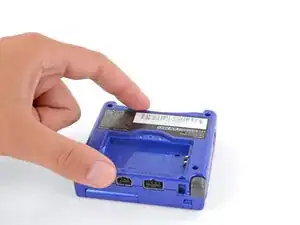
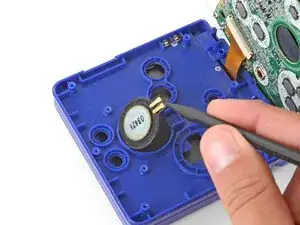
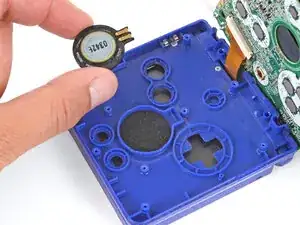
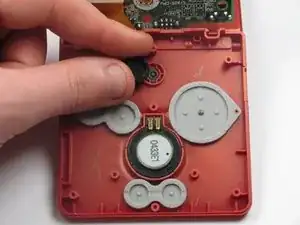
    • Use the point of a spudger or a clean fingernail to lift the speaker until you can grip it with your fingers.

    • Remove the speaker.

  8. JsfgJNkXWnnVYRqn
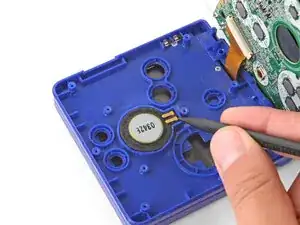
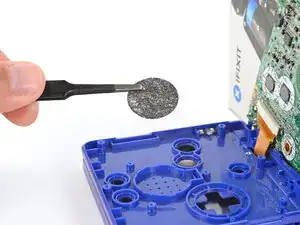
    • Remove the circular mesh from the speaker recess and set it aside—the piece can easily fall out and get lost when working.

  9. 6DbmKAhiJwIsCBnt
    6DbmKAhiJwIsCBnt
    Q1tnNfIr3RH3R22O
    ETLBQqTIQcPuYKCr
    • Be careful not to strain the screen cable during the next few steps—it has very little slack.

    • You need to prop up the main body of your Game Boy in order to disconnect the screen cable without straining it. Here are two ways to do so:

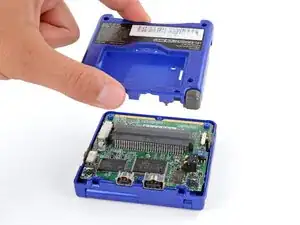
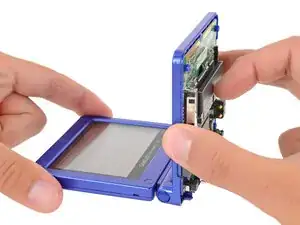
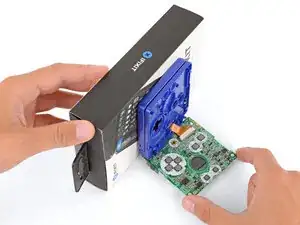
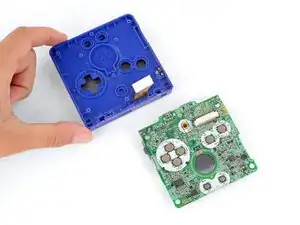
    • Option 1: Open the main body of your Game Boy to a 90‑degree angle and gently lay the motherboard down. Make sure the main body is resting on top of the motherboard to give the cable slack.

    • Option 2: Keep the main body closed and prop it up on the edge of the logic board, using a sturdy object to hold it up.

  10. ovh1yDBjYVkAqLqY
    ovh1yDBjYVkAqLqY
    No4SU2yMlWG1xdcT
    gSPXMy3ZgDxWVRcx
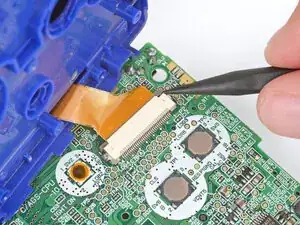
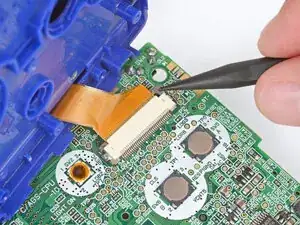
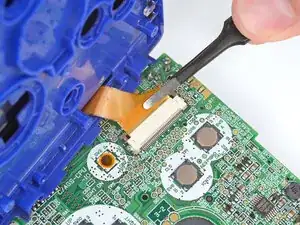
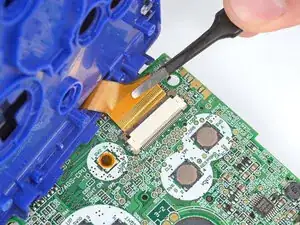
    • Use the point of a spudger to push the two tabs on either side of the screen cable connector into the unlocked position.

    • Only push the tabs until they stop. If you push them too far, you may slide the locking tab off the connector.

  11. 2iDeNSZQfxx1KQe1
    2iDeNSZQfxx1KQe1
    IPSxMZir3WIjKZAT
    • Use a pair of tweezers to gently slide the screen cable out of its socket.

  12. BelQddjChKAK4uOd
    • Remove the main body from the motherboard.

    • During reassembly, prop up the main body for enough slack reconnect the screen cable.

  13. FNgaElOn5Ir3ELFs
    • With your fingers, lift the track pad out off the brightness switch.

    • Keep the track pad clean. A dirty or dusty track pad will lead to the brightness switch not working when you press it.

  14. YOckJ6lnkxcR1KVs
    • Using tweezers, lift the brightness switch out of the Game Boy Advance SP.

Conclusão

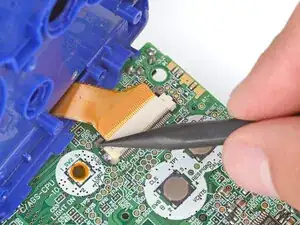
To reassemble your device, follow these instructions in reverse order.

DJ Pantone

Membro desde: 11/01/13

2010 Reputação

Um comentário

Thank you so much

sherzadcemil -