Introdução
If your N64 controller (model NUS-005) buttons feel less responsive, this guide will show you how to replace the N64 action buttons (A, B, and the arrows). The N64 buttons are used to interact with the game and are needed to perform actions. Over a long period of usage time, the N64 controller will become less responsive. This is due to the rubber contact membrane (the rubber layer that's on the buttons) wearing off and needing to be replaced. Replacing your buttons and rubber content membrane will fix the unresponsive issue and make it feel like a brand new controller.
Ferramentas
-
-
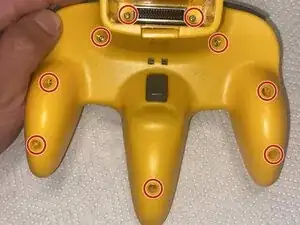
Use a Phillips #00 screwdriver to remove the screws from the backside of the controller.
-
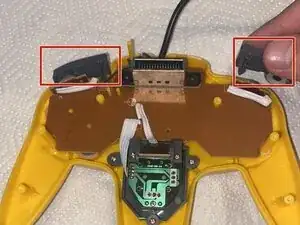
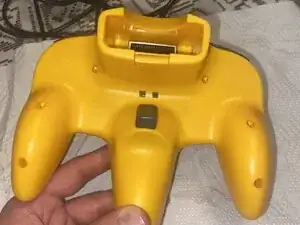
Pull the back shell away from the rest of the controller.
-
-
-
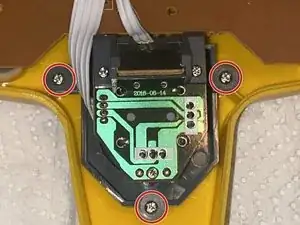
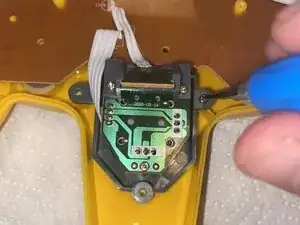
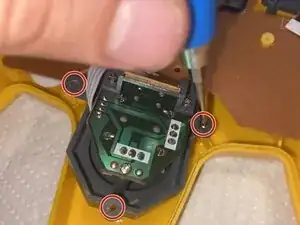
Using a Phillips #00 screwdriver, remove the three screws from the joystick.
-
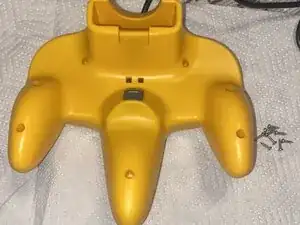
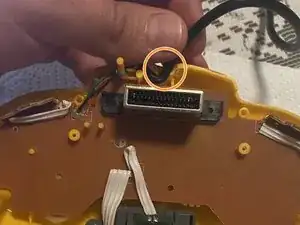
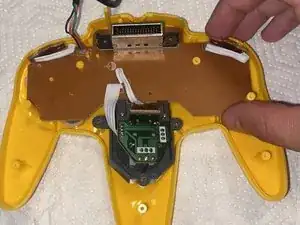
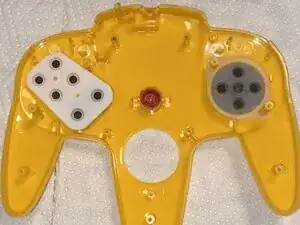
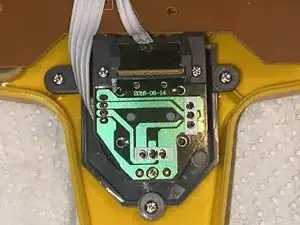
Carefully remove the whole motherboard.
-
-
-
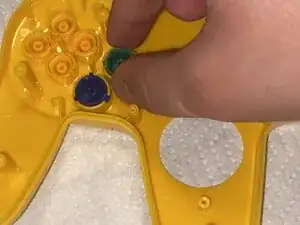
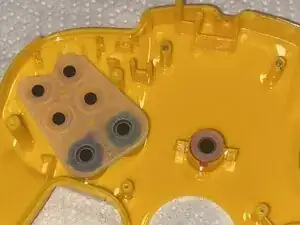
Carefully insert new buttons that you wish to replace.
-
Make sure they are lined up correctly.
-
-
-
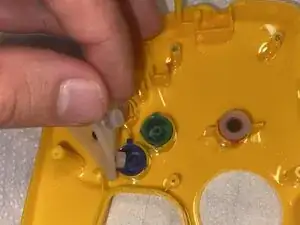
Re-attach the rubber contact membranes over the buttons.
-
Make sure it is lined up and the buttons are firm.
-
-
-
Line up the motherboard black in place.
-
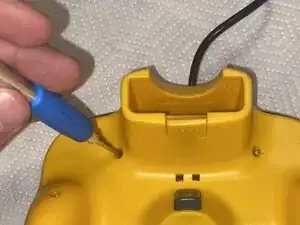
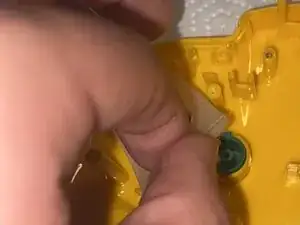
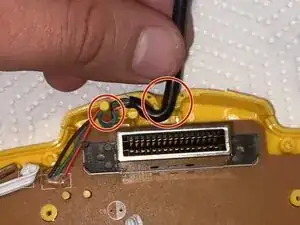
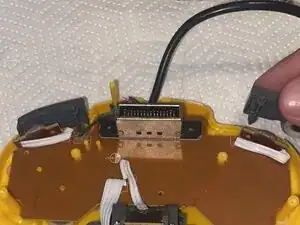
Wrap the cable and insert it back into the little slot.
-
Insert the shoulder buttons back in place.
-
-
-
Line up the joystick with the screw holes.
-
Using the screws that were put to the side, screw in the joystick.
-
-
-
Align the back shell with the screw holes.
-
Using the screws that were saved from step 1, screw them back in.
-


To reassemble your device, follow these instructions in order