Introdução
We will teach you how to first remove the battery and back panel then access the joystick for repair or cleaning purposes.
Ferramentas
-
-
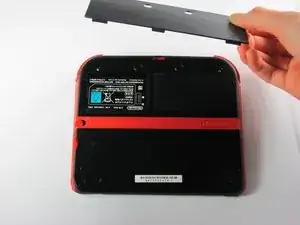
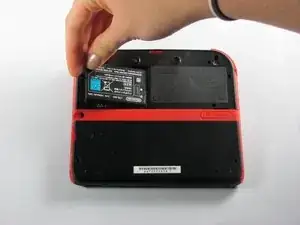
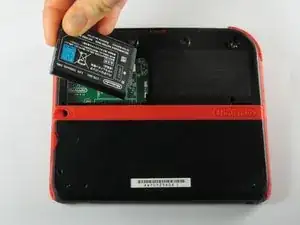
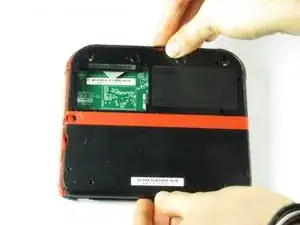
Remove the battery from its housing by lifting it up from the side closest to the outside edge.
-
-
-
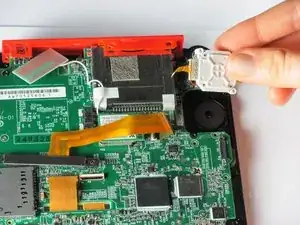
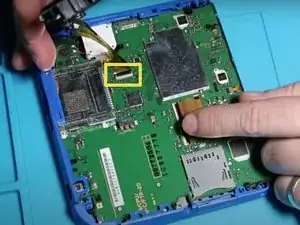
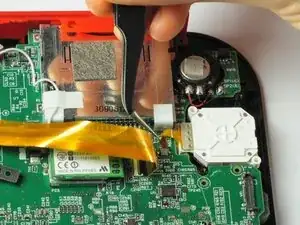
Use your fingernail or the flat end of a spudger to flip up the connector securing the ribbon cable to the motherboard
-
Remove the cable from the connector
-
-
-
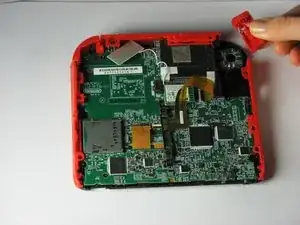
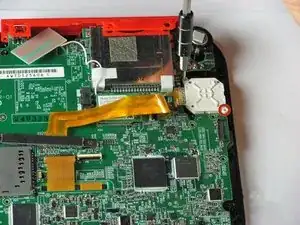
Remove the trigger button on the top right corner by pulling upwards and outwards.
-
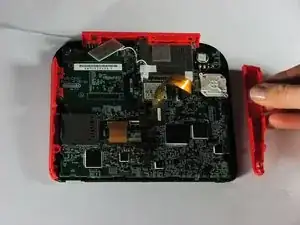
Remove the right red side panel by pulling outwards.
-
-
-
Use a spudger to lift the gray locking lever on the joystick ribbon cable ZIF connector. Pry straight up from the motherboard on the side of the connector opposite the cable.
-
Gently slide the cable straight out of the connector.
-
-
-
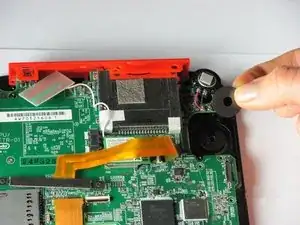
Remove the joystick cover. It should detach with little force.
-
Remove the joystick washer under the joystick cover.
-

To reassemble your device, follow these instructions in reverse order.
12 comentários
My ribbon cable is broke, Is there a way to fix it?Thanks.
When I put the circle pad back in, my 2DS thinks that I am holding up and right on it, when in reality it is in the neutral position. Please help.
Use the calibrate option in system settings. Also make sure the cable is connected nicely.
Recalibrate it in system settings.
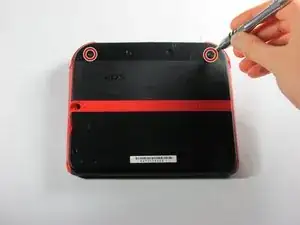
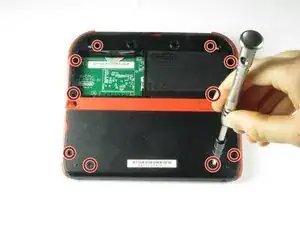
For context for anyone else looking at this; they sit just under the lip of the screw-hole when fully unscrewed for the purposes of lifting the panel - sometimes flush with the plate. The screw hasn't threaded if you try taking it further up - its just that the screw never goes "above" the edge of the hole - the little click and reset it does is the washer inside keeping it in place doing its job.
DIY Person -