Introdução

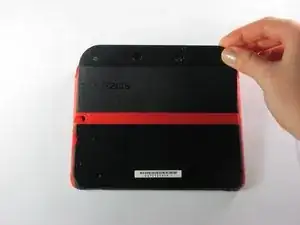
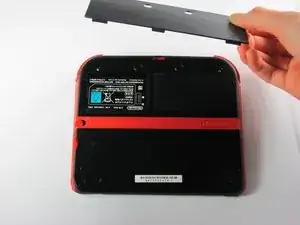
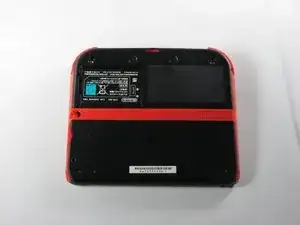
This guide illustrates how to remove the upper rear panel from the Nintendo 2DS to access the battery and other parts of the device.
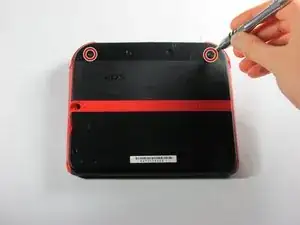
  1. wg4RTxdhgZNOVaab
    • Remove the two Phillips captive screws securing the upper rear panel.

    • The captive screws will not completely detach from the back panel.

    For context for anyone else looking at this; they sit just under the lip of the screw-hole when fully unscrewed for the purposes of lifting the panel - sometimes flush with the plate. The screw hasn't threaded if you try taking it further up - its just that the screw never goes "above" the edge of the hole - the little click and reset it does is the washer inside keeping it in place doing its job.

    DIY Person -

  2. cdb3AdyJTrNhIjrr
    cdb3AdyJTrNhIjrr
    okYxlIGDUBKBdGNP
    • Hinge the upper rear panel upwards and outwards to remove it.

    My apologies for the poor image quality in comparison to the rest. If someone can replace it with a higher quality image in the future it'd be much appreciated.

    DIY Person -

  3. YA2mNvc2fLpeZ4NZ
    YA2mNvc2fLpeZ4NZ
    yjKMPFAO1SC1LncE
    HRaiAoWcVXEMByll
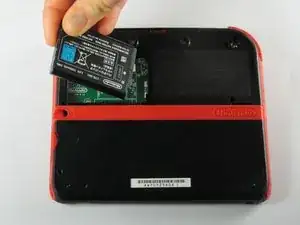
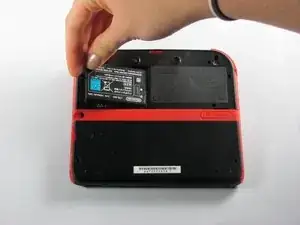
    • Remove the battery from its housing by lifting it up from the side closest to the outside edge.

Conclusão

To reassemble your device, follow these instructions in reverse order.

Fina Beauchamp

Membro desde: 12/01/15

3299 Reputação

7 comentários

The only thing I was trying to figure out is if the bezel came up with the panel, and it’s not clear from these photos. For the record, it does not.

francis deible -

This didnt help my problem

Artemy Matveev -

maybe its because you did not plug the battery correctly matthew

Ludovic Chartrain -

or maybe its just not working ludovic 🫡

Natalia Rabago -

Who knows, will the same battery, instead of 1300mah in original, 2000mah in 'fake' works with 2DS?

Anton Kornilov -

I know its been a year, but yes it should work you just may experience the DS not displaying the power level correctly depending on how it tries measuring that. You'll also as a result need to be careful when charging it potentially.

You should definitely check for further info if you haven't already though.

DIY Person -

Good guide, doesn't quite mention just how flush the screws sit when properly unscrewed - took me looking at an external video guide to check that.

For context for anyone else looking at this; they sit just under the lip of the screw-hole when fully unscrewed for the purposes of lifting the panel - sometimes flush with the plate. The screw hasn't threaded if you try taking it further up - its just that the screw never goes "above" the edge of the hole.

Step 2 is also missing an image that shows the little "catch" that the backplate has - I can't really describe this well in a comment so I'll recommend either looking over your device carefully and feeling with your nails for the point you'd push up from, or again checking out a video guide.

Cheers for the parts guidance and overall shell of the guide though - made me realize it isn't too hard to do it myself.

DIY Person -