Introdução

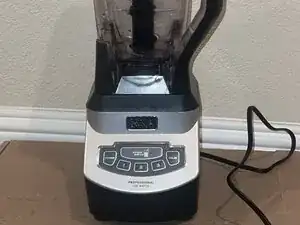
This guide will show you how to replace the drive socket on a Ninja Professional Blender BL660 (also known as the Ninja Professional 1100-Watt Blender).

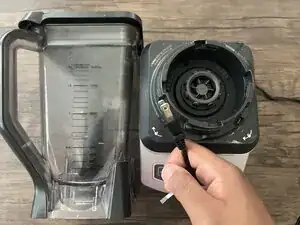
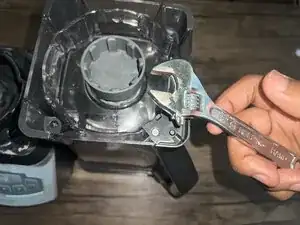
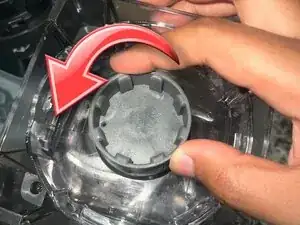
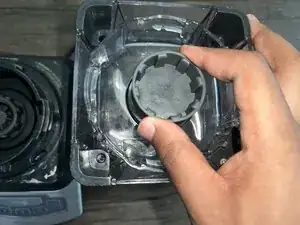
The drive socket is also the part that connects the motor to the blades. If your blender turns on but the blades don’t spin, the socket might be worn out or broken. Replacing it can help your blender work like new again.

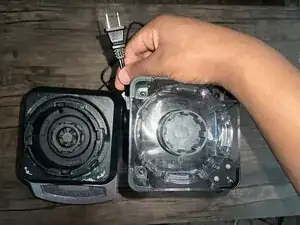
Before you begin this repair, make sure that your blender is off and unplugged.

  1. FcxUAWctlYYpnjMv
    FcxUAWctlYYpnjMv
    PTfDHYwTodfg5l2p
    rBccAceRipZGfRZa
    • Make sure your blender is unplugged before you begin.

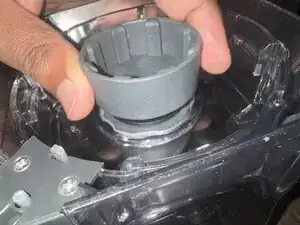
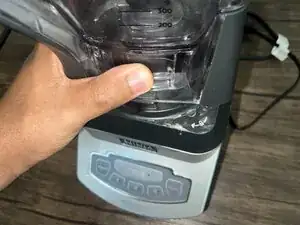
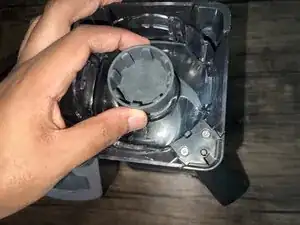
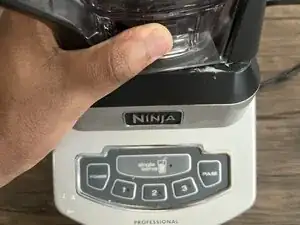
    • Remove the blender jar and blades.

    • Turn the blender jar upside down and set it next to the base.

  2. DsekSUBj5G2qaSnG
    DsekSUBj5G2qaSnG
    yCEIW1FADTO1BuNa
    bJcLGqBRoFFddQH6
    • Use pliers or a wrench to unscrew the worn drive socket.

    • Make sure to unscrew it counterclockwise.

  3. wDBmZgiuXMhGrtOw
    wDBmZgiuXMhGrtOw
    YoR64FWRloA1kUWx
    • Align the replacement drive socket with the mount and hand-tighten.

    • Ensure it is tightened securely.

  4. IgNb1nTmq13K3oD3
    IgNb1nTmq13K3oD3
    TVaKAvCtTBEeLoXI
    • Twist the blender jar back into its base.

    • Test the new socket by running the blender with an empty jar.

Conclusão

To reassemble your device, follow these instructions in reverse order.

Derek Johnbull

Membro desde: 13/06/25

109 Reputação

0 comentários