Introdução

  1. miwjjftFuQahBFjY
    • Remove Micro SD card and Battery

  2. jHqwA5ycCkLXhSTr
    jHqwA5ycCkLXhSTr
    hFPpRQwyS2XVApFp
    ecY1VSgGJWOJxG2m
    • Remove 2 screws

    • Open plastic LCD connector cover

    • Lift FPC connector latch

    • Detach LCD FPC

    Hi I am struggling to lift up the FPC connector. Any advice?

    Ciara C -

    Locking machenism of this FPC connector is quite uncommon, I will upload some more photos to show you the details.

    Terrance -

    done. please check inserted step3 below.

    Terrance -

  3. SXPOKZbE1K3wOCLX
    SXPOKZbE1K3wOCLX
    SwiilWAIAAfeVoUc
    JdaTKEWYoHhKEfdd
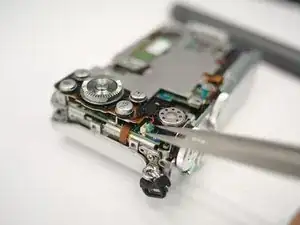
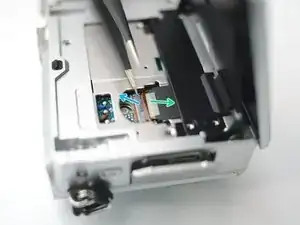
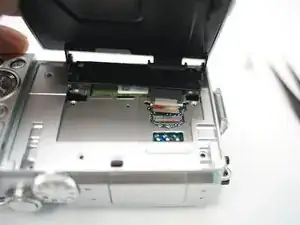
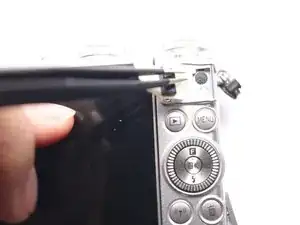
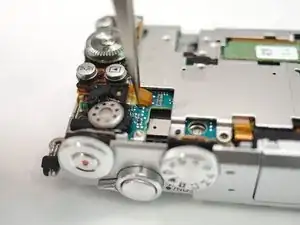
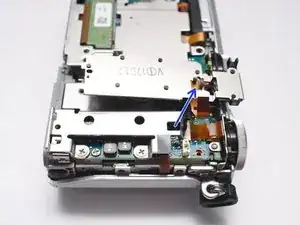
    • The FPC cable is inserted from right side of this photo.

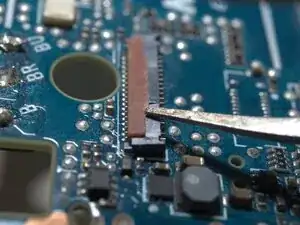
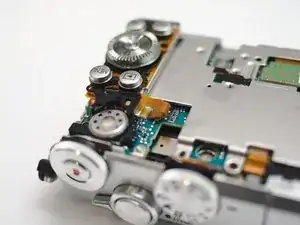
    • Insert a fine tip tweezer or any thin flat tip tool under the latch, and gentally lift it.

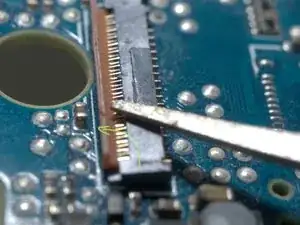
    • The latch rotates CCW for about 90 degrees

  4. VCfwG2EXmQr4QnEd
    VCfwG2EXmQr4QnEd
    PRwPgENrYlbS2MOF
    twbGddOLkalKPVt3
    • Remove 4 screws

    • Remove LCD module

  5. ryFfJN4jTmHSNJux
    • WARNING!!! DO NOT TOUCH THESE Solder joints!!! High Voltage up to 300V..

    • Or discharge the flash condenser first, as per "Main PCB replace guide"

    • Remove 3 screws

  6. pPvJRsKXURiFV4gL
    pPvJRsKXURiFV4gL
    CROUdHXGRkAY2x2u
    ESbwPviGuL2XPtvw
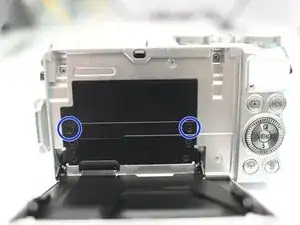
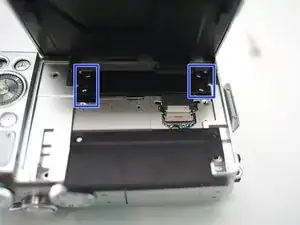
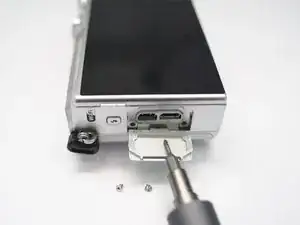
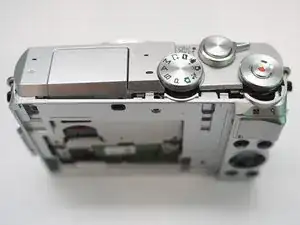
    • Left side, in connector bay, remove 2 screws.

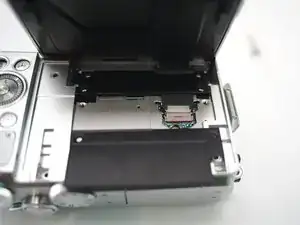
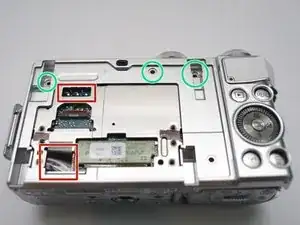
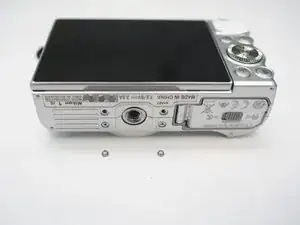
    • Bottom, reomve 2 screws

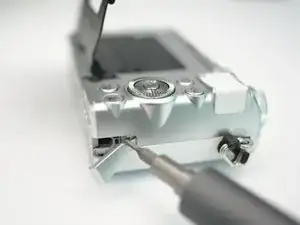
    • Right side, remove 1 screw

  7. LWBr4a56p2AeDVlP
    • Peel here and remove 1 screw within.

  8. 1vE4wUG36DeakwES
    1vE4wUG36DeakwES
    NVOlgO1dPd1pZihc
    • Pop open back case and remove it from body.

  9. MNJXOTAkZAIlllJV
    MNJXOTAkZAIlllJV
    lcAK5R2vBgYdF1Nv
    IvXEe4kZbwBa1YDa
    • Disconnect speaker

    • Disconnect keypad FPC

  10. cC4KTqPPWPFmROu2
    • Push latches from below

    • pop up and remove keypad.

Conclusão

To reassemble your device, follow these instructions in reverse order.

Terrance

Membro desde: 18/11/09

6997 Reputação

0 comentários