Introdução

This repair guide will provide the user information needed to remove and replace the motherboard for the NikePlus Sportband. You will need metal tweezers, a metal spudger, and a Phillips #000 screwdriver.

  1. wkokwuStKCNxYhD2
    wkokwuStKCNxYhD2
    qr12bFFo55hvB5Qa
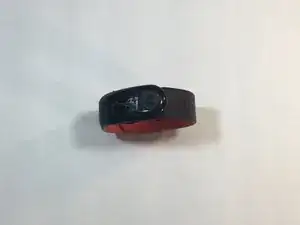
    • Begin by removing the Nike+ Sport-band. This gives you access to the plastic housing so you can begin disassembly.

  2. hI15jVEG4dRvlCFj
    hI15jVEG4dRvlCFj
    1M2fIWTnOblYRmVV
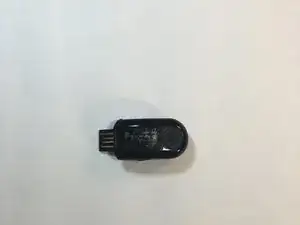
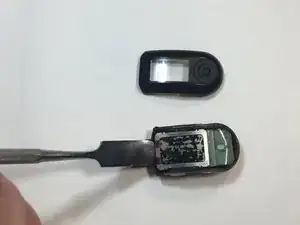
    • Finish the disassembly of your NikePlus Sportband by utilizing the metal spudger tool on the short edge to pry the external body pieces apart.

  3. LGHoIWZjKURsRNTc
    LGHoIWZjKURsRNTc
    wLU2IUpMOKNZxqAu
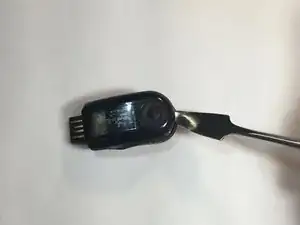
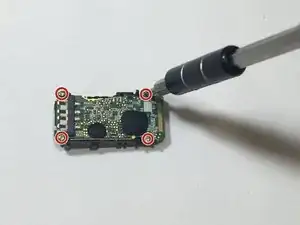
    • After the cover had been removed, use the metal spudger tool to remove the body of the device from the casing.

  4. IVO1PdhHjPsQJoSo
    IVO1PdhHjPsQJoSo
    SuDHRg63AbNoQQ1V
    KxJROgfGbESiwB4k
    • Use the metal tweezers to pry the screen casing from the body of the device.

    • The screen casing is fastened to the body of the device by four clips located in each corner of the casing. Make sure not to bend them.

  5. HrCEOl4L5AC1UtQU
    HrCEOl4L5AC1UtQU
    yYI2bkV4LWHO5uiY
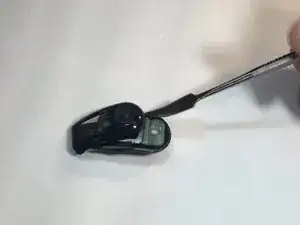
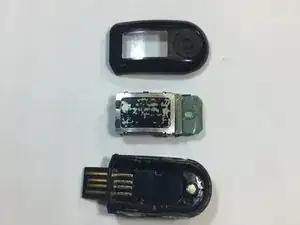
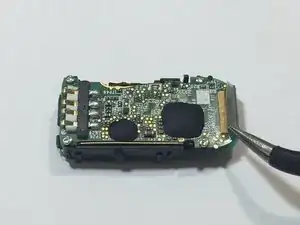
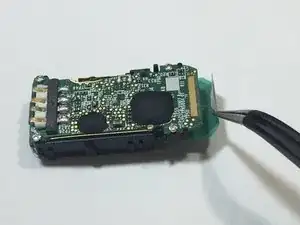
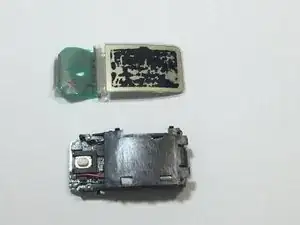
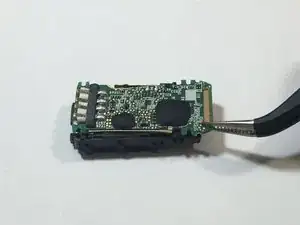
    • Flip the body of the device over so that the screen is now on the bottom.

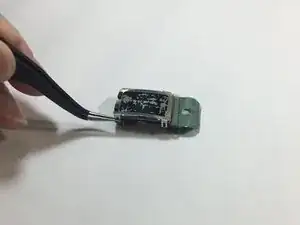
    • The display ribbon cable is soldered to the motherboard. We were able to peel up the ribbon cable with a pair of tweezers.

    • Successfully resoldering this ribbon cable to the motherboard may prove difficult to the very small traces.

  6. NIwvbYtMOUdvrNdA
    NIwvbYtMOUdvrNdA
    sBfQ4PkBLCWjxY2r
    vWjVsFYvgaaZSXMU
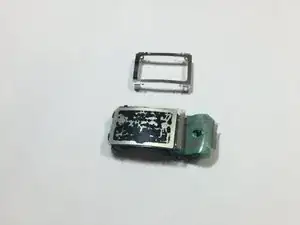
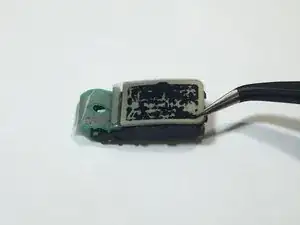
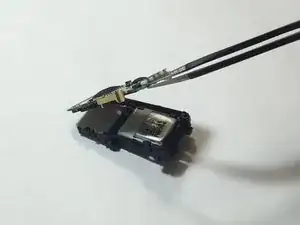
    • Flip the body of the device back over so that the screen is facing up.

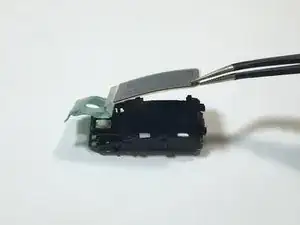
    • Using the tweezers, gently lift the screen from body of the device.

  7. MRJKO15oThX1DFmW
    • Remove the four highlighted screws from the motherboard using the Philips screwdriver.

  8. KoJMNihEVELHQiRZ
    KoJMNihEVELHQiRZ
    vXtdktOUhFWCYr5k
    wDDLMeHa6LuZLEYa
    • Use the metal tweezers to lift the motherboard out of the device.

    • Be careful not to pull or bend the attached wiring.

Conclusão

To reassemble your device, follow these instructions in reverse order.

Alyssa Setnar

Membro desde: 16/02/16

331 Reputação

0 comentários