Introdução
This is a step-by-step guide to replace the internal battery of your Nextbase 320XR dashcam.
The battery is a 280mAh polymer lithium battery that can hold a small charge in order to ensure that videos are saved in the event of a power disconnect. In the event that your videos are not being properly saved, your battery may be in need of replacement. Before you replace your battery, be sure to check the Nextbase 320XR guide, as your problem might not warrant replacement.
Note: This guide requires the use of a soldering iron. Be sure to read the Soldering Guide for instructions on how to operate the devices.
Peças
-
-
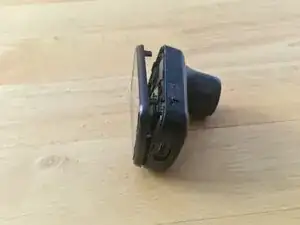
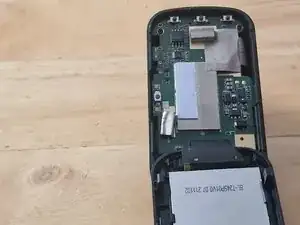
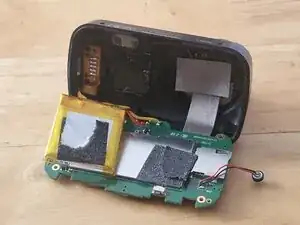
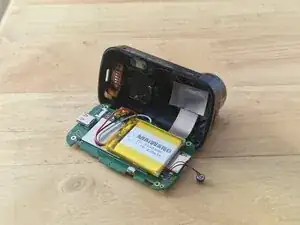
The battery is held in place with a sticky pad, carefully use the Spudger to separate the battery from the board.
-
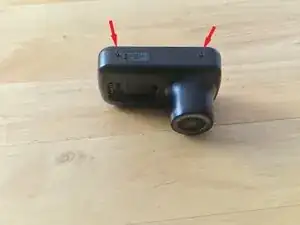
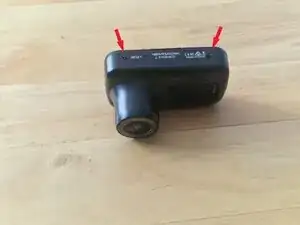
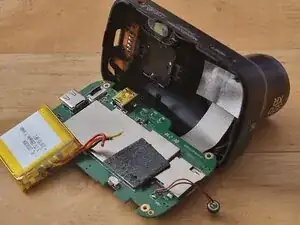
Carefully unsolder the 3 battery wires from the board.
-
-
-
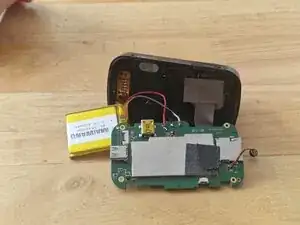
Carefully solder the 3 battery wires in the same order as the old battery.
-
Place the battery on the sticky pad to hold in place.
-
-
-
Use the Precision Tweezers to place the Click&Go PRO mount cable back into the connector.
-
Use the Precision Tweezers to place the mic back into it's holder.
-


To reassemble your device, follow steps 1 to 4 of these instructions in reverse order.