Introdução
This guide addresses common failures with Nanoleaf Outdoor String Lights (Matter version), specifically when the power supply enters "protection mode" (turning off all lights) due to a short circuit. These issues are often caused by water ingress in the bulb sockets or internal shorts within the molded connectors.
• Symptoms: The lights turn on for a split second and immediately shut off, or don't turn on at all when a specific segment is connected.
• The Fix: We will cover two methods: cleaning oxidized internal contacts (easy fix) and isolating/removing shorted cable sections (advanced fix).
-
-
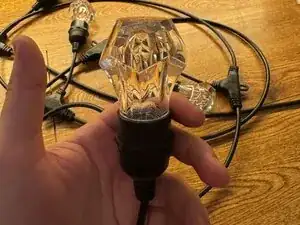
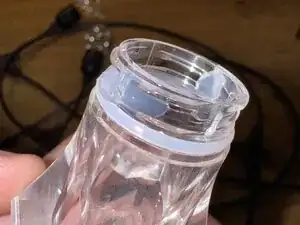
Unscrew the main cap.
-
Unscrew the second cap. Be careful with interior o-ring.
-
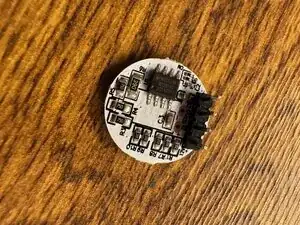
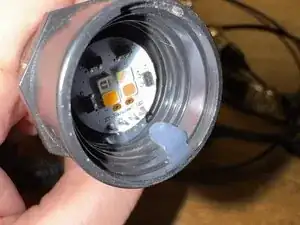
Gently pull the LED Module (PCB) straight out to disconnect from the socket.
-
-
-
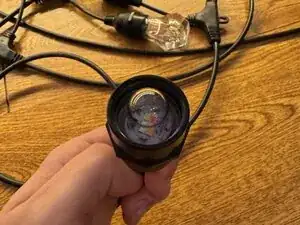
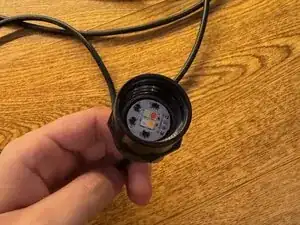
Look at the 4 pins on the back of the LED module and the slots inside the socket. Look for any green, white, or black residue (oxidation/corrosion).
-
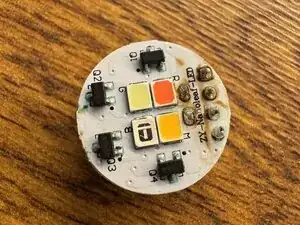
Dip a cotton swab in Isopropyl Alcohol. Thoroughly clean the pins on the LED module.
-
Use the swab or a small brush to clean the female connectors inside the socket housing. Allow the alcohol to evaporate completely.
-
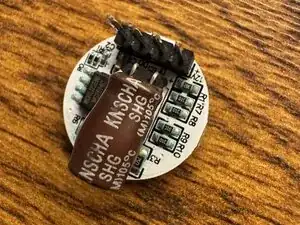
Note: The 10th LED module in every string is unique and features an electrolytic capacitor. While all other modules are interchangeable, it is recommended to position this specific module at the midpoint of the string for optimal performance.
-
-
-
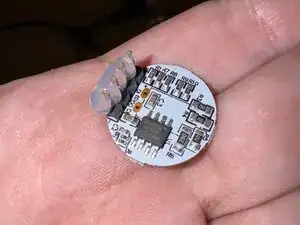
Apply a generous layer of silicone grease directly onto the 4 metal pins of the LED module. Reinsert the module.
-
Note regarding the "Capacitor Module": One specific module in each string (originally the 10th bulb) contains an electrolytic capacitor. While it fits anywhere, it is recommended to place this module near the middle of the string for optimal power distribution.
-
Apply silicone grease to the plastic threads.
-
Screw second and main cap.
-
Don't forget the O-rings; ensure they are seated correctly.
-
-
-
If not working after cleaning all PCBs.
-
With all PCBs removed. Test Continuity of the string using multimeter on one connector of the string.
-
A healthy string should show high resistance or an open circuit when not powered.
-
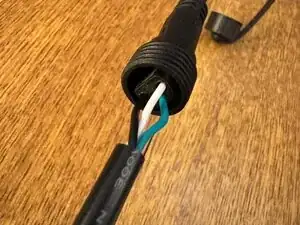
To find a hidden short in a long cable without visible damage, cut the remaining bad cable segment exactly in half.
-
Measure resistance on both halves. The "Good" half will show infinite resistance. The "Bad" half will show the low resistance (short).
-
Join the healthy sections back together.
-
White "+" , Black "-", Green "Data"
-
The controller dynamically counts the connected bulbs during the boot sequence. If you remove a section of the cable (e.g., due to damage), the controller will adjust automatically. The Nanoleaf App will even update the scene creator to reflect the actual number of bulbs currently connected (e.g., 55 bulbs instead of 60).
-
By removing the shorted section and properly greasing all connections, you have salvaged an expensive light string. The key to longevity for these lights is applying silicone grease to all gaskets and internal sockets before permanent outdoor installation.