Introdução
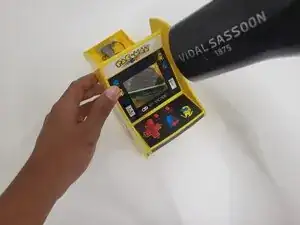
A guide on how to replace a broken/non-functioning Joystick/D-pad on an MyArcade Mini Cabinet. This is for the Pac-Man version, be aware others can have differences in wiring and framing.
Tools needed:
- Precision Screwdriver & Flathead Screwdriver
- Hair Dryer
Replacement Parts:
- Replacement Silicone Pad
NOTE: This fix has many instances of screws. Be sure to properly group them together after a step to prevent confusion or swapping down the line.
Take your time reading and doing the steps carefully. Good luck!
-
-
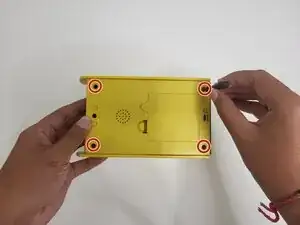
Flip the cabinet over and remove the four 10 mm-long Phillips #2 screws from the back casing of the cabinet.
-
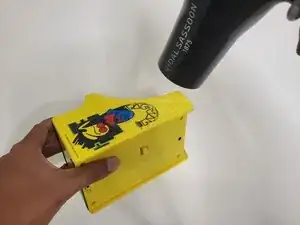
Use a hairdryer to lightly heat the stickers on the side of the cabin.
-
Peel back the sticker far enough to reveal the screws.
-
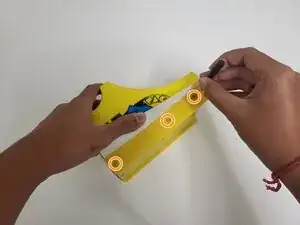
Remove the three 5 mm-long Phillips screws underneath the stickers of each side of the cabinet.
-
-
-
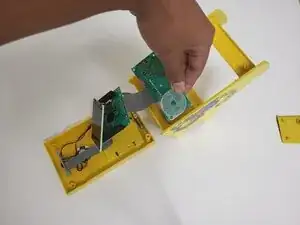
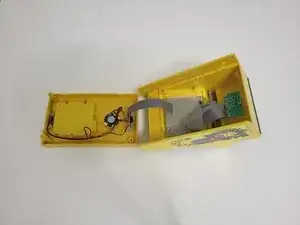
Remove the three 10 mm-long Phillips #1 screws holding the motherboard in place.
-
Carefully pry it away to get to the barrier.
-
-
-
Use the hair dryer to heat the sticker in front. Peel it off slowly to give ease when it comes to removing the barrier.
-
On the edges of the barrier, remove the four 8 mm-long Phillips #1 screws.
-
-
-
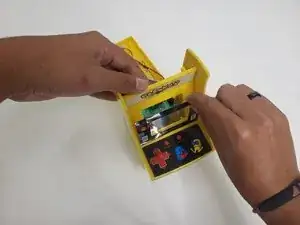
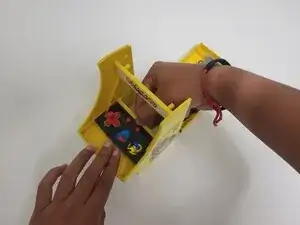
Push the controller container out of the cabinet.
-
Remove the five 7 mm-long Phillips #1 screws located underneath.
-
-
-
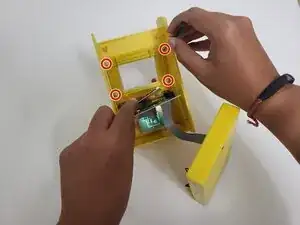
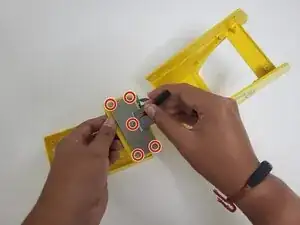
Take off the joystick from the panel, and locate the silicone padding.
-
Remove the damaged one and replace it with your new one.
-


After the last step, follow the process backwards to reassemble the cabinet back in proper condition.
Once done, Congrats! With careful time and proper handling, your cabinet is good to go again! Have fun playing, and thank you for listening and preventing E-Waste.