Introdução
This guide describes how to replace the button key board, or the processor that interprets key pad information.
-
-
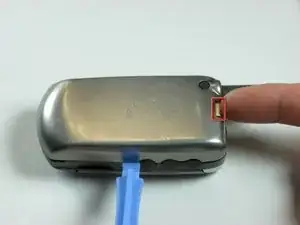
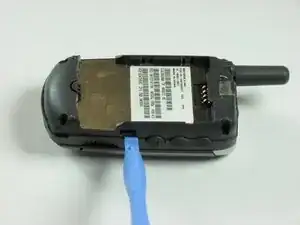
Push in release lever towards top of phone, then use blue spudger to pry case off.
-
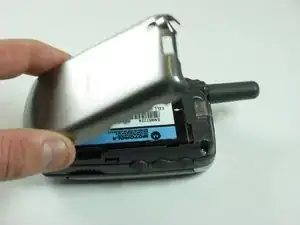
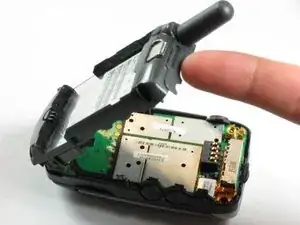
After case is removed from the back of the phone, you can simply use your hands to take it the rest of the way off.
-
Set cover aside in a safe location.
-
-
-
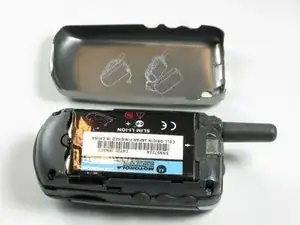
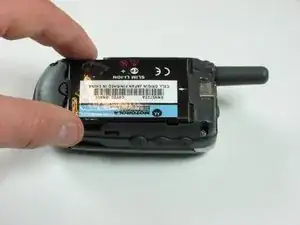
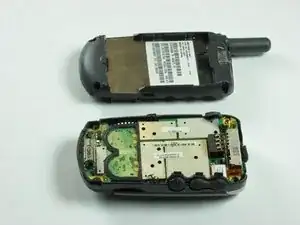
Carefully grab battery towards bottom of phone.
-
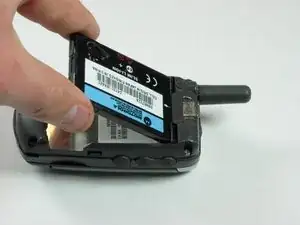
Lift from bottom and take out of phone, set aside in a safe location.
-
-
-
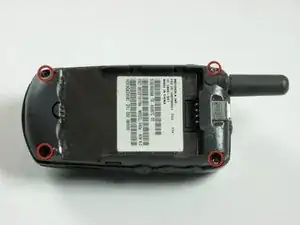
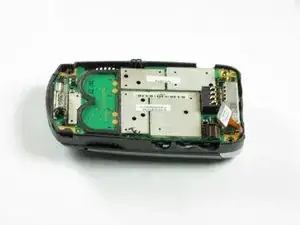
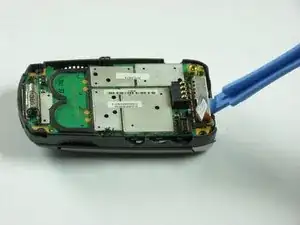
Use a spudger to gently pry off back chassis. Wedge the spudger in crevice between back panel and phone and lift.
-
-
-
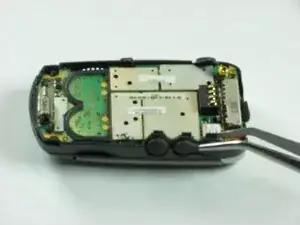
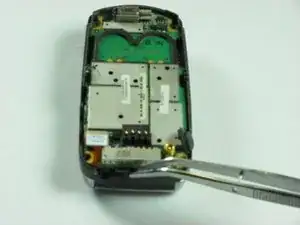
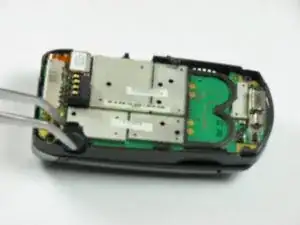
Starting from left side of phone, remove side buttons and place aside.
-
Return phone to starting orientation when done.
-
-
-
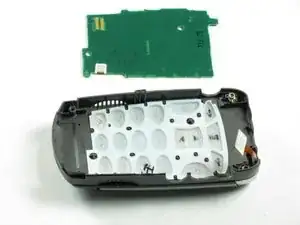
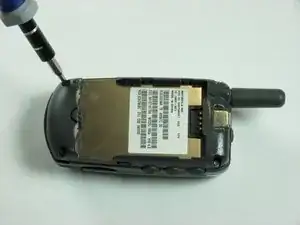
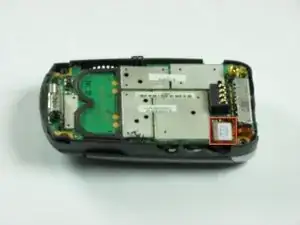
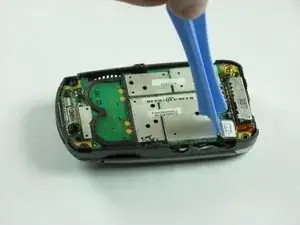
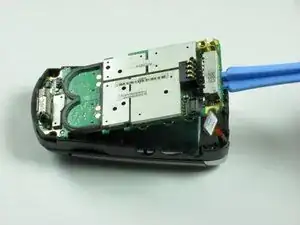
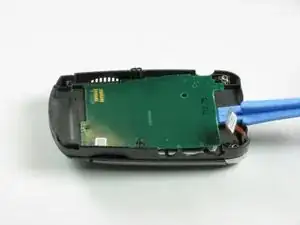
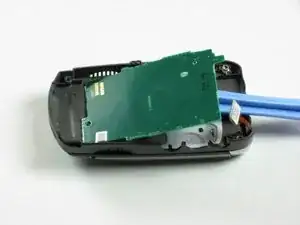
Use a spudger to pry up logic board by wedging in between logic board and chassis and lifting.
-
To reassemble your device, follow these instructions in reverse order.
We hope that your Button Key Board replacement was successful and that your Motorola V60s is working as it should be. For any post-repair issues, please visit our troubleshooting page or visit iFixit’s Community Answers forum!