Introdução
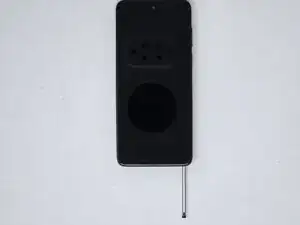
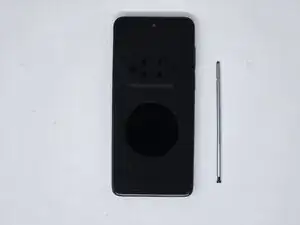
Motorola Moto G Stylus 5G 2023, Model XT2315, Screen Replacement.
If the screen is cracked, damaged, or in need of replacement, follow this guide. If you have difficulty removing any components in this guide, use heat to loosen the adhesive.
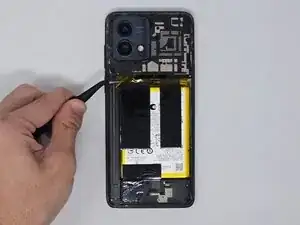
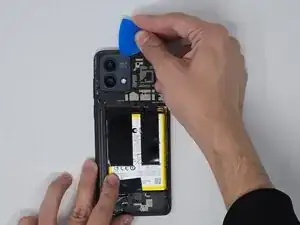
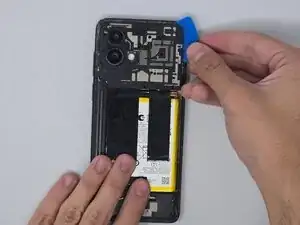
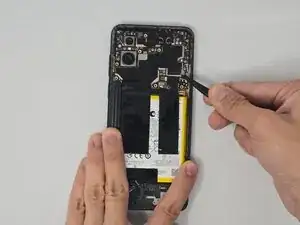
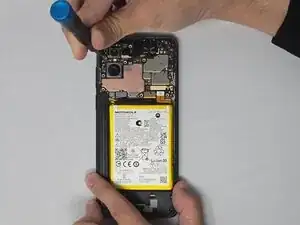
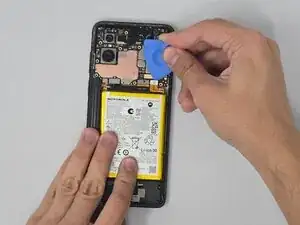
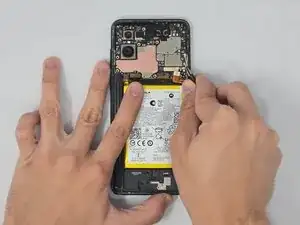
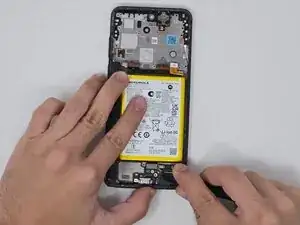
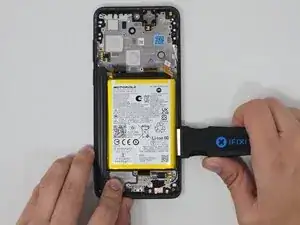
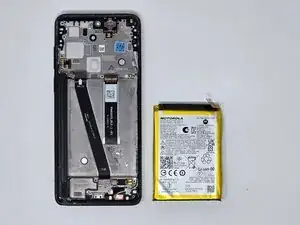
When replacing the battery and removing the graphite film, a new graphite film is required for reassembly.
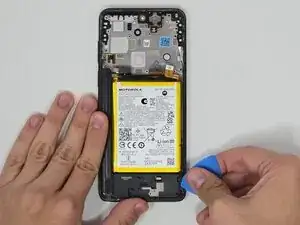
If heating up the adhesive for the battery is ineffective use use isopropyl alcohol on the sides of the battery and wait 30 seconds to loosen the adhesive.
When replacing the screen, it may get damaged, so a new screen is required to replace the older one.
-
-
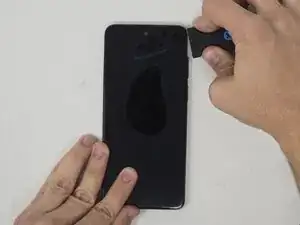
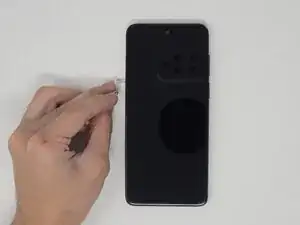
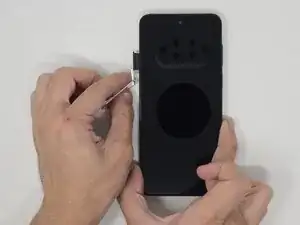
Use a SIM eject tool to remove the SIM tray.
-
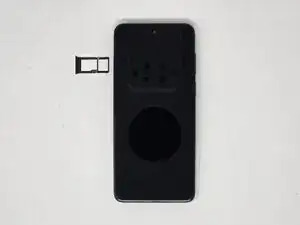
Gently pull the SIM tray from the left side when the screen is facing upward.
-
-
-
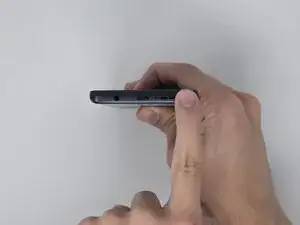
Push the tip of the stylus to release the lock.
-
With the screen facing up, remove the stylus from the bottom-right corner of the phone.
-
-
-
Place the screen facing downward.
-
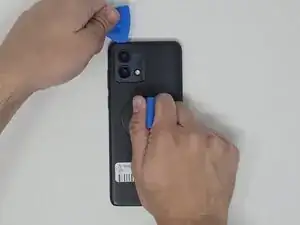
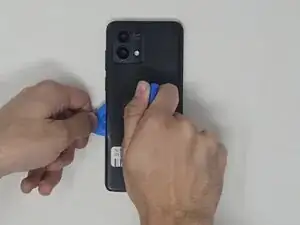
Use the small suction cup to create a gap for the opening pick to fit.
-
Insert the opening pick into a corner of the phone and move around the backing to release the adhesive.
-
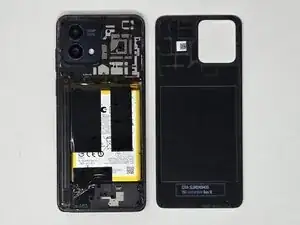
Pull the backing off of the phone.
-
-
-
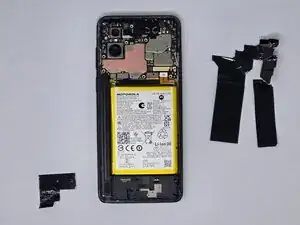
Use tweezers to remove the yellow tape.
-
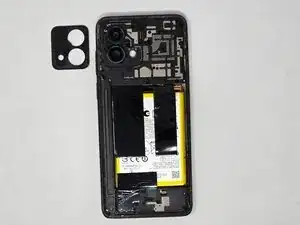
Use the opening pick to remove the camera lens cover.
-
-
-
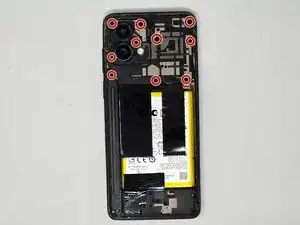
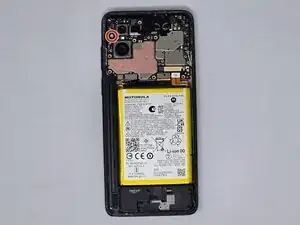
Remove the remaining silver 2.1mm screw from the top-left corner with a Phillips #0 screwdriver.
-
-
-
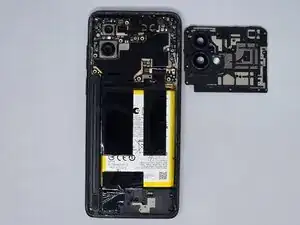
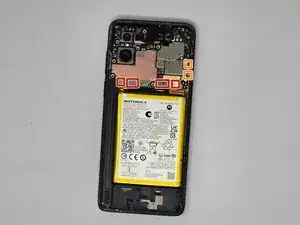
Remove each of the four cables attached to the back panel with the opening pick.
-
Remove the silver coaxial cables on the right side of the phone.
-
-
-
Disconnect the cable attached to the back panel with tweezers.
-
Disconnect the silver coaxial cables on the right side of the phone.
-
-
-
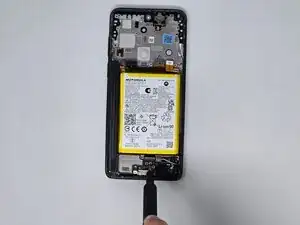
Use iFixit tweezers or the opening pick to find an opening and remove the entire charging port.
-
-
-
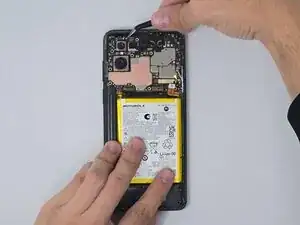
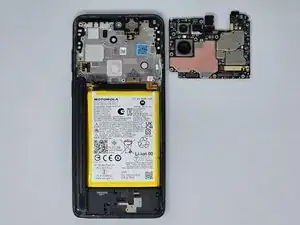
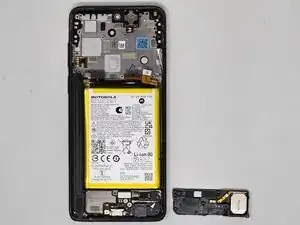
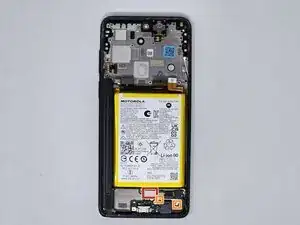
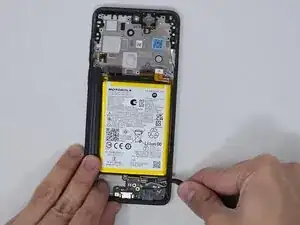
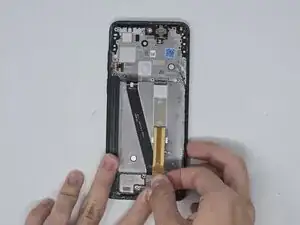
Remove the flexible printed circuit board.
-
Flip the phone to the opposite side after disconnecting the printed circuit board.
-
-
-
Apply heat with any blowdryer in a concentrated area to pry the iFixit Jimmy under the screen.
-
Move the Jimmy around the screen to continue to loosen, then remove the screen.
-


To reassemble your device, follow these instructions in reverse order