Introdução
Motorola Moto G Stylus 5G 2023, Model XT2315, Charging Port Replacement.
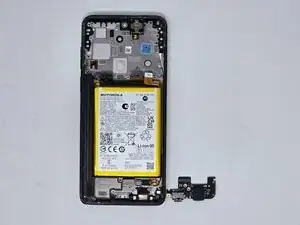
If the charging port is damaged, broken or no longer charges a USB-C cord follow this guide to aid in replacement. When disconnecting the silver coaxial cables do not pull coaxial cables out of the device.
-
-
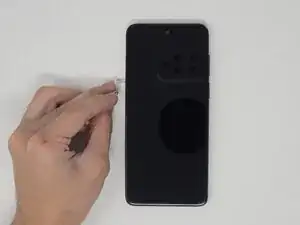
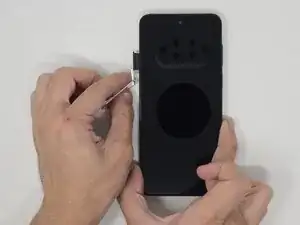
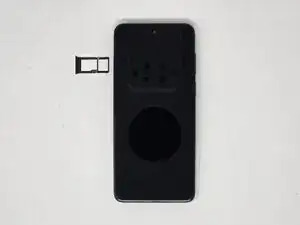
Use a SIM eject tool to remove the SIM tray.
-
Gently pull the SIM tray from the left side when the screen is facing upward.
-
-
-
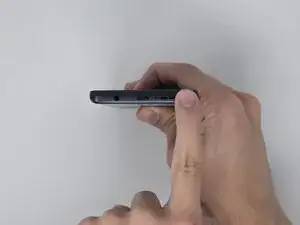
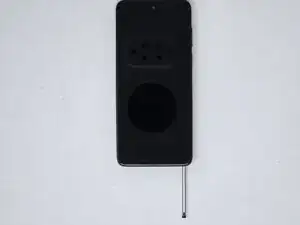
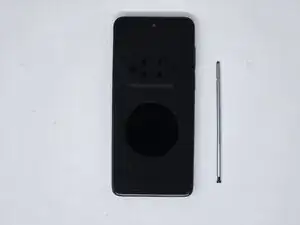
Push the tip of the stylus to release the lock.
-
With the screen facing up, remove the stylus from the bottom-right corner of the phone.
-
-
-
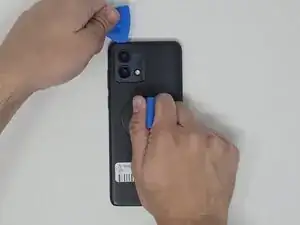
Place the screen facing downward.
-
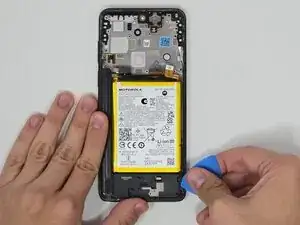
Use the small suction cup to create a gap for the opening pick to fit.
-
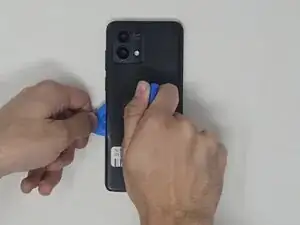
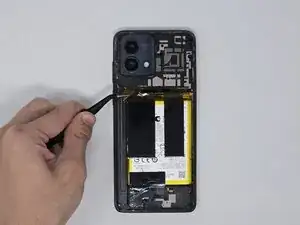
Insert the opening pick into a corner of the phone and move around the backing to release the adhesive.
-
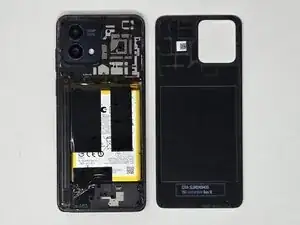
Pull the backing off of the phone.
-
-
-
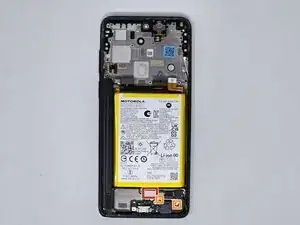
Disconnect the cable attached to the back panel with tweezers.
-
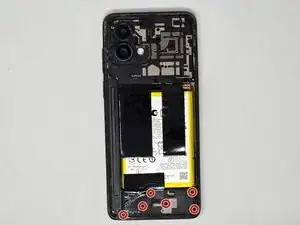
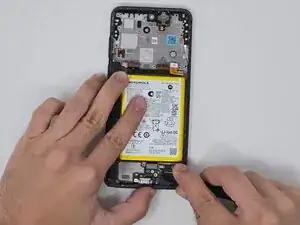
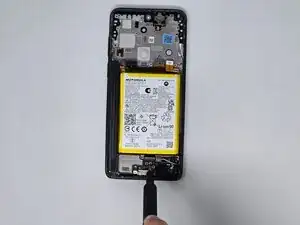
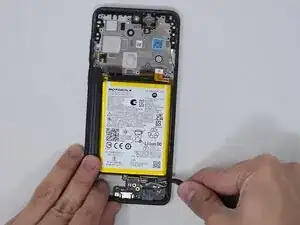
Disconnect the silver coaxial cables on the right side of the phone.
-
-
-
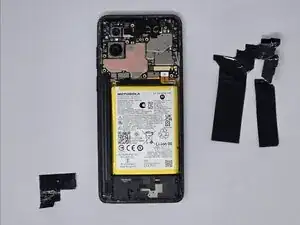
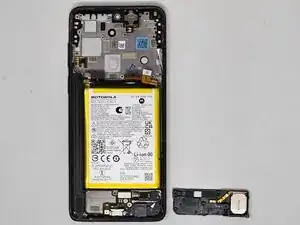
Use iFixit tweezers or the opening pick to find an opening and remove the entire charging port.
-

To reassemble your device, follow these instructions in reverse order.