Introdução
Over time, the battery in your Motorola Moto G power 5G may begin to lose its ability to hold charge, drain quickly, or cause your phone to shut down unexpectedly all signs of a bad battery. Replacing it can restore your phones battery life and overall performance.
This guide is step by step instructions that will walk you through the complete process of removing the worn out or faulty battery and installing a new, compatible replacement. To safely remove the damaged or worn out battery and install a new one. Before starting, power off your device and gather the required tools. Don't forget to follow each step carefully to avoid damaging internal components and ensure your phone functions properly after reassembly.
Replacing the battery requires patience and attention to detail, but completing this repair will extend the life of your Motorola Moto G.
-
-
Slide an iFixit opening pick along the edge of the phone to loosen the back. Work slowly around the phone until the back cover begins to lift.
-
-
-
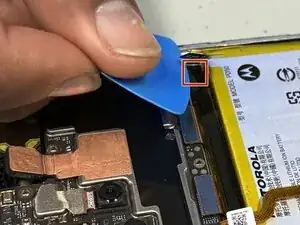
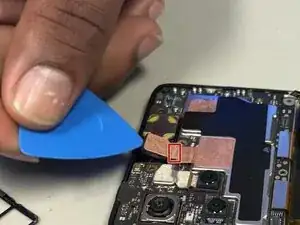
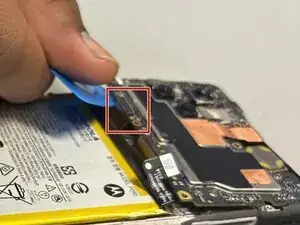
Use the iFixit opening pick to gently remove the back camera cover.
-
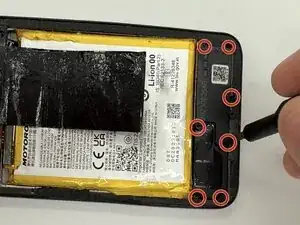
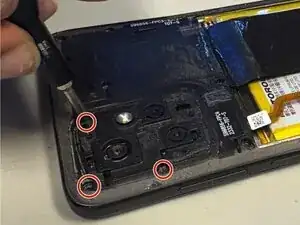
Remove the three 2.2 mm screws that were underneath the back camera cover using a Torx T5 screwdriver.
-
-
-
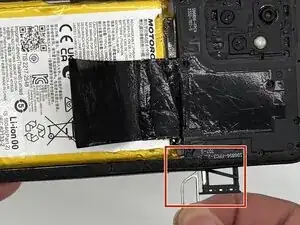
Insert SD Card remover into the hole next to the SD Card holder and remove the whole SD Card and its holder.
-
-
-
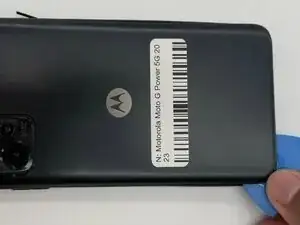
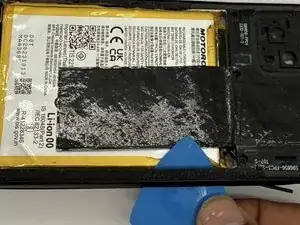
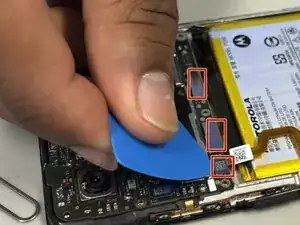
Remove the outer casing from the phone by sliding the iFixit opening pick along the edges. Start from underneath the section of where the SD card was removed.
-
-
-
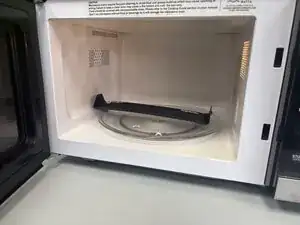
Warm up an iFixit iOpener for 30 secs
-
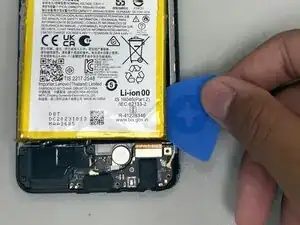
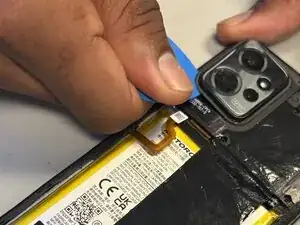
Place the iFixit iOpener on the battery to loosen the battery adhesive.
-

To reassemble your device, follow the above steps in reverse order.
For optimal performance, after completing this guide, calibrate your newly installed battery.
Take your e-waste to an R2 or e-Stewards certified recycler.
Repair didn’t go as planned? Try some basic troubleshooting or ask our Answers community for help.