Introdução
Follow this guide to remove and replace the camera bezel on your 2021 Motorola Moto G Play.
Before you begin, download the Rescue and Smart Assistant app to backup your device and diagnose whether your problem is software or hardware related.
-
-
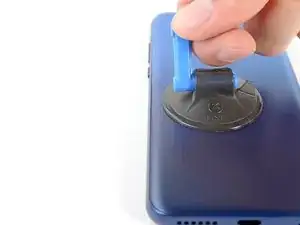
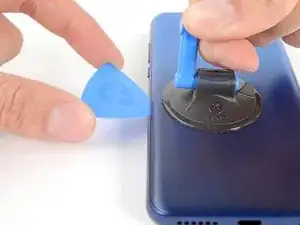
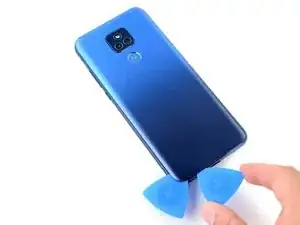
Apply a suction cup to the back cover, as close to the center of the left edge as possible.
-
Pull up on the suction cup with strong, steady force to create a gap between the cover and the frame.
-
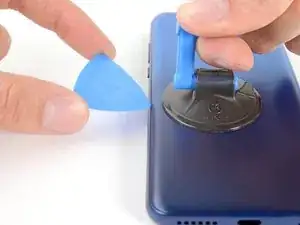
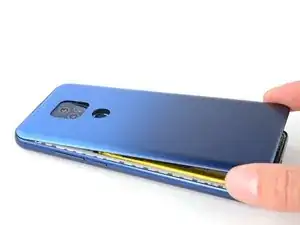
Insert an opening pick into the gap.
-
-
-
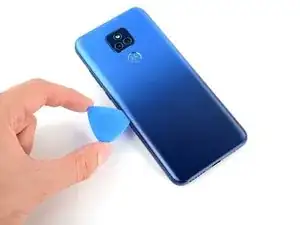
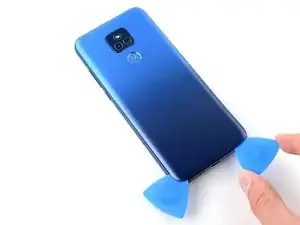
Slide your opening pick back and forth along the left edge to slice through the adhesive.
-
Leave the pick in at the bottom left corner to prevent the adhesive from resealing.
-
-
-
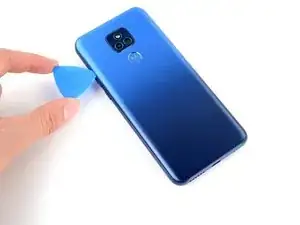
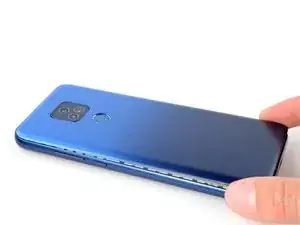
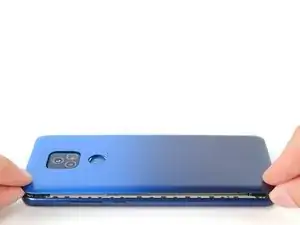
Insert and slide a second opening pick to the bottom right corner to slice through the adhesive.
-
Leave the pick inserted to prevent the bottom edge from resealing.
-
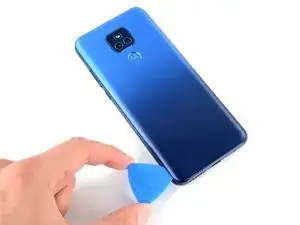
Repeat this process for the right and top edges of the cover.
-
-
-
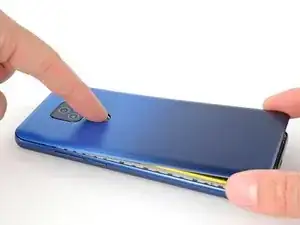
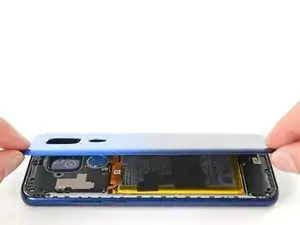
Grab and lift the bottom edge of the cover.
-
As you lift the back cover, press and unstick the fingerprint reader from it.
-
-
-
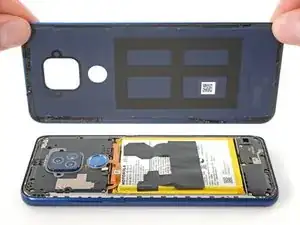
Grab and remove the back cover.
-
This is a good point to test your phone before sealing it up. Follow this guide to perform a hardware test. Be sure to power your phone back down completely before you continue working.
-
To adhere the back cover with custom-cut adhesives, follow this guide.
-
To adhere the back cover with tape, follow this guide.
-
-
-
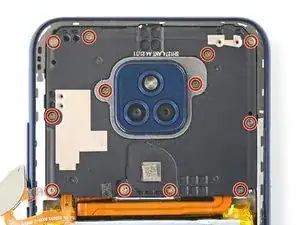
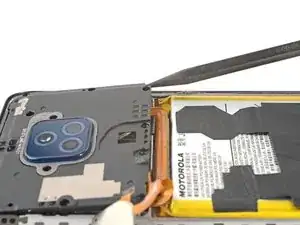
Use your Phillips screwdriver to remove the twelve 3.9 mm-long screws securing the motherboard cover.
-
-
-
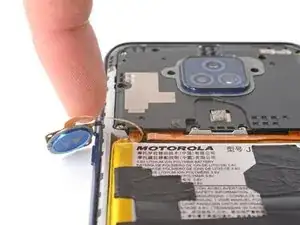
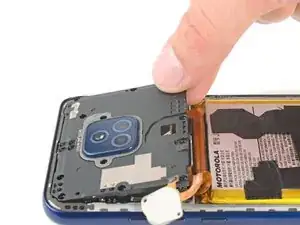
Insert the pointed end of a spudger between the bottom right corner of the motherboard cover and the frame.
-
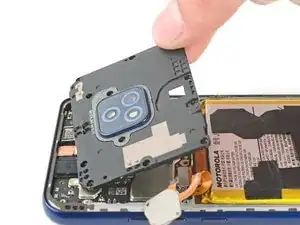
Pry the cover upward until you can grab it with your fingers.
-
-
-
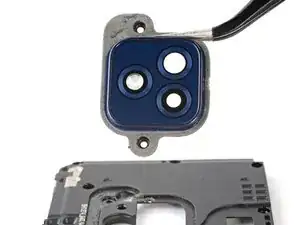
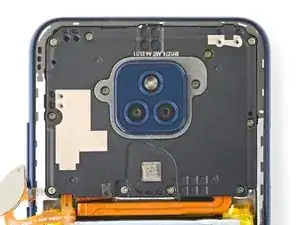
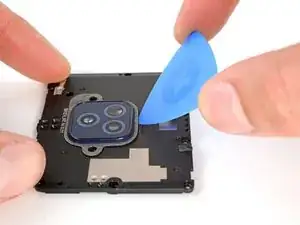
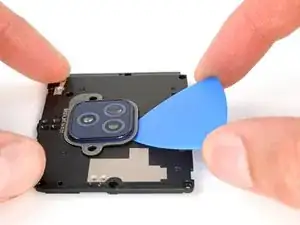
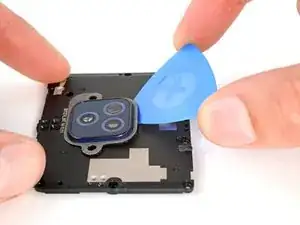
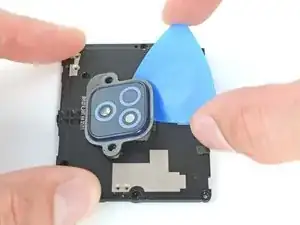
Insert an opening pick between the gray border of the camera bezel and the motherboard cover.
-
Slide the pick back and forth to slice the adhesive.
-
-
-
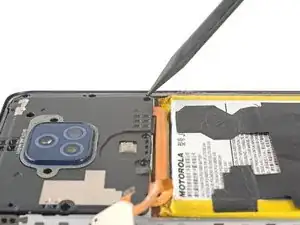
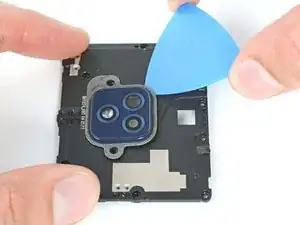
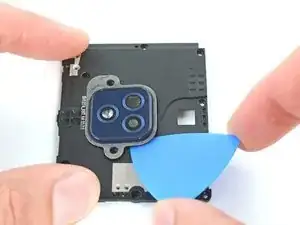
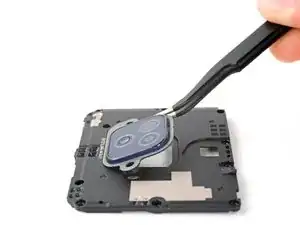
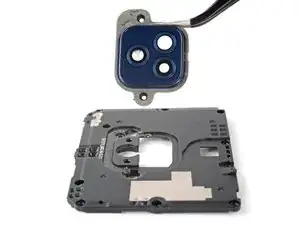
Slide your opening pick farther under the camera bezel and pry it away from the motherboard cover.
-


To reassemble your device, follow these instructions in reverse order.
Take your e-waste to an R2 or e-Stewards certified recycler.
Repair didn’t go as planned? Try some basic troubleshooting, or ask our Answers community for help.

I installed a new battery in my Moto G Fast XT2045 BUT I HAVE NO SOUND & MY PHONE DOESNT CHARGE. WHAT DID I DO WRONG?
Fonda Culbertson -
I forgot to say in my other comment, my phone powers on & I CAN MAKE CALLS, BUT PHONE DOESNT RING WHEN SOMEONE CALLS THE PHONE AND NEW BATTERY WILL NOT CHARGE.. What have I done wrong on install?
Fonda Culbertson -