Introdução
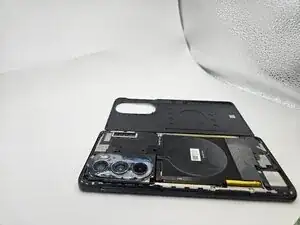
The rear cameras are always at risk of being damaged if they are dropped. If the images in your camera appear blurry or have lines through them, it may be the result of a broken rear camera.
-
-
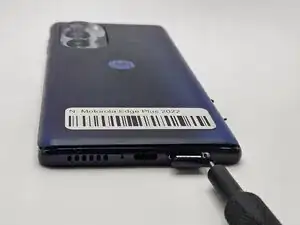
Insert a paperclip or SIM card ejector into the small hole located at the bottom of phone.
-
Gently push to release and remove the SIM card.
-
-
-
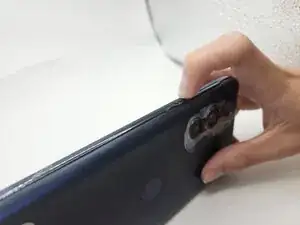
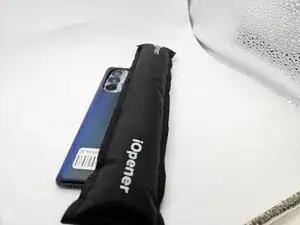
Use an iOpener, heat gun, or hairdryer to gently heat the perimeter of the phone.
-
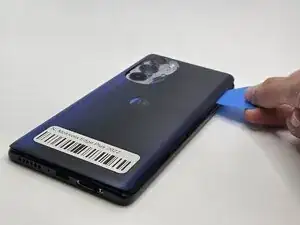
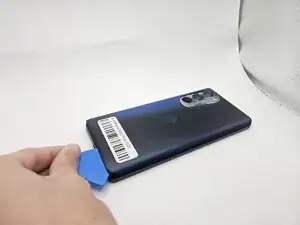
Insert and slide the iFixit opening pick around heated edges to sever the adhesive securing the rear cover.
-
-
-
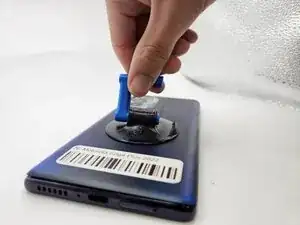
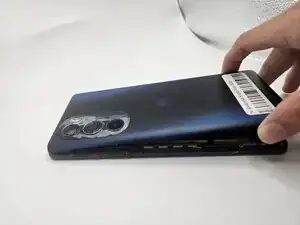
While applying light pressure, remove the camera bezel cover by sliding the jimmy along the edges.
-
-
-
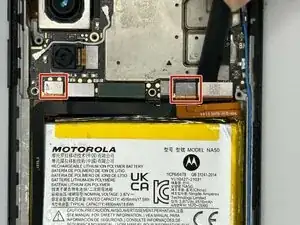
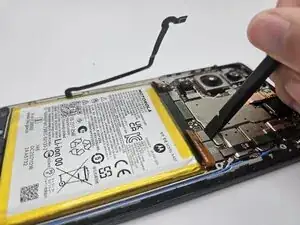
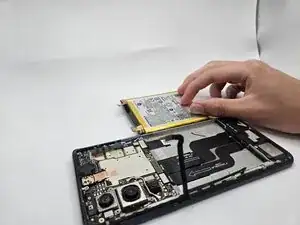
Use the flat end of a spudger to to pry up and disconnect the two press connectors on either side of the battery.
-
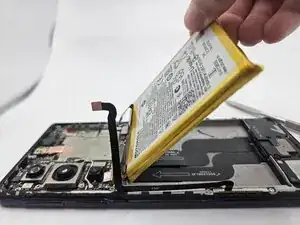
Located in the bottom left corner of the battery, remove the tape (black in the image) with a spudger.
-
-
-
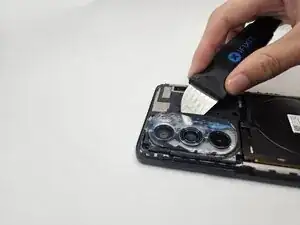
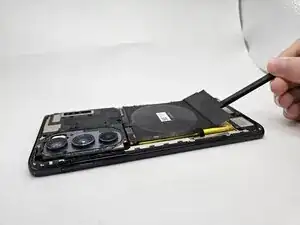
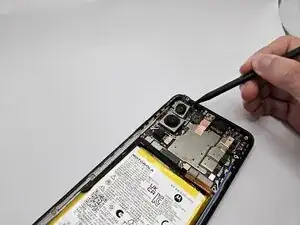
Use the flat end of a spudger to disconnect the upper camera press connector.
-
Wedge the spudger under the camera and apply pressure until it dislodges.
-
-
-
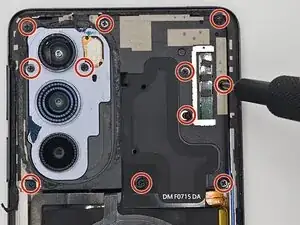
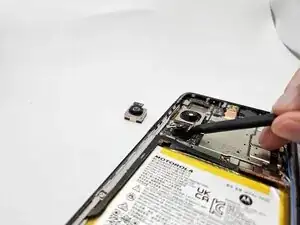
Use a Phillips #00 screwdriver to remove the single 1.5 mm silver screw on the motherboard.
-
-
-
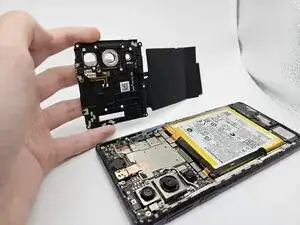
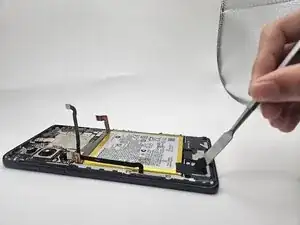
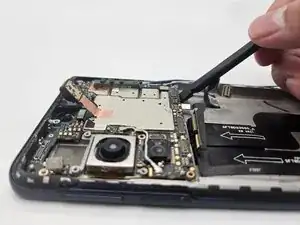
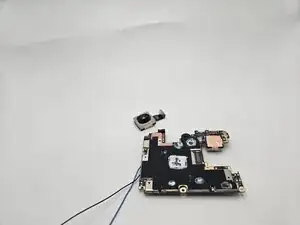
Use the black spudger to remove the motherboard by lifting at the base of the board as seen in the image.
-
-
-
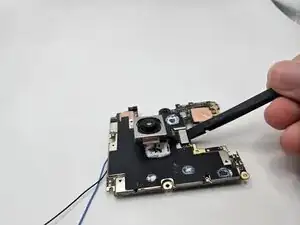
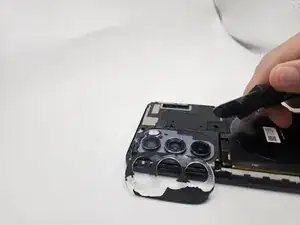
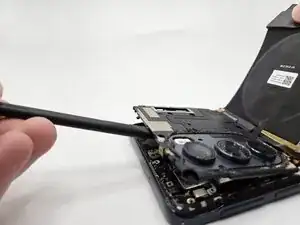
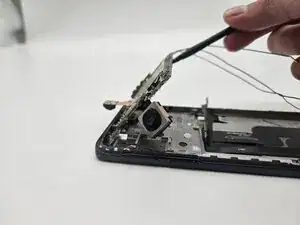
Using the flat end of the black spudger, lift under the silver connector ribbon to remove the final camera.
-


To reassemble your device, follow the above steps in reverse order.
Take your e-waste to an R2 or e-Stewards certified recycler.
Repair didn’t go as planned? Try some basic troubleshooting or ask our Answers community for help.