Introdução

The daughterboard is the component that encloses the lower microphone, and SIM card reader.

A damaged daughter board could result in not being able to hear during calls or the SIM card not being read even when inserted.

  1. iUv1vfKMFlND1D5H
    • Press and hold the power button for 7 seconds.

    • You will know the phone is fully powered off when the Motorola logo appears on the screen.

  2. 6heNFC5IOMgUNEUS
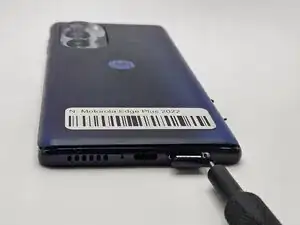
    • Insert a paperclip or SIM card ejector into the small hole located at the bottom of phone.

    • Gently push to release and remove the SIM card.

  3. WSnaDSuY3OxyZfi4
    WSnaDSuY3OxyZfi4
    mH36l24gCyOXwhcD
    WUiBEGMefLqdxGGO
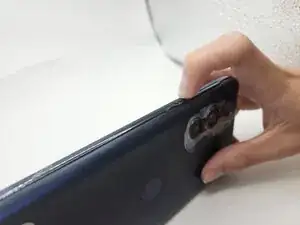
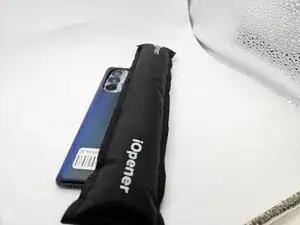
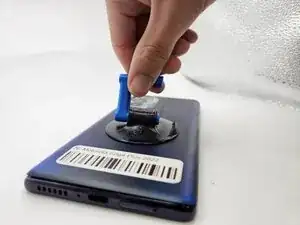
    • Use an iOpener, heat gun, or hairdryer to gently heat the perimeter of the phone.

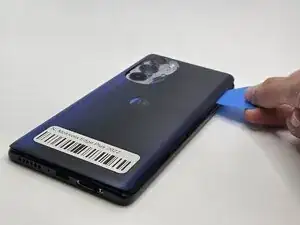
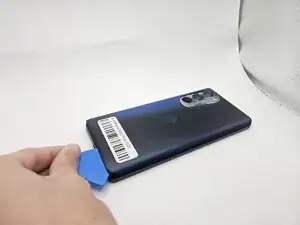
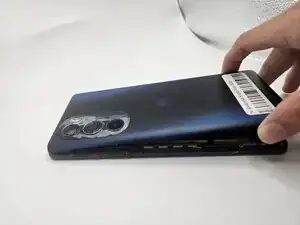
    • Insert and slide the iFixit opening pick around heated edges to sever the adhesive securing the rear cover.

  4. fKvrCbmspWRvwkWP
    fKvrCbmspWRvwkWP
    sHTUcUcAqMAtVH6G
    eTbBjTZoAgxblkXf
    • Gently remove the back cover using the suction handle or your bare hands.

  5. EA2sGlD2PFYKgYCs
    EA2sGlD2PFYKgYCs
    rmlG5fgAcZHCITVE
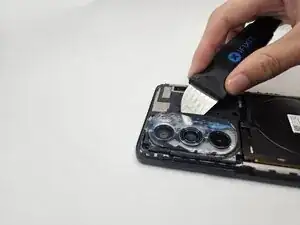
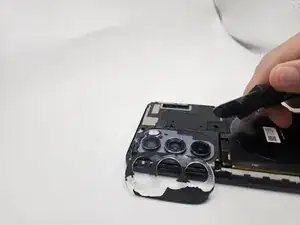
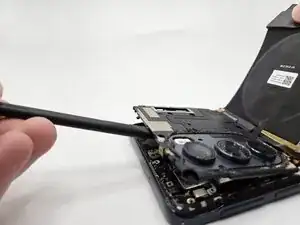
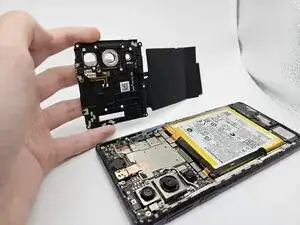
    • While applying light pressure, remove the camera bezel cover by sliding the jimmy along the edges.

  6. OQEpD5TkYCnMGWoI
    OQEpD5TkYCnMGWoI
    FDcohT6g1QCjUK2b
    • Use a Phillips #00 screwdriver to remove the twelve 1.5 mm black screws.

    • In case a screw gets lost, the exact specifications for all screws in this guide are OEM MOTOROLA EDGE+ PLUS 5G UW.

  7. FQebn5VAieftTNJP
    FQebn5VAieftTNJP
    gBKd6LAyPrQvLWwJ
    54oTN2FumAiUtCNh
    • Remove the logic board by lifting gently with the flat end of the spudger.

  8. 1YErxBe33xW3LUbG
    1YErxBe33xW3LUbG
    lUdphZKxtcJOIQ6Q
    oDEm5jOXrnLQuWBL
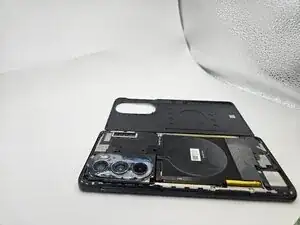
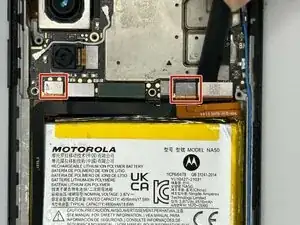
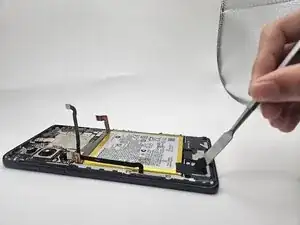
    • Use the flat end of a spudger to to pry up and disconnect the two press connectors on either side of the battery.

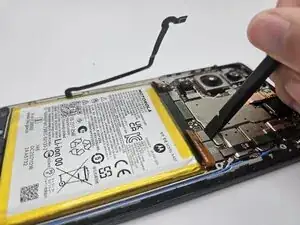
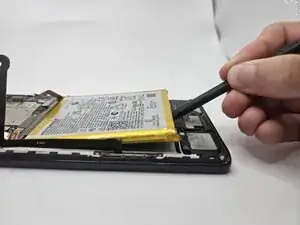
    • Located in the bottom left corner of the battery, remove the tape (black in the image) with a spudger.

  9. yEJ2GtaBTbxsVLuW
    yEJ2GtaBTbxsVLuW
    bWBouwNoTXKETPqp
    J3DQOhSBHPM2xWoO
    • Gently lift the battery up using the black spudger and remove.

    • Applying too much force when removing the battery may damage it. Take care not to bend, warp, or puncture the battery.

    • Apply a few drops of isopropyl alcohol if the battery is tightly adhered.

    I find that 3-in-1 oil works great with a pry tool for these adhesives

    Nicholas Forystek -

  10. E4QKQLFA5nmX1nLl
    E4QKQLFA5nmX1nLl
    QDdFC41VeMqasbTm
    WZI5jbeXaJKwxcVl
    • Use a Phillips #00 screwdriver to remove the seven 5 mm screws securing the motherboard.

  11. uOFQcs2XYkp5MvBC
    uOFQcs2XYkp5MvBC
    cnphxtiUoIDDYbV5
    • Gently lift and remove the daughterboard cover.

  12. IPO1hISulFXZEPZb
    IPO1hISulFXZEPZb
    itA12htMWHoaN3Dp
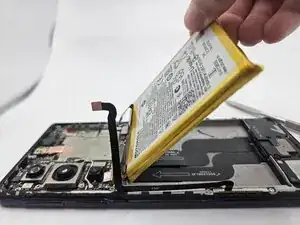
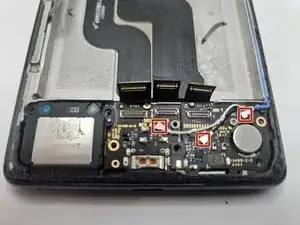
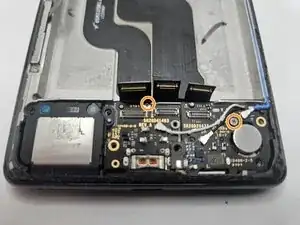
    • Insert the flat end of the spudger under each of the three press connectors and gently pry them up to disconnect them.

  13. SKmQZ6NxdEAQnJRG
    SKmQZ6NxdEAQnJRG
    VPgj1TMAhNGKQ3QJ
    V4wrV1LElNEt56iF
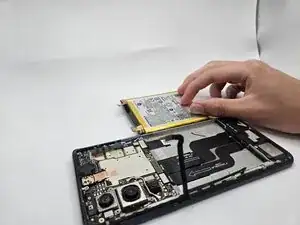
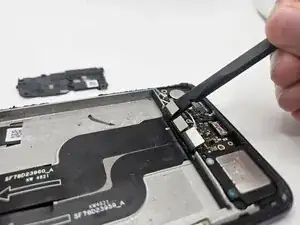
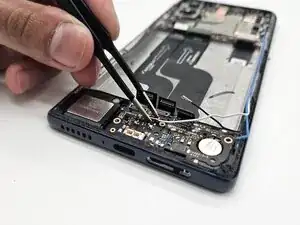
    • Disconnect the three coaxial connectors (black, white, and blue) with tweezers by pulling them straight up.

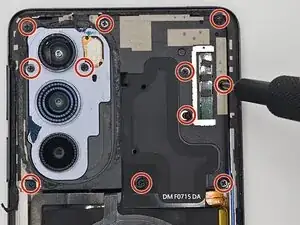
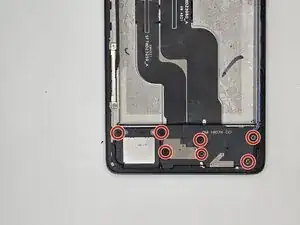
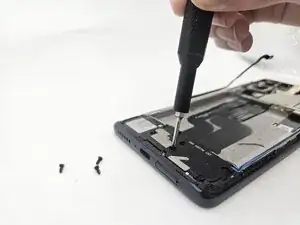
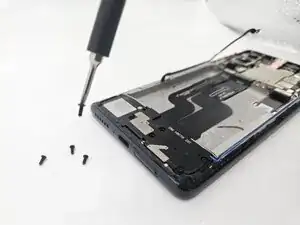
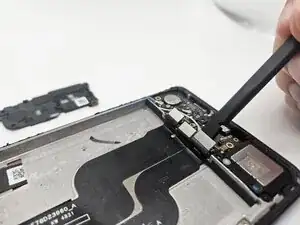
    • Use a Phillips #00 screwdriver to remove the two 1.5 mm silver screws securing the daughterboard and charging port.

  14. fJ6tUN4s32GL1mBu
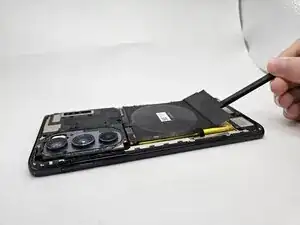
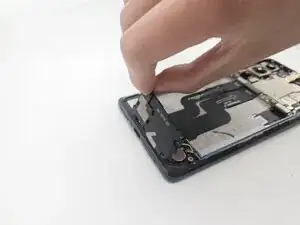
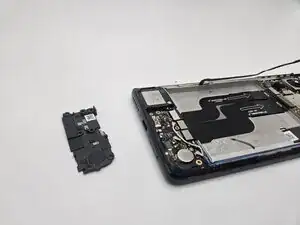
    • Insert the flat end of the spudger under the daughterboard piece and lift it gently to remove it.

Conclusão

To reassemble your device, follow the above steps in reverse order.
Take your e-waste to an R2 or e-Stewards certified recycler.
Repair didn’t go as planned? Try some basic troubleshooting or ask our Answers community for help.

Kayla E Bryan

Membro desde: 12/09/25

121 Reputação

0 comentários