Introdução

A damaged battery will have rapid battery drain, slow performance, and unexpected shut downs. Physical signs of a damaged battery include the back of the phone looking swollen and feeling overheated.

  1. iUv1vfKMFlND1D5H
    • Press and hold the power button for 7 seconds.

    • You will know the phone is fully powered off when the Motorola logo appears on the screen.

  2. 6heNFC5IOMgUNEUS
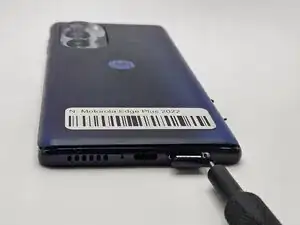
    • Insert a paperclip or SIM card ejector into the small hole located at the bottom of phone.

    • Gently push to release and remove the SIM card.

  3. WSnaDSuY3OxyZfi4
    WSnaDSuY3OxyZfi4
    mH36l24gCyOXwhcD
    WUiBEGMefLqdxGGO
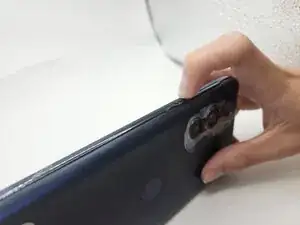
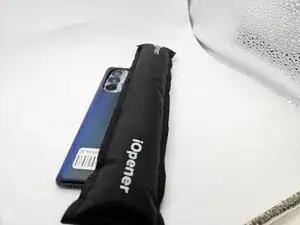
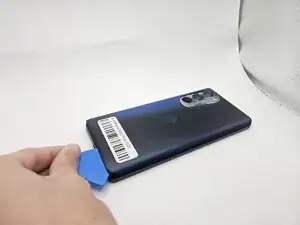
    • Use an iOpener, heat gun, or hairdryer to gently heat the perimeter of the phone.

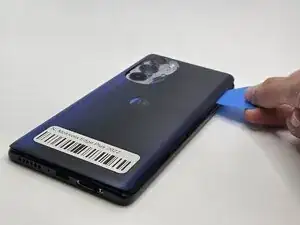
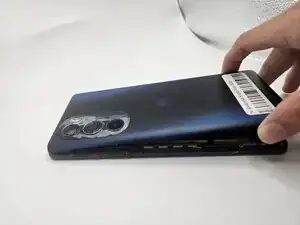
    • Insert and slide the iFixit opening pick around heated edges to sever the adhesive securing the rear cover.

  4. fKvrCbmspWRvwkWP
    fKvrCbmspWRvwkWP
    sHTUcUcAqMAtVH6G
    eTbBjTZoAgxblkXf
    • Gently remove the back cover using the suction handle or your bare hands.

  5. EA2sGlD2PFYKgYCs
    EA2sGlD2PFYKgYCs
    rmlG5fgAcZHCITVE
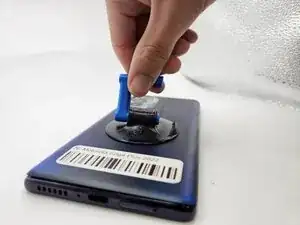
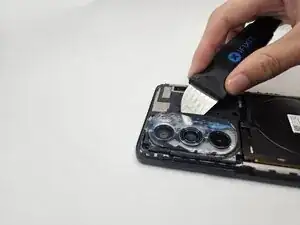
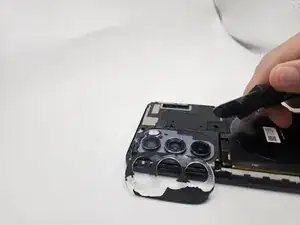
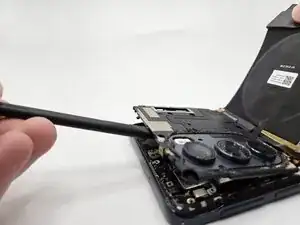
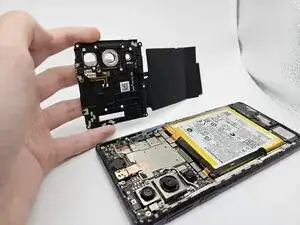
    • While applying light pressure, remove the camera bezel cover by sliding the jimmy along the edges.

  6. OQEpD5TkYCnMGWoI
    OQEpD5TkYCnMGWoI
    FDcohT6g1QCjUK2b
    • Use a Phillips #00 screwdriver to remove the twelve 1.5 mm black screws.

    • In case a screw gets lost, the exact specifications for all screws in this guide are OEM MOTOROLA EDGE+ PLUS 5G UW.

  7. FQebn5VAieftTNJP
    FQebn5VAieftTNJP
    gBKd6LAyPrQvLWwJ
    54oTN2FumAiUtCNh
    • Remove the logic board by lifting gently with the flat end of the spudger.

  8. 1YErxBe33xW3LUbG
    1YErxBe33xW3LUbG
    lUdphZKxtcJOIQ6Q
    oDEm5jOXrnLQuWBL
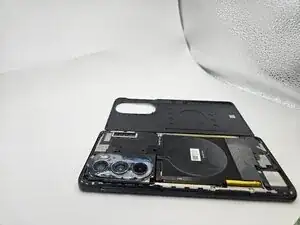
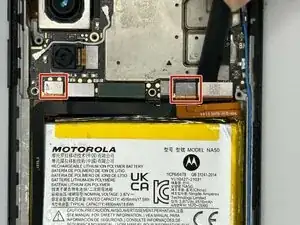
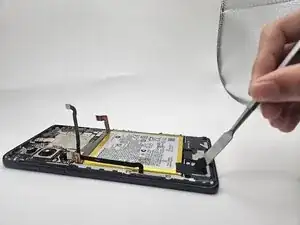
    • Use the flat end of a spudger to to pry up and disconnect the two press connectors on either side of the battery.

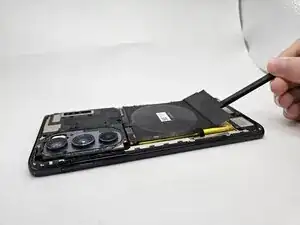
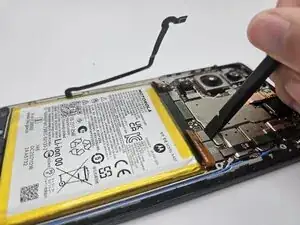
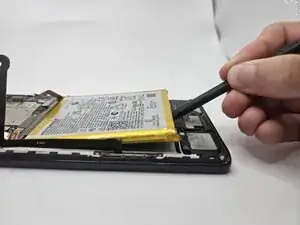
    • Located in the bottom left corner of the battery, remove the tape (black in the image) with a spudger.

  9. yEJ2GtaBTbxsVLuW
    yEJ2GtaBTbxsVLuW
    bWBouwNoTXKETPqp
    J3DQOhSBHPM2xWoO
    • Gently lift the battery up using the black spudger and remove.

    • Applying too much force when removing the battery may damage it. Take care not to bend, warp, or puncture the battery.

    • Apply a few drops of isopropyl alcohol if the battery is tightly adhered.

    I find that 3-in-1 oil works great with a pry tool for these adhesives

    Nicholas Forystek -

Conclusão

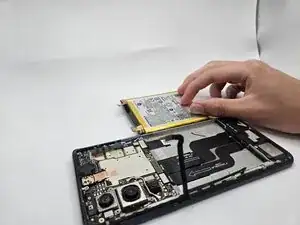
To reassemble your device, follow the above steps in reverse order.
For optimal performance, after completing this guide, calibrate your newly installed battery.
Take your e-waste to an R2 or e-Stewards certified recycler.
Repair didn’t go as planned? Try some basic troubleshooting or ask our Answers community for help.

Talat Bozbiyik

Membro desde: 10/09/25

169 Reputação

0 comentários