Introdução
Like most smartphones, the battery can deteriorate after some years of use. If you're experiencing battery drainage, the power is draining much faster than expected, or the phone simply won't hold a charge, a faulty battery might be the cause.
To be sure, time how long your battery lasts after a full charge, then compare how long that battery lasted versus its advertised battery life. If it doesn't match up, then you have a bad battery.
Ensure that the device is fully powered down and not connected to any external power source.
-
-
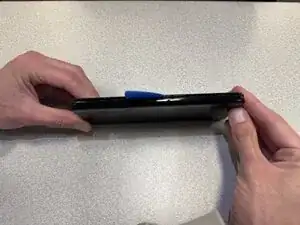
Use an iOpener or hair dryer to heat the perimeter of the back cover to loosen the adhesive beneath.
-
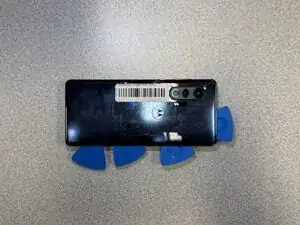
Insert the tip of an opening pick 2-3 mm into the seam between the back cover and chassis.
-
Slide the pick around the entire perimeter of the case to sever the adhesive, inserting additional opening picks periodically to prevent the back cover from resealing.
-
Remove the back cover.
-
-
-
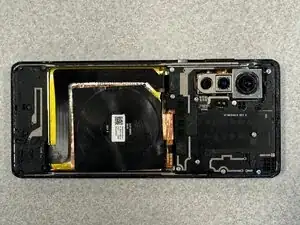
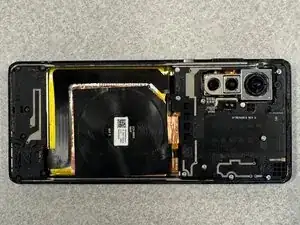
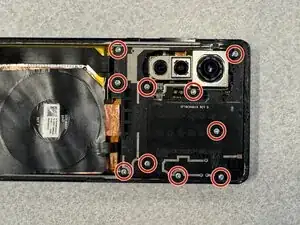
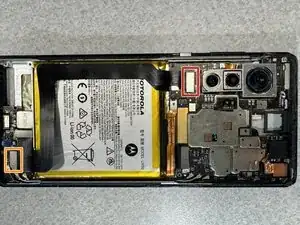
Remove the daughterboard and motherboard covers.
-
Disconnect and remove the wireless charging coil.
-
-
-
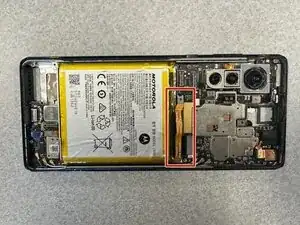
Insert the flat edge of a spudger under the interconnect cable's motherboard press connector and lift it straight up to disconnect it.
-
Repeat for the interconnect cable's daughterboard connector.
-
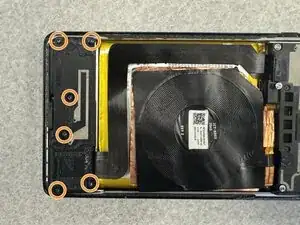
Remove the internet cable.
-
-
-
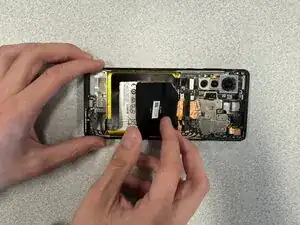
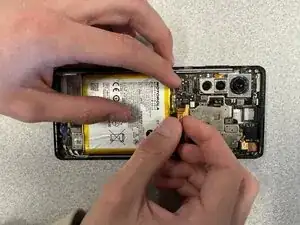
Apply a few drops of high-concentration isopropyl alcohol beneath the battery.
-
Tilt the phone to allow the alcohol to reach all of the adhesive.
-
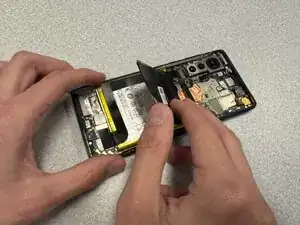
Insert a spudger beneath the battery and gently pry the battery up and out of the chassis.
-
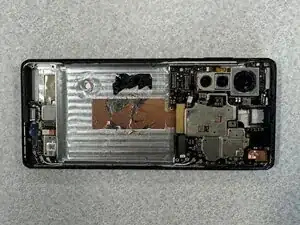
Remove the battery.
-


To reassemble your device, follow the above steps in reverse order.
For optimal performance, after completing this guide, calibrate your newly installed battery.
Take your e-waste to an R2 or e-Stewards certified recycler.
Repair didn’t go as planned? Try some basic troubleshooting or ask our Answers community for help.