Introdução
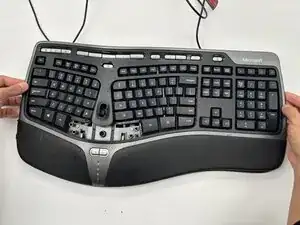
This guide will show you how to remove and replace the membrane on your Microsoft Natural Ergonomic Keyboard 4000 v1.0. This process will allow you to replace the membrane and help restore proper key responsiveness and extend the lifespan of your keyboard. Over time, the membrane may wear out or become damaged, causing certain keys to stop working. This guide will help you peel off the membrane with no damage to the keyboard; make sure you carefully follow all the steps to ensure you do not damage any parts of the keyboard.
Ferramentas
-
-
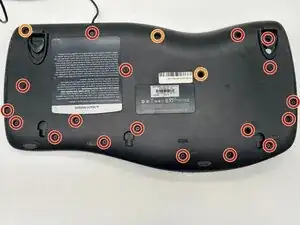
Remove the following screws from the bottom of the keyboard:
-
Eighteen 8.8 mm-long Phillips screws.
-
Three 11 mm-long Phillips screws.
-
-
-
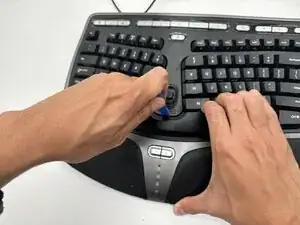
Hold one side of the spacebar up, then place a plastic opening tool in the top-middle of the spacebar.
-
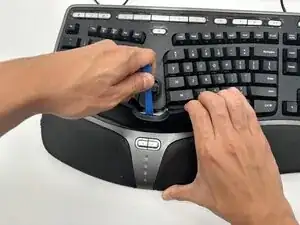
Gently apply upwards pressure with the opening tool until the spacebar comes off.
-
-
-
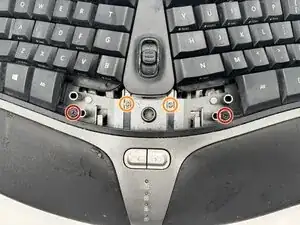
Remove the following screws from inside the keyboard.
-
Two 7 mm-long Phillips screws.
-
Two 11.8 mm-long Phillips screws.
-
To reassemble your device, follow these instructions in reverse order.