Introdução
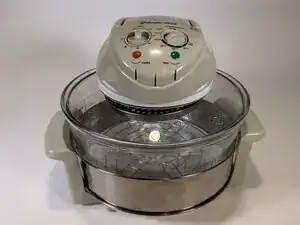
This guide aims to help people disassemble their Magic Chef Glass Bowl Convection Oven (Model EWGC12W3) in order to view the heating and electrical components.
Make sure that the device is unplugged before you start, to prevent the risk of electric shock! Be careful not to drop the glass lid and bowl so that they don't break.
Ferramentas
-
-
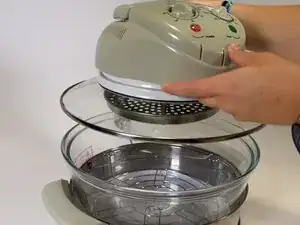
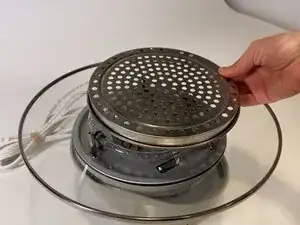
Lift the lid of the bowl and stand, and place the bowl/stand off to the side.
-
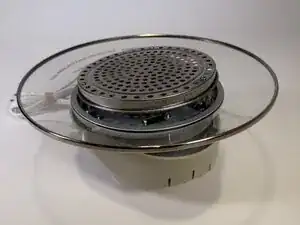
Flip the lid before placing it down, so that metal grate faces up.
-
-
-
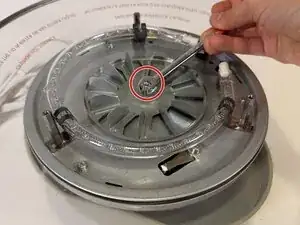
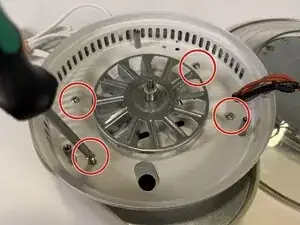
Using the 8mm wrench, unscrew the nut.
-
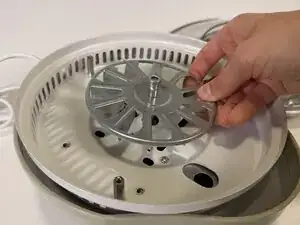
Lift up the metal fan, as well as the washer that is above it.
-
-
-
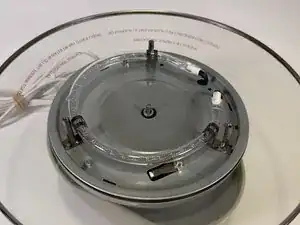
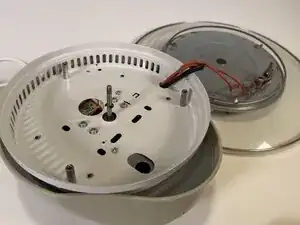
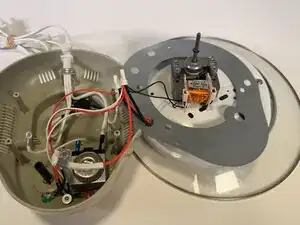
Carefully lift the glass lid up to separate it from the plastic/lower half.
-
Place the lid face-down in order to access the rest of the components.
-
-
-
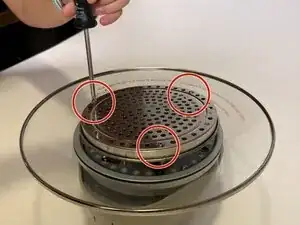
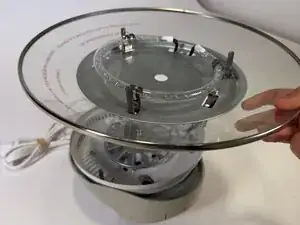
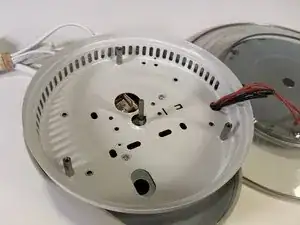
Grab the edge of the white component, and gently lift it up.
-
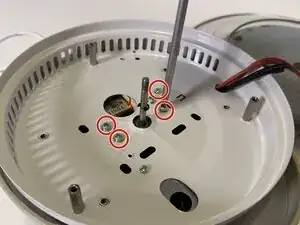
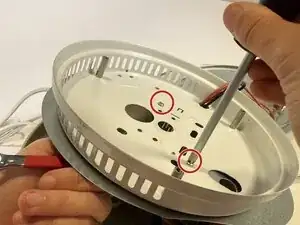
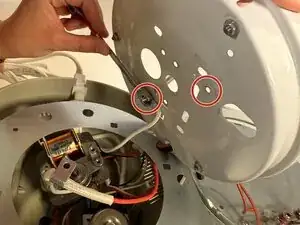
With the underside exposed, remove the two 10mm screws using a Phillips #1 screwdriver.
-
-
-
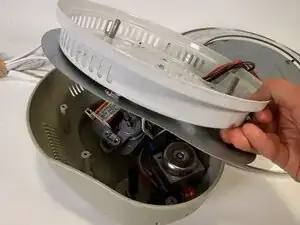
Similarly to the glass lid, this white metal layer can be flipped and put to the side.
-
Now that the convection oven has been taken apart, you can see how it functions:
-
The handle on the lid is connected to a switch. The lid must be closed in order for the switch to connect the circuit and allow the oven to turn on.
-
The timer is then connected to the LEDs, motor, and heating element. When you turn on the timer, the oven will cook at the desired temperature for that amount of time and then shut off. The motor spins two metal fans that help circulate the hot air in order to heat the food.
-
The switch is also connected to the temperature control so if the oven is allowed to be turned on (handle down) then it will heat it up to a desired temperature once the timer is turned.
-
The green LED indicates that the heating element is on. The red LED indicates that the convection oven is receiving power.
-


To reassemble your device, follow these instructions in reverse order.