
Introdução
If your MSI Crosshair 15 A11UEK laptop is running slowly or showing "low disk space" warnings, this guide will show you how to install a new M.2 NVMe Solid State Drive (SSD) to add more storage and improve performance.
The SSD is your laptop's primary storage device, holding your operating system, programs, and files. Upgrading to a larger or faster SSD can resolve slowdowns and prevent storage errors.
Before you start:
- This guide covers only the physical installation of the SSD. After installing the drive, you will need to format it using your computer's operating system before it can be used for storage.
- To protect sensitive electronics from static electricity, touch the unpainted metal of the laptop's case before touching any parts inside.
- For safety, power off and disconnect any peripherals and the charging from the laptop.
- Disconnect the internal battery before handling any components inside the laptop.
Peças
-
-
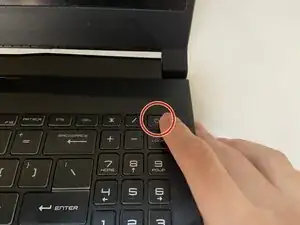
Before opening the laptop, power it off and disconnect it from any power source to prevent electrical shock or damage.
-
-
-
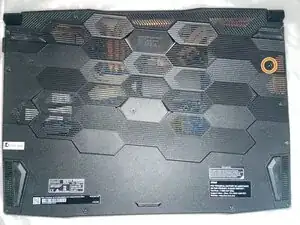
Turn the laptop upside down and place it on a clean, stable surface.
-
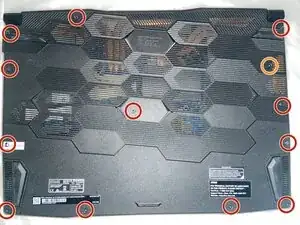
Use a Phillips #0 screwdriver to remove the thirteen screws securing the bottom panel.
-
Twelve 10 mm-long screws
-
The single 5 mm-long screw
-
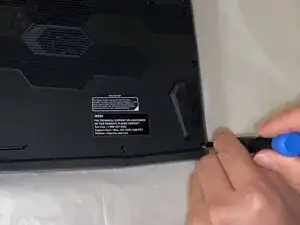
Use an opening tool to pry the bottom panel from the laptop.
-
-
-
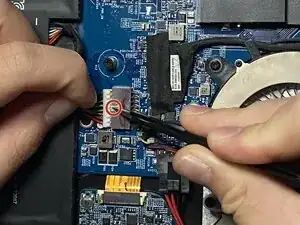
Use tweezers to push down on the indentation above the connector and use the point of a spudger to push on alternating sides of the connector to "walk" it out of its socket.
-
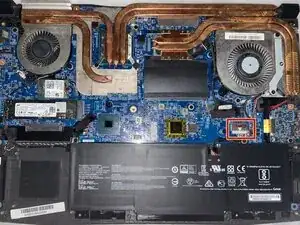
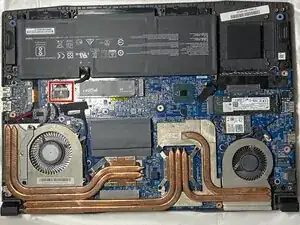
Use tweezers or your fingers to remove the battery connector.
-
-
-
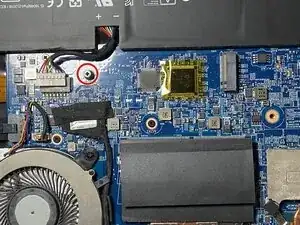
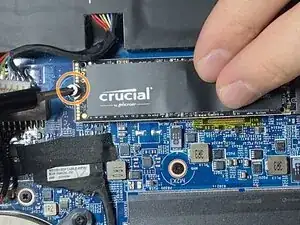
Use a Phillips #000 screwdriver to remove the single screw securing the old SSD (or from the end of the empty M.2 slot).
-
-
-
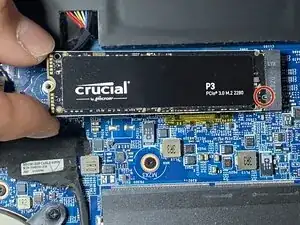
Hold the new SSD at a 30-degree angle and carefully insert it into the M.2 slot.
-
Align the SSD with the socket, ensuring the notch in the connector pins matches the key in the slot.
-
Replace the PH000 screw to secure the SSD.
-
-
-
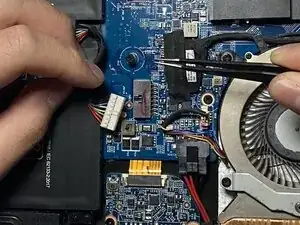
Align the connector and use a spudger or clean fingernail to push it fully into the socket to reconnect the battery.
-
Replace the bottom panel, and insert all thirteen PH0 screws.
-
Pay special attention to screw placement on the bottom case. The single 5 mm screw must be returned to its original location.
-

To reassemble your device, follow these instructions in reverse order. Take your e-waste to an R2 or e-Stewards certified recycler.