
Introdução
If your mouse wheel became unresponsive/unreliable after some months of use, it is probably due to some fuzz accumulating within the mouse wheel. This guide shows you how to disassemble and reach the wheel to clean it.
-
-
Before you begin, flip the mouse's power switch down into the OFF position.
-
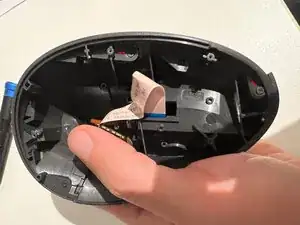
Unplug all cables from the mouse.
-
-
-
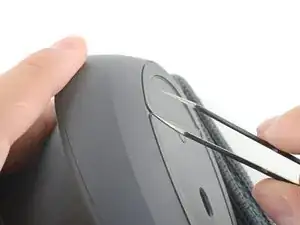
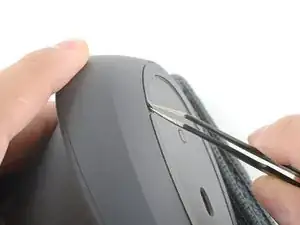
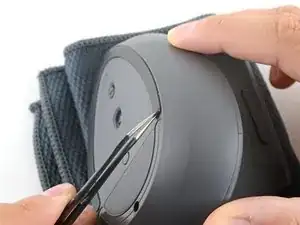
Insert one arm of a pair of angled tweezers underneath the end of one foot.
-
Grip the foot and begin to peel it away from the bottom of the mouse.
-
-
-
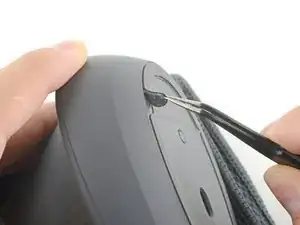
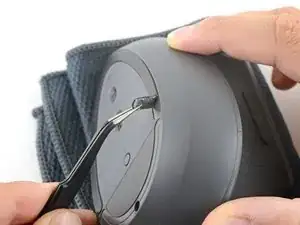
Repeat the process to remove the other foot.
-
Use a spudger to carefully scrape up and remove any remaining adhesive bits.
-
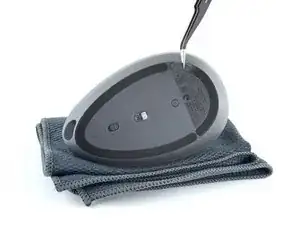
Use isopropyl alcohol and a microfiber cloth to thoroughly clean all adhesive residue from the foot recesses. Allow the surface to completely dry.
-
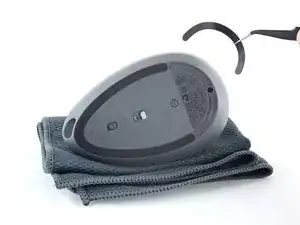
Remove the feet from their backing and firmly press them into place.
-
-
-
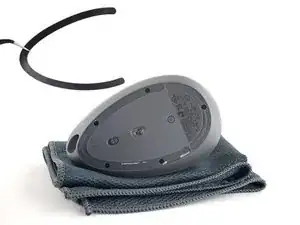
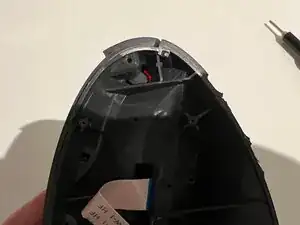
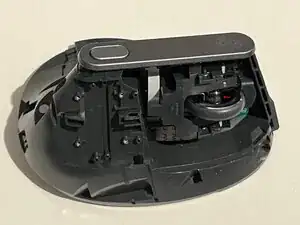
Separate the upper part of the mouse.
-
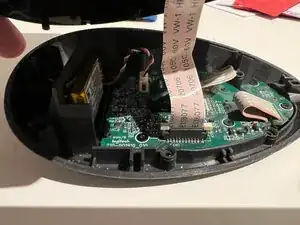
Remove the cable lock (colored white) by pulling it up on both sides.
-
Remove the ribbon cable.
-
-
-
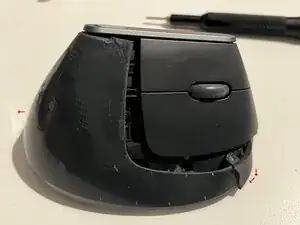
The upper part of the mouse consist of two layers. To reach the mouse wheel we have to remove the outer cover.
-
Remove all 6 screws which are shown in the pictures.
-
The outer cover is also secured with a latch on the front side of the mouse, push it up gently to unlatch the cover.
-
-
-
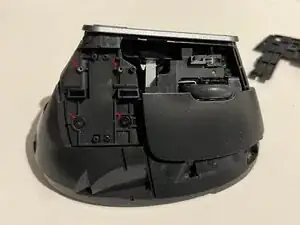
Remove outer cover by pulling it away from the mouse to reveal the button cap screws.
-
Button caps are attached with two screws each.
-
Remove the upper cap first, then the lower cap.
-
-
-
The arrow in the image shows where the fuzz accumulates to remove it using an air blower and tweezers.
-
Fuzz also accumulates on the inner side of the wheel, roll the wheel and clean until there is no fuzz left.
-


To reassemble your device, follow the above steps in reverse order.
Take your e-waste to an R2 or e-Stewards certified recycler.
Repair didn’t go as planned? Check out our Answers community for troubleshooting help.