Introdução

Follow this guide to replace worn‑out or damaged rubber feet on your Logitech K540 wireless keyboard.

  1. 3G3FwnJDaFEVhPOB
    3G3FwnJDaFEVhPOB
    A5PkNXuGVy5ixMNW
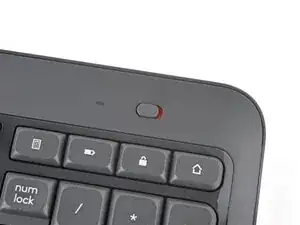
    • Slide the power switch on the top right corner to the OFF position.

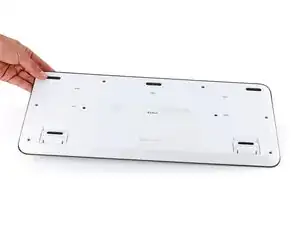
    • Flip your keyboard over and lay it down so the edge with the two tilt legs is closest to you.

    • If your work surface might scratch the keyboard, place a soft towel under it.

  2. jK1Pifa4XBjSjWIQ
    jK1Pifa4XBjSjWIQ
    Elr4iY6VvC3gMBua
    QyHxVBcKDh5kGEkj
    • Light adhesive secures the three rubber feet along the edge of the keyboard. If you're having trouble removing them, use an iOpener or hair dryer to lightly heat them.

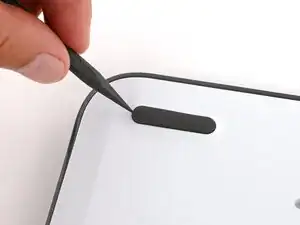
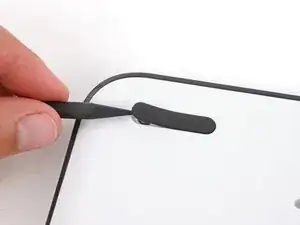
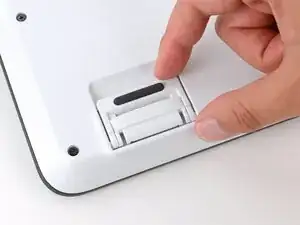
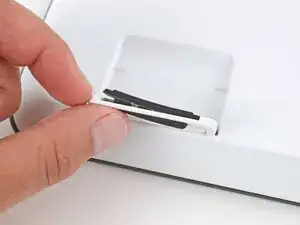
    • Insert the point of a spudger under an end of the foot.

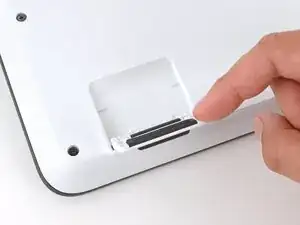
    • Push the spudger underneath the foot and lift until you can grip it with your fingers.

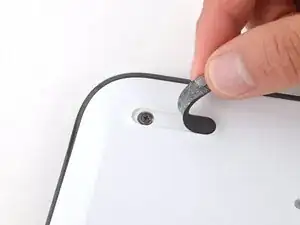
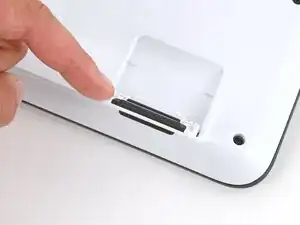
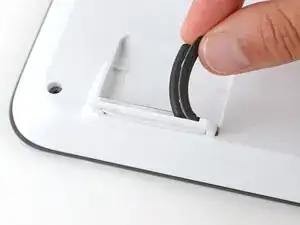
    • Peel the foot up and remove it.

  3. ThYabjxmJq5qO51L
    ThYabjxmJq5qO51L
    5ypIiwxyGXUTAZJI
    • Repeat the previous step to remove the two remaining feet.

  4. jPd2wyPf5DNgyZyp
    jPd2wyPf5DNgyZyp
    WEaxlPpp4LJyFcDy
    RwDxFbWEeLkYZmqO
    • Use your fingers to flip up both tilt legs.

  5. e5fYPsJxGqAOdMWf
    e5fYPsJxGqAOdMWf
    GSylKjMyb6TlnDXQ
    dqiGhk1BZZmnRmlp
    • Light adhesive secures the rubber feet on the tilt legs. If you're having trouble removing them, use an iOpener or hair dryer to lightly heat them.

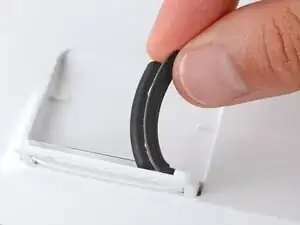
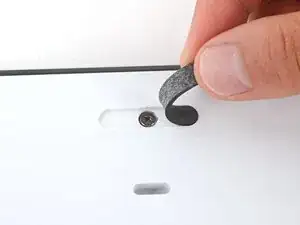
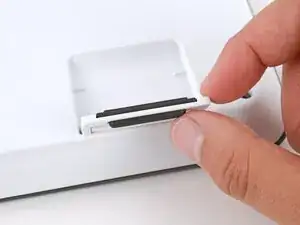
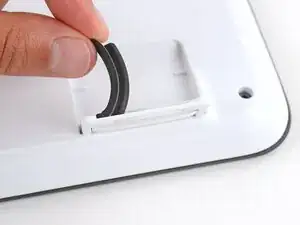
    • Use your finger to push the bottom of the foot up, separating its adhesive.

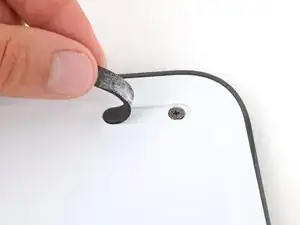
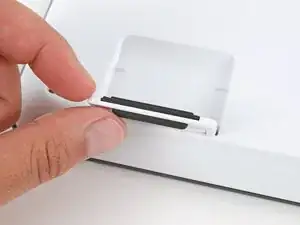
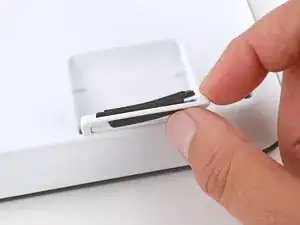
    • Peel up and remove the foot.

  6. KZOHreBJqgAaLey6
    KZOHreBJqgAaLey6
    QTd5IoFtCSwiiqI6
    hi3cApSSA3LxZqwg
    • Repeat the previous step to remove the other tilt leg foot.

Conclusão

To reassemble your device, follow these instructions in reverse order.

Repair didn’t go as planned? Try some basic troubleshooting, or ask our Answers community for help.

Spencer Day

Membro desde: 14/09/22

165254 Reputação

0 comentários