Introdução
This guide is part of another procedure and is not meant to be used alone.
Prerequisite-only guide to remove the main mouse feet of the Logitech G903.
-
-
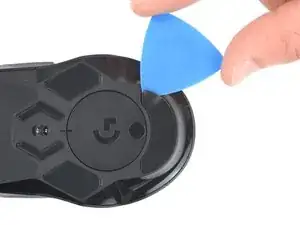
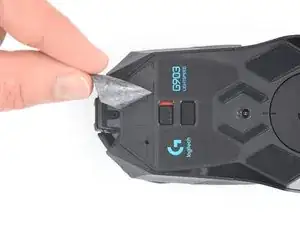
Slide the tip of an opening pick under an edge of the bottom mouse foot, making sure it goes under both the foot and its adhesive pad.
-
Gently slide the pick farther under the foot and lift until you can grip it with your fingers.
-
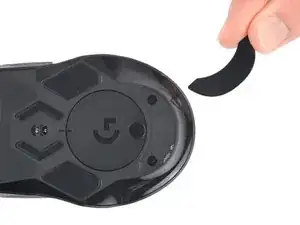
Use your fingers to peel up and remove the foot.
-
-
-
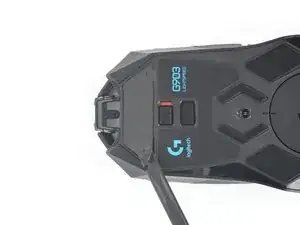
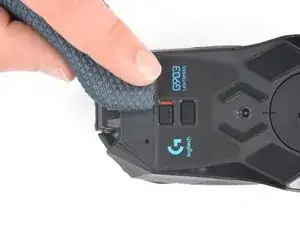
Slide the flat end of a spudger under an edge of the adhesive. If the adhesive seems stuck, you may need to heat it further.
-
Peel the adhesive off.
-
If any of the feet got damaged during removal or separated from their adhesive pads, replace them.
-
Use a spudger to carefully scrape up and remove any remaining adhesive bits.
-
Use isopropyl alcohol and a microfiber cloth to thoroughly clean all adhesive residue from the foot recesses. Allow the surface to completely dry (about 1–2 minutes).
-
Remove the feet from their backing and firmly press them into place.
-

To reassemble your device, follow these instructions in reverse order.