Introdução

Use this guide to remove and replace the feet (also called skates or pads) on the bottom of a Logitech G703 wireless gaming mouse.

It’s possible to cleanly remove the feet, but you may need replacements if one rips or any adhesive is left behind.

  1. oaIATUKtcSJMNWCX
    oaIATUKtcSJMNWCX
    DFqKNNs4iitnlSxo
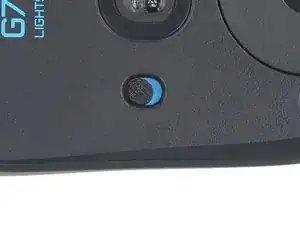
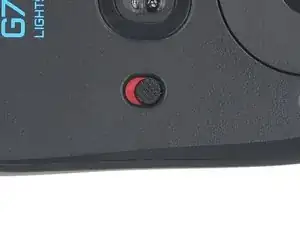
    • Slide the mouse's power switch down so it's in the OFF position.

    • A red indicator should be visible beneath the switch.

    • Unplug all cables from the mouse.

    • Throughout the repair, it may be helpful to lay the mouse on a soft cloth to stabilize it and prevent damage while you work.

  2. hkKvH4P3BUeSVrf1
    • The feet are secured to the bottom of the mouse with strong adhesive. In order to cleanly remove them, the adhesive needs to be thoroughly heated.

    • Heat an iOpener and lay it on the mouse feet for one minute to heat the adhesive.

    • Alternatively, you can use a hair dryer on the Low heat setting to soften the adhesive.

    • If you're using a hair dryer, only heat the feet a few seconds at a time or you may warp the plastic shell.

  3. 4QARSZ52xeqdjUBG
    4QARSZ52xeqdjUBG
    VV2uEYiHTQroGoog
    hcUWBtvVJOmW6qFT
    • The feet have two layers—a rubberized one and an adhesive pad underneath.

    • If you're reusing the feet, be very careful not to separate the two layers or damage the feet.

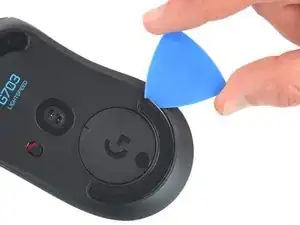
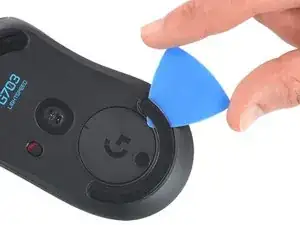
    • Slide the tip of an opening pick under an edge of the bottom mouse foot, making sure it goes under both the foot and its adhesive pad.

    • If the foot feels stuck, apply more heat and try again.

    • Gently slide the pick farther under the foot and lift until you can grip it with your fingers.

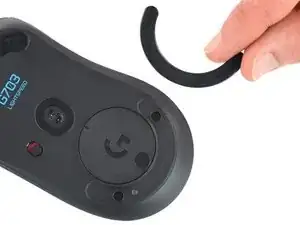
    • Use your fingers to peel up and remove the foot.

    • Repeat the procedure to remove the top mouse foot.

  4. SbvJIjZkHgFYsYRo
    SbvJIjZkHgFYsYRo
    jYyb3bNQ1WMKJIfe
    yGJ3rYKuTNkKgfLC
    • If the rubber layer separated from its adhesive pad:

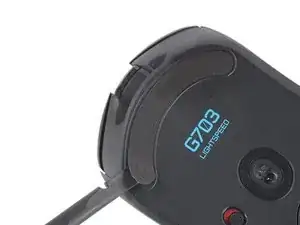
    • Slide the flat end of a spudger under an edge of the adhesive. If the adhesive seems stuck, you may need to heat it further.

    • Peel the adhesive off.

    • To install a new foot:

    • If any of the feet got damaged during removal or separated from their adhesive pads, replace them.

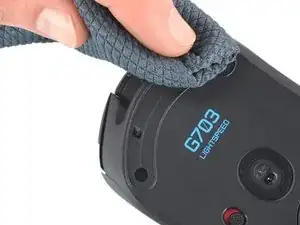
    • Use a spudger to carefully scrape up and remove any remaining adhesive bits.

    • Use isopropyl alcohol and a microfiber cloth to thoroughly clean all adhesive residue from the foot recesses. Allow the surface to completely dry.

    • Remove the feet from their backing and firmly press them into place.

Conclusão

To reassemble your device, follow the above steps in reverse order.

Take your e-waste to an R2 or e-Stewards certified recycler.

Repair didn’t go as planned? Check out our Answers community for troubleshooting help.

Dominik Schnabelrauch

Membro desde: 23/11/16

252795 Reputação

0 comentários