Introdução

  1. FEsrGxJbbReV1bxL
    FEsrGxJbbReV1bxL
    DuABIPckasyAdYcR
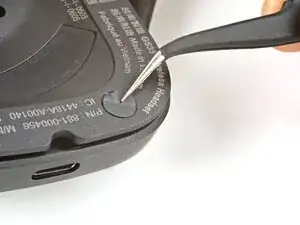
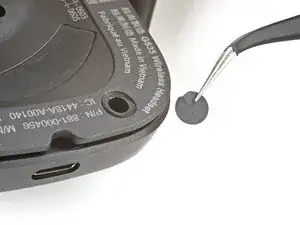
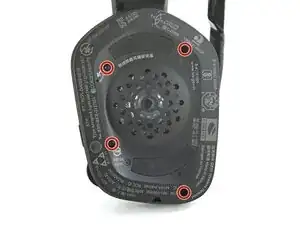
    • Use angled tweezers to peel up and remove the sticker covering the bottom-right speaker plate screw.

  2. lDkVNdDautk6qqmX
    • Use a T5 Torx driver to remove the four 6.1 mm‑long screws securing the speaker plate.

  3. 6btBg4cZ3aHwnKGZ
    6btBg4cZ3aHwnKGZ
    L3JvFPiFVTZnhCCx
    nHQxdhIiUZeJGB4P
    • Don't try to fully remove the speaker plate—it's still attached by a cable.

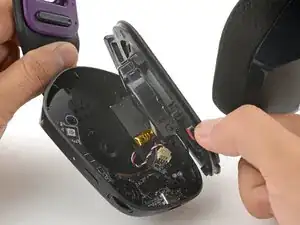
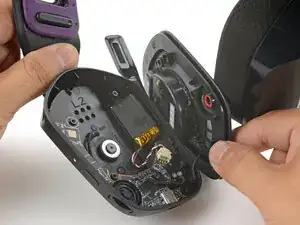
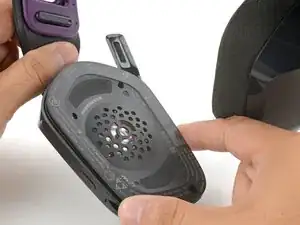
    • Use your fingers to swing the speaker plate to the side of the housing, making sure not to strain the cable.

  4. dGWuphojkgxeSC4A
    dGWuphojkgxeSC4A
    3Gk1eFaTJvg2XHr2
    NU4HBVPw4bMbPICm
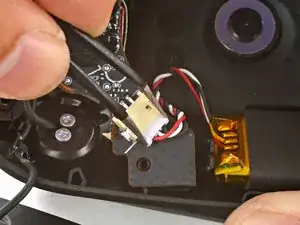
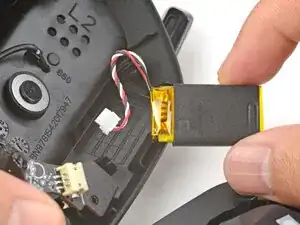
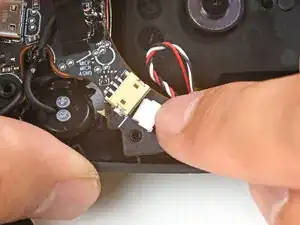
    • Use tweezers to firmly grip the edges of the battery connector.

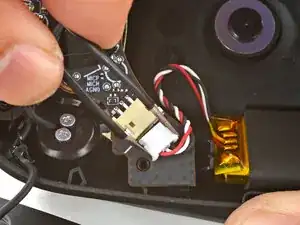
    • Gently rock the connector side-to-side and slide it out of its socket.

  5. bHxlYKwLKY5GHqKe
    bHxlYKwLKY5GHqKe
    uMSjUUJ5JwLs26HP
    1uNlwqFNSsidY6wZ
    • The battery is lightly adhered to the ear cup.

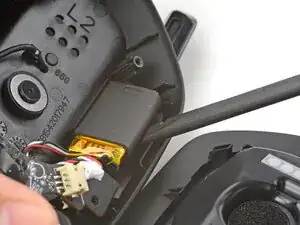
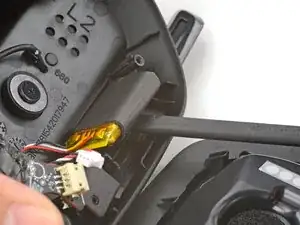
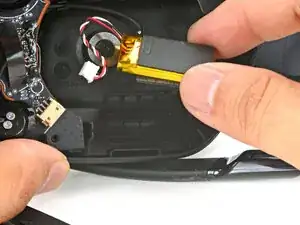
    • Insert the flat end of a spudger underneath the battery.

    • Pry gently to release the battery from the ear cup.
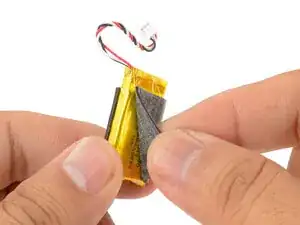
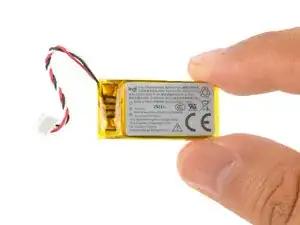
    • Remove the battery.

  6. LKdFjebGf1jesDJ4
    LKdFjebGf1jesDJ4
    kgAdMiIOEpswhQGA
    ILey5iLxobUhvChI
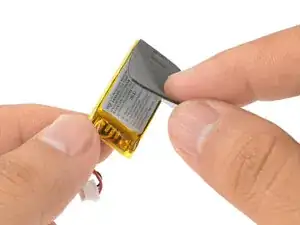
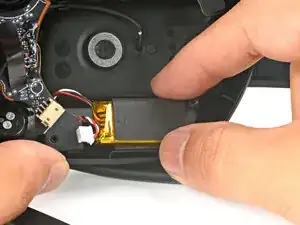
    • Use your fingers to peel the foam pad from the battery.

    • Transfer the pad onto the replacement battery.

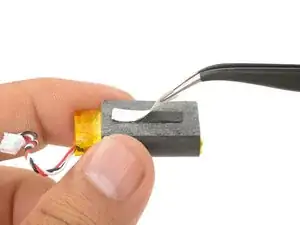
    • Apply a strip of double-sided tape to the foam pad.

  7. iPrd5f4NuFKnkYnn
    iPrd5f4NuFKnkYnn
    RyeJeVrtnoZ3wGMB
    • Use your finger to press the battery onto the ear cup such that the wires face towards the circuit board socket.

  8. bZkM6Bk6gxsBRTkE
    bZkM6Bk6gxsBRTkE
    le2YIJNqhtGCcYof
    • Use your fingers to slide the battery connector fully into its circuit board socket.

  9. 3SHKZTUrjtQgbgEi
    3SHKZTUrjtQgbgEi
    lhQpfTY5aCuUhUpW
    • Use your fingers to swing the speaker plate back into place.

  10. i3yIUcODplh2amFH
    • Use a T5 Torx driver to install the four 6.1 mm‑long screws to secure the speaker plate.

Arthur Shi

Membro desde: 03/01/18

326111 Reputação

0 comentários