Introdução
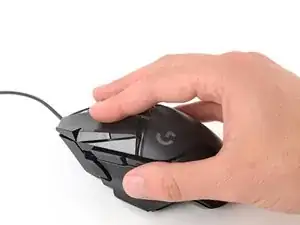
Use this guide to replace the mouse cable in your Logitech G502 Hero wired gaming mouse.
If you're experiencing intermittent or no connectivity, inconsistent movement, or a loose cable connection, it may be time to replace the cable in your mouse.
-
-
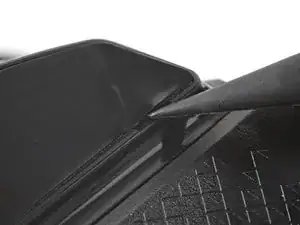
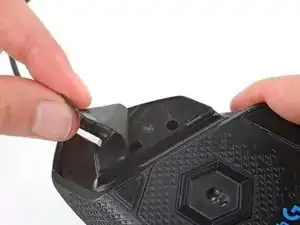
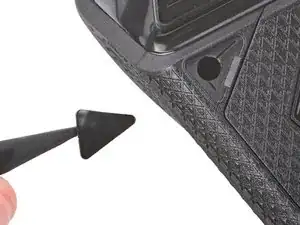
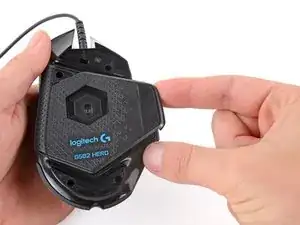
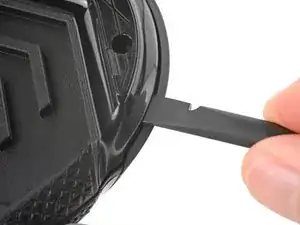
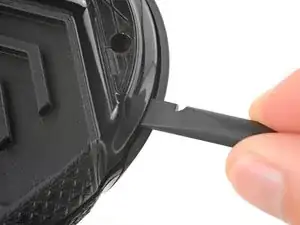
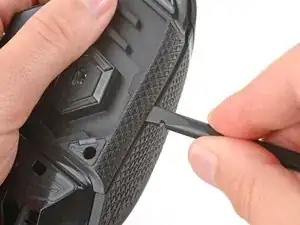
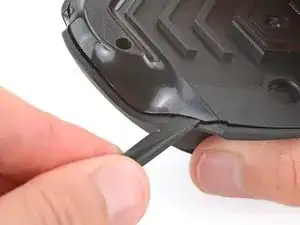
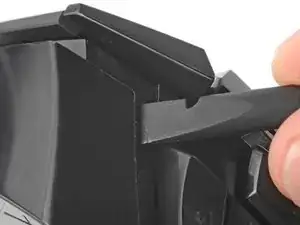
Carefully slide the point of a spudger under the large foot near the front of the mouse, making sure it goes under both the foot and its adhesive pad.
-
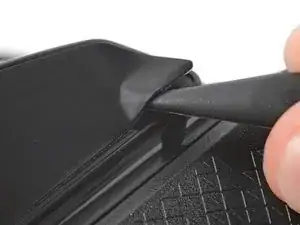
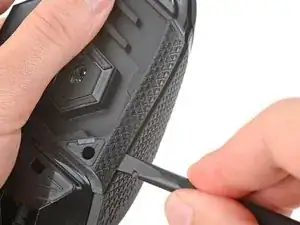
Gently slide the spudger farther under the foot and lift until you can grip the pad with your fingers.
-
-
-
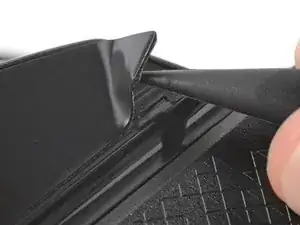
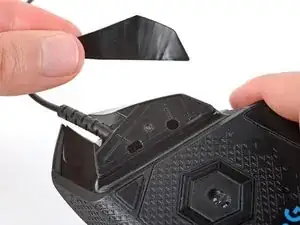
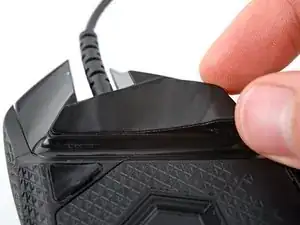
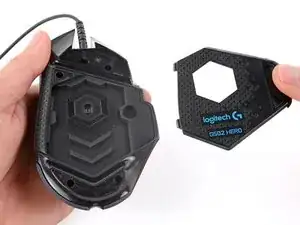
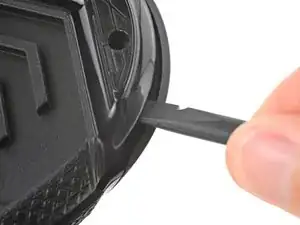
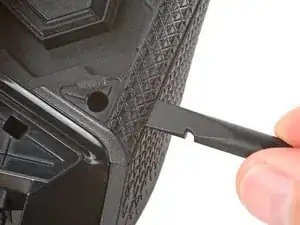
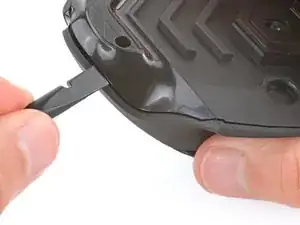
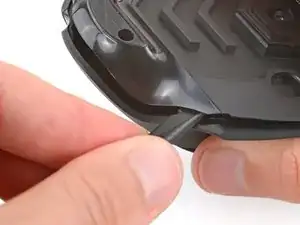
Peel up and remove the foot.
-
If the rubber layer separates from its adhesive pad, use the same process to remove the pad.
-
-
-
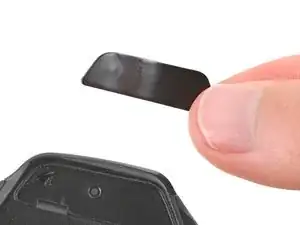
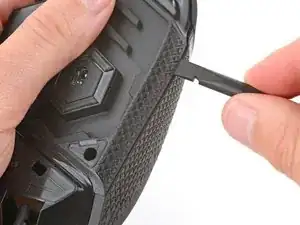
Use a spudger to carefully scrape up and remove any remaining adhesive bits.
-
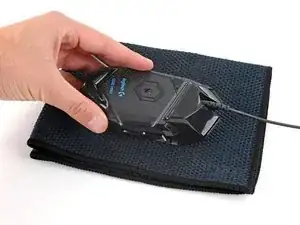
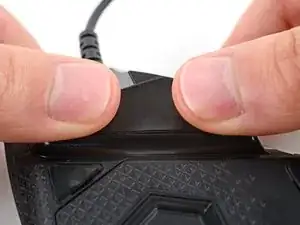
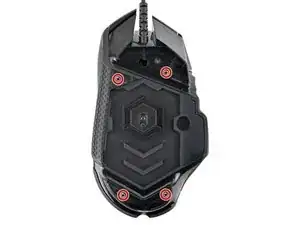
Use isopropyl alcohol and a microfiber cloth to thoroughly clean all adhesive residue from the foot recesses. Allow the surface to completely dry.
-
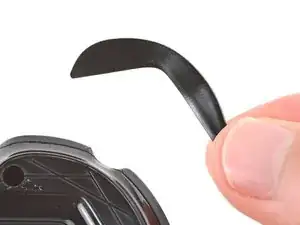
Remove the feet from their backing and firmly press them into place.
-
-
-
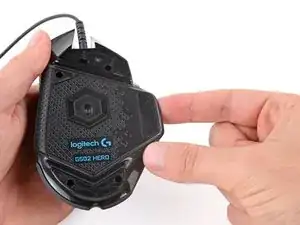
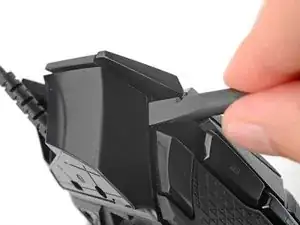
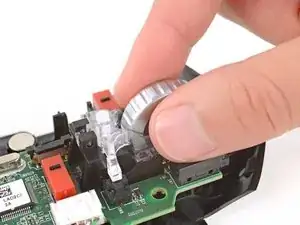
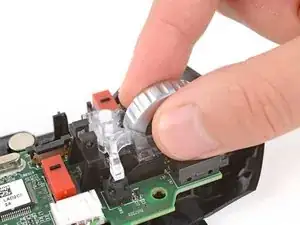
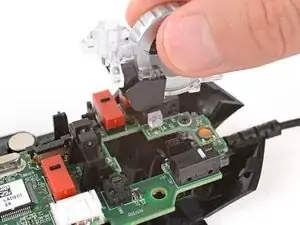
Lift the weight door by its tab and remove it.
-
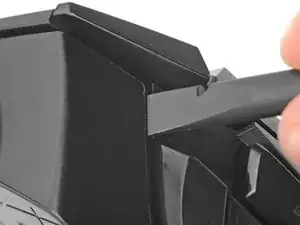
If you have weights in the compartment, remove them.
-
-
-
Insert the flat end of a spudger between the top and bottom shells, near the back of the mouse.
-
Twist the spudger to unclip the shells.
-
-
-
Insert the flat end of a spudger between the textured edge of the top and bottom shells, near the back of the mouse.
-
Slide the spudger towards the front of the mouse and intermittently twist, stopping near the screw hole.
-
Leave the spudger inserted for the next step.
-
-
-
Insert the flat end of a spudger between the top and bottom shells, near the back of the mouse.
-
Slide the spudger towards the thumb rest and push in to unclip the shells.
-
-
-
Insert the flat end of a spudger between the top and bottom shells, near the G8 and DPI shift (⊕) buttons at the front of the mouse.
-
Pry up with the spudger and push the shells apart to unclip them.
-
-
-
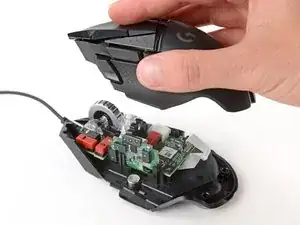
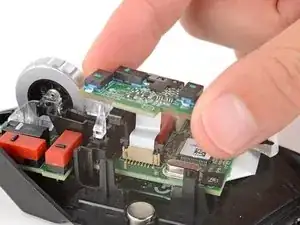
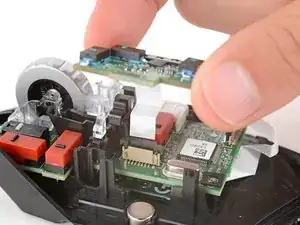
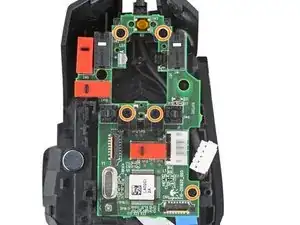
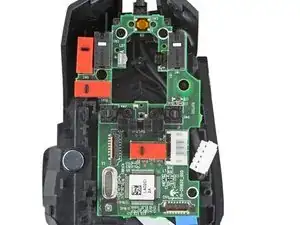
Lift the top shell straight up and remove it, making sure the main mouse cable stays attached to the bottom shell.
-
-
-
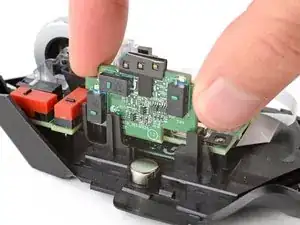
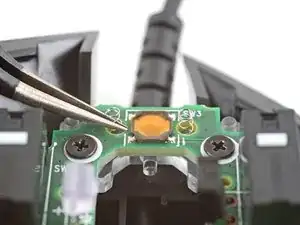
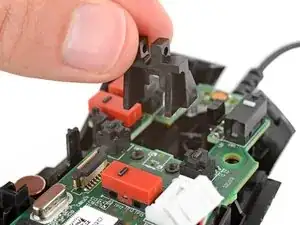
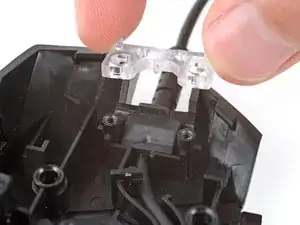
Hold the button board out of the way so you can access its connector on the motherboard.
-
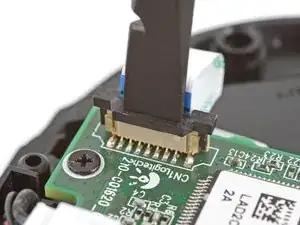
Use the point of a spudger to push up on alternating sides of the connector's plastic latch until it's in the unlocked position.
-
-
-
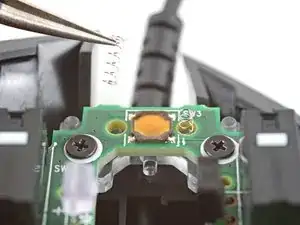
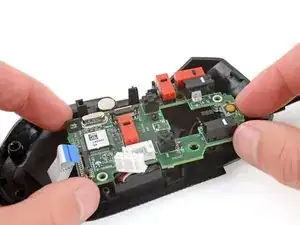
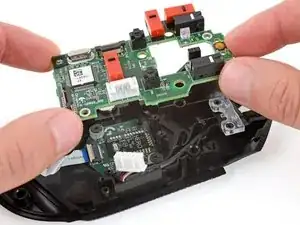
Gently pull the board straight up so the cable comes out of its socket.
-
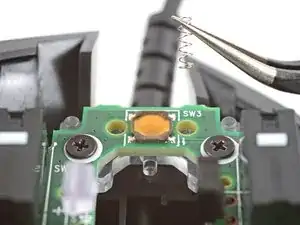
Insert the cable into its socket so the blue tab is on the same side as the connector's latch.
-
Use the flat end of a spudger to push the latch straight down into its locked position.
-
-
-
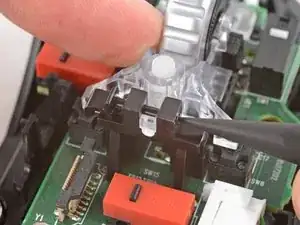
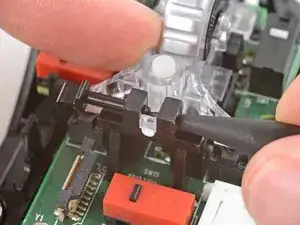
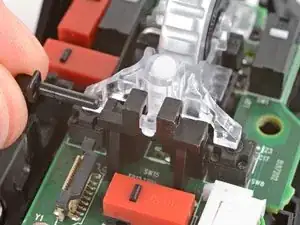
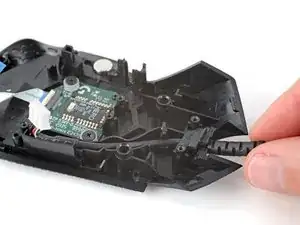
Use the point of a spudger to push out and remove the locking pin from the plastic scroll wheel support in the center of the motherboard.
-
-
-
Use a pair of tweezers to carefully remove the two small springs near the front of the mouse.
-
-
-
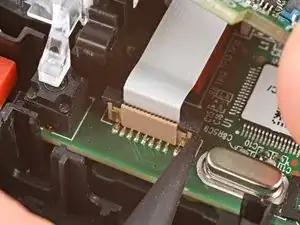
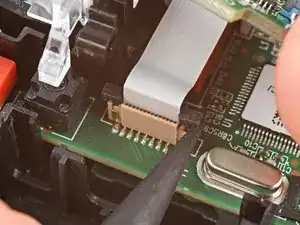
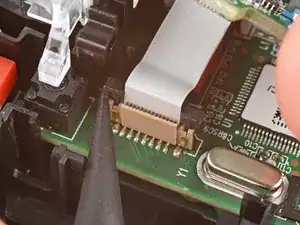
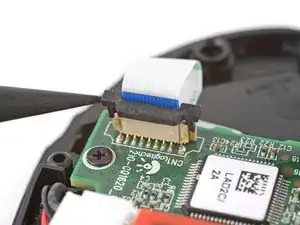
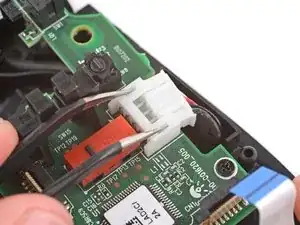
Use the point of a spudger to push up on alternating sides of the plastic latch on the connector near the bottom corner of the motherboard.
-
-
-
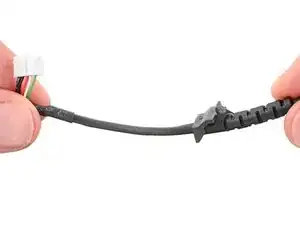
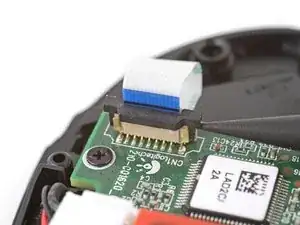
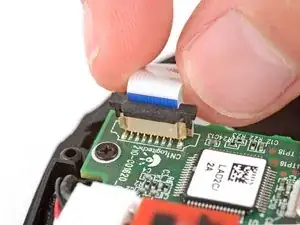
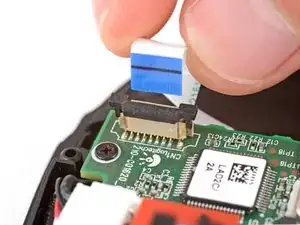
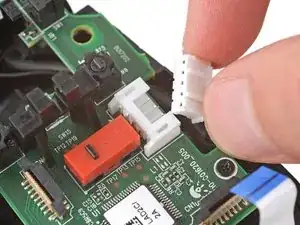
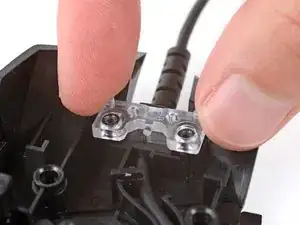
Insert each arm of a pair of angled tweezers into the cutouts on the outer edges of the mouse cable connector, located near the edge of the motherboard.
-
Use the tweezers to gently push the connector completely out of its socket.
-


To reassemble your device, follow these instructions in reverse order.
Take your e-waste to an R2 or e-Stewards certified recycler.
Repair didn’t go as planned? Try some basic troubleshooting, or ask our Answers community for help.

4 comentários
Quale cavo consigliate per la sostituzione? Ne vedo qualcuno in rete, ma c'è chi si lamenta che alcuni non sono compatibili.
MarcoG67 -
큰 도움이 됐습니다.
님 아니였으면 선 교체 포기 할 번 했네요.
다시 한번 감사드리고 갑니다.
꽃사슴 -
Good day to you.
I wish to replace the cable on my 502 Hero , but I only find cables for the 502. Are the two compatible cable-wise ?
Thank you !
Liam
Fl00d -
I found some great replacements on Ebay ( even braided cables) from China. I got confused on models logitech has. If this can help anyone in need.
Fl00d -