Introdução
If the left clicker on your Logitech G305 mouse stops responding or begins having delayed clicks, this guide will assist and show how to repair or replace the part.
The left clicker is one of the mouse’s most essential components as it serves the main ability for selecting, dragging, and interacting with nearly all devices.
Before using this guide you should check what part is not working, if its the bottom of the clicker, dust could be caught up in where it does not allow the clicker to function. You can carefully lift the clicker and gently blow to remove any excess dust that disables the mouse to work properly.
Peças
-
-
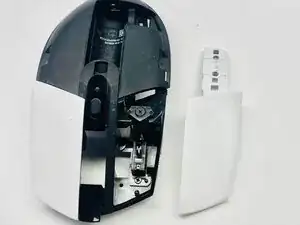
Remove the battery cover by pressing the top of the cover and pulling it downwards.
-
Remove the battery.
-
-
-
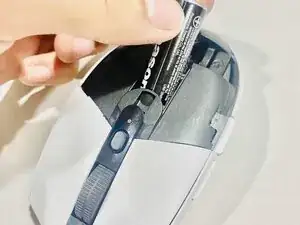
Carefully use a box cutter to follow the grooves of the mouse skate pads and slowly lift them off.
-
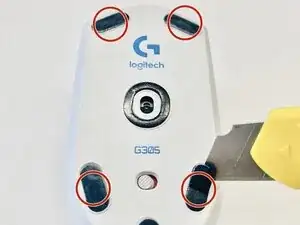
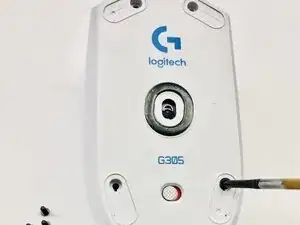
Use a Phillips #00 screwdriver to remove the four screws.
-
-
-
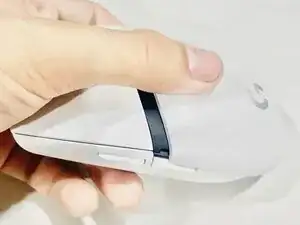
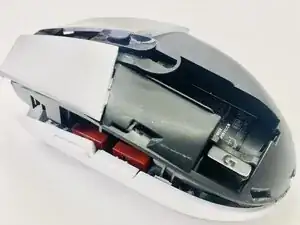
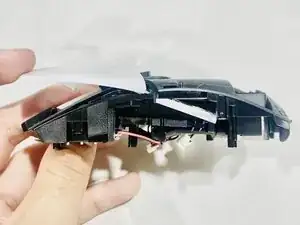
Use a spudger to carefully separate the two halves of the mouse near the battery compartment.
-
-
-
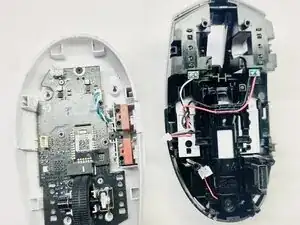
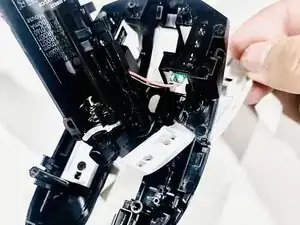
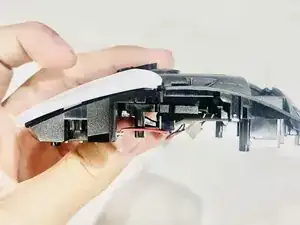
Open the compartment and slowly separate the halves until the internal wires are exposed.
-
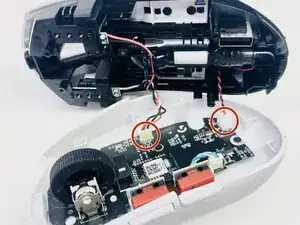
Carefully disconnect the two wires by hand from the base.
-
-
-
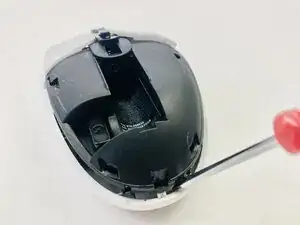
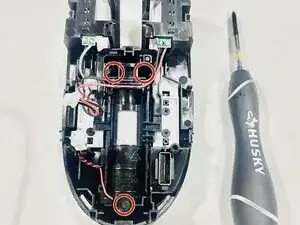
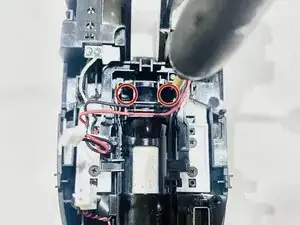
Remove the three screws from the center battery compartment using a Phillips #00 screwdriver.
-
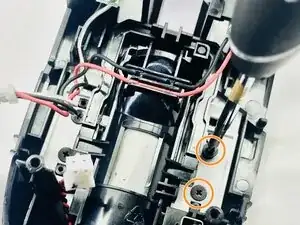
Remove the two screws securing the left clicker.
-
-
-
Insert the replacement component and slide it into position until it securely clicks into place.
-


To reassemble your device, follow these instructions in reverse order.