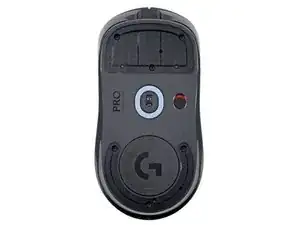
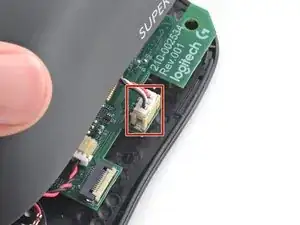
Introdução
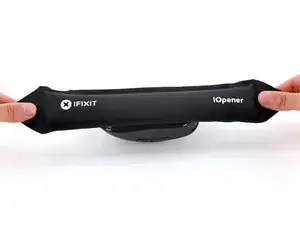
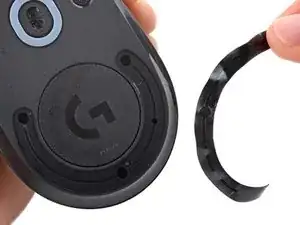
Use this guide to replace a dead or worn-out battery in your Logitech G Pro X Superlight wireless gaming mouse.
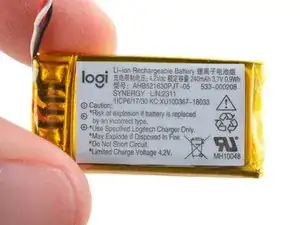
Lithium-ion batteries have a limited lifespan. If your mouse dies quickly and doesn't hold a charge, it may be time to replace the battery.
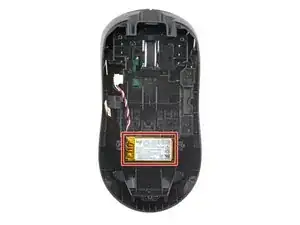
If possible, follow this guide after your battery has fallen below 15% charge—this is indicated when the LED light on top of the mouse is red. While your G Pro X Superlight has a relatively small battery, any charged battery is a potential safety hazard if accidentally bent or punctured.
-
-
Slide your mouse's power switch down so it's in the OFF position.
-
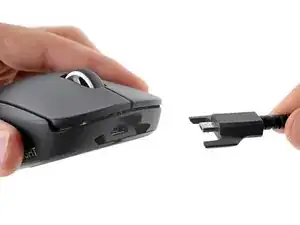
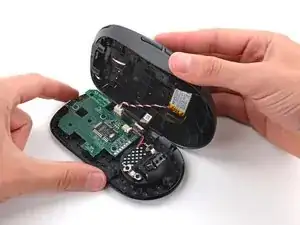
Unplug all cables from your mouse.
-
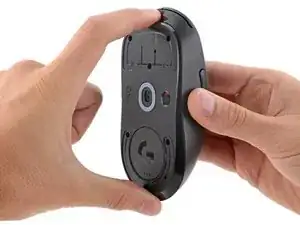
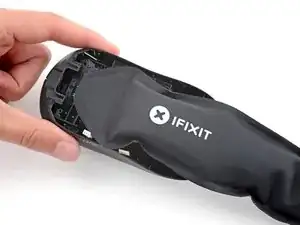
Flip the mouse over so the feet are facing up.
-
-
-
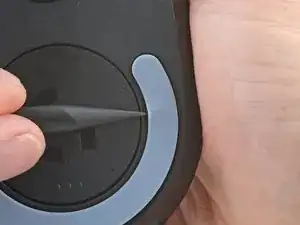
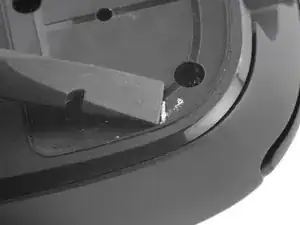
Carefully slide the point of a spudger under the circular foot, making sure it goes under both the foot and its adhesive pad.
-
Gently slide the spudger farther under the foot and lift until you can grab it with your fingers.
-
-
-
Peel up and remove the foot.
-
If the rubber layer separated from its adhesive pad, use the same process to remove the pad.
-
-
-
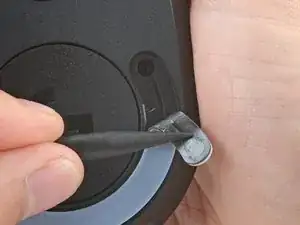
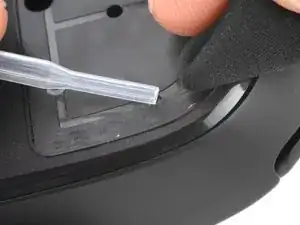
Use a spudger to carefully scrape up and remove any remaining adhesive bits.
-
Use isopropyl alcohol and a microfiber cloth to thoroughly clean all adhesive residue from the foot recesses. Allow the surface to completely dry.
-
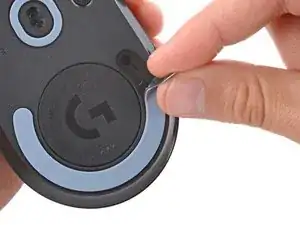
Remove the feet from their backing and firmly press them into place.
-
-
-
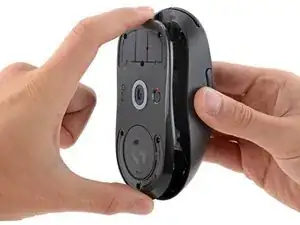
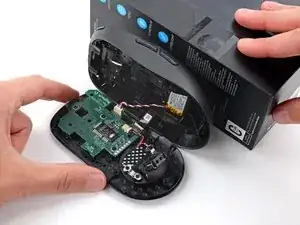
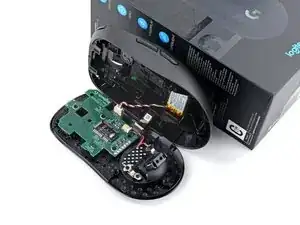
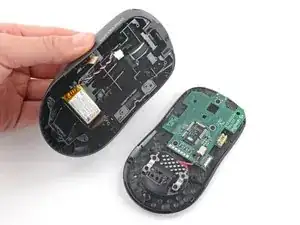
Set your mouse down with the bottom shell on the workspace and the top shell flipped over the right edge.
-
Use an object such as a small box or stack of books to prop up the top shell so you can access the cables without straining them.
-
-
-
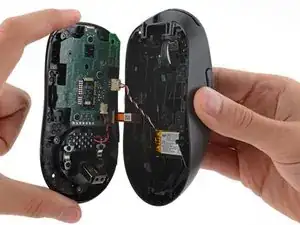
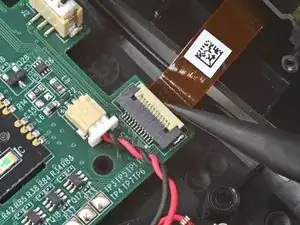
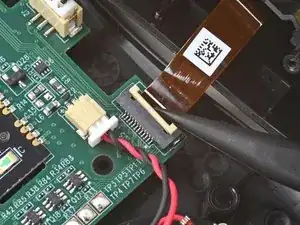
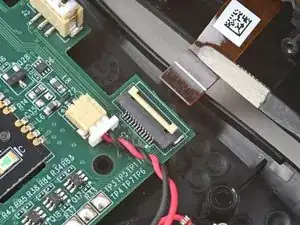
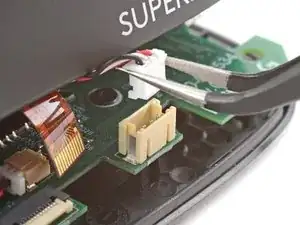
Use the point of a spudger to lift the locking flap on the top shell ZIF connector.
-
Use tweezers to gently pull the cable straight out of its socket.
-
-
-
Flip the top shell onto the mouse and let it rest so it's partially hanging over the left side, giving you access to the battery connector on the right edge.
-
-
-
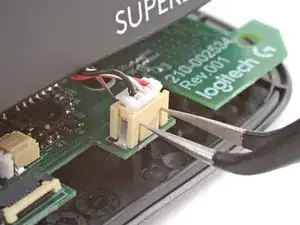
Insert each arm of a pair of angled tweezers into the top of the cutouts on the right edge of the battery connector—the tweezers should curve upward.
-
Gently press the tweezers in and up to push the connector out of its socket enough that you can get a firm grip with your tweezers.
-
-
-
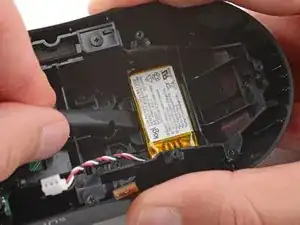
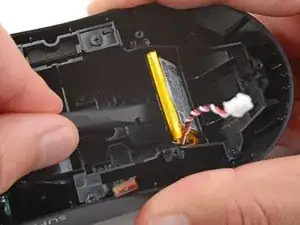
With one hand, firmly secure the top shell.
-
With your free hand, insert the flat end of a spudger between the top edge of the battery and the shell.
-
Carefully slide the spudger under the battery and pry it up to separate the adhesive.
-
-
-
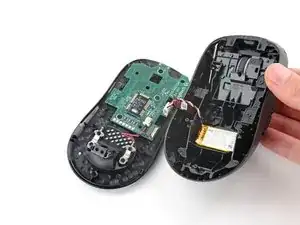
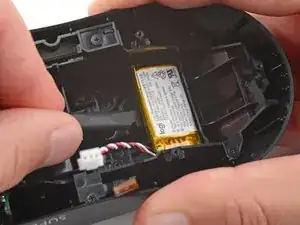
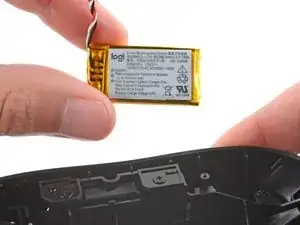
Remove the battery.
-
If the battery adhesive is still sticky, you can reuse it. Otherwise, remove all the old battery adhesive.
-
If your new battery has adhesive pre-installed, remove the plastic liner to expose the adhesive. Otherwise, apply strips of thin, double-sided tape to the battery well (not directly to the battery) where the old adhesive was.
-
Make sure the cable is on the side nearest its connector and firmly press the battery into place.
-


To reassemble your device, follow these instructions in reverse order.
For optimal performance, calibrate your newly installed battery after completing this guide.
Take your e-waste to an R2 or e-Stewards certified recycler.
Repair didn’t go as planned? Try some basic troubleshooting, or ask our Answers community for help.

Um comentário
When you go put it back together, plug the battery in first, it'll help you hold the shells to fiddle with the ribbon cable.