Introdução

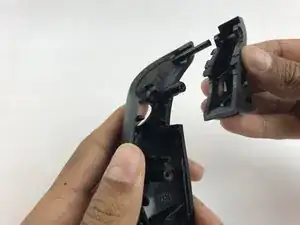
After a long use the joystick trigger might experience a lack of strength within the trigger's internal spring.

  1. ifhZCZwXn2SySdkS
    • Remove these three Phillips #1 screws:

    • Two 10mm screws.

    • One 7mm screw.

  2. 66wFFnSOg3jfoFnD
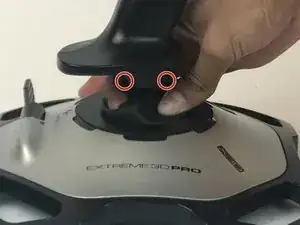
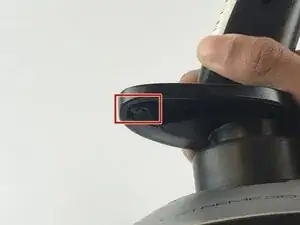
    • Using your fingers, lower the rubber boot to reveal two screws underneath the joystick.

    • Remove the two 10mm Phillips #1 screws.

  3. Lqxji5uwBiv2KAyJ
    Lqxji5uwBiv2KAyJ
    HRc6nwCxcxt1XuFb
    • Pull apart the joystick chassis by hand.

    • Release this clip located underneath the hand rest

    • The circuit board will be loose and may fall down.

    If you need a pic of how that %#*@ rotation spring has to be put in, here ya go. http://tnmshouse.com/spring/spring.jpg

    Michael L Overbay -

    thanks, that spring was confusing me


    pepijn -

  4. LA4iKOyHcW4Wx1CU
    • Remove the plastic trigger from the joystick.

Conclusão

To reassemble your device, follow these instructions in reverse order.

Emanuel Canela

Membro desde: 25/01/18

1369 Reputação

0 comentários