Introdução
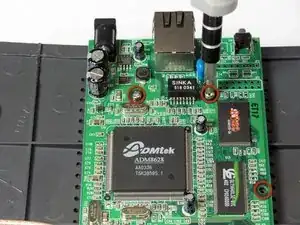
The motherboard contains all the main components. In order to physically inspect and verify operation of components the motherboard should be removed or replaced if necessary.
Ferramentas
-
-
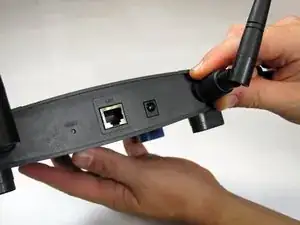
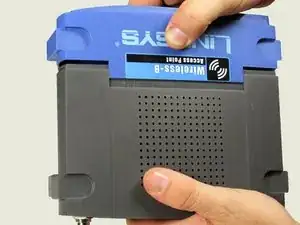
Disconnect the power cables and ethernet from the device.
-
Unscrew the external plastic antennas. There is one antenna on each side of the device.
-
-
-
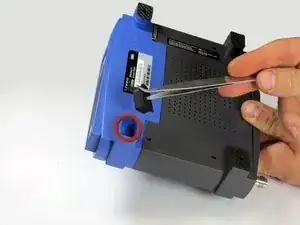
Use the tweezers to remove the two rubber boots from the front two legs. Insert the tweezers in the hole of the boot and pull outwards.
-
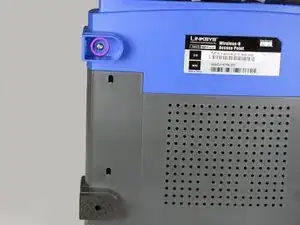
This will reveal two small Phillips-head screws. Remove them.
-
-
-
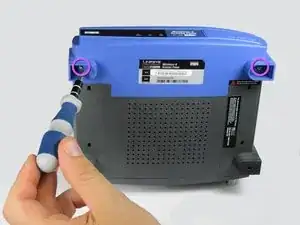
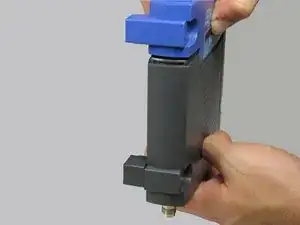
Using two hands, pull on the top and bottom sections to separate the blue and the black pieces.
-
The seal is located where the blue plastic meets the black plastic. This is where you will apply pressure.
-
-
-
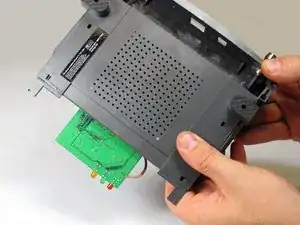
After the face of the device has been removed, slide the base of the device off to reveal the motherboard and other internal components.
-
-
-
At this point, remove the antenna leads as well.
-
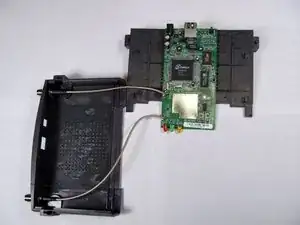
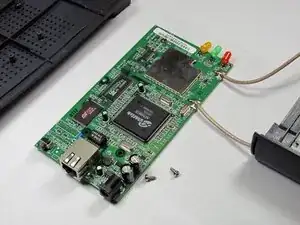
Proceed to remove the remaining three phillips screws fastening the motherboard to the case.
-
Once the screws are removed, your motherboard will separate from the housing.
-
To reassemble your device, follow these instructions in reverse order.