
Introdução
Ferramentas
-
-
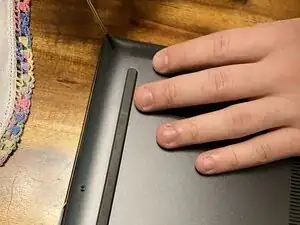
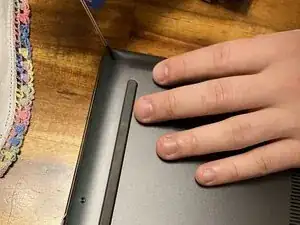
Remove the pen from its slot. It is located on the righthand side of the laptop base, about 2/3 of the way from the hinge.
-
-
-
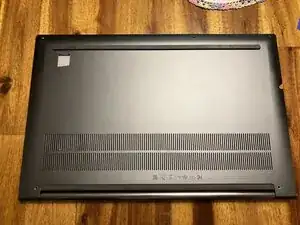
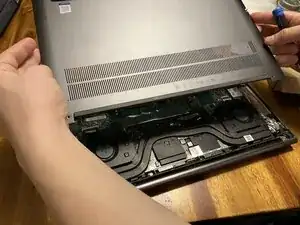
Place the computer upsidedown on a flat surface.
-
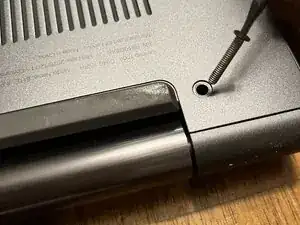
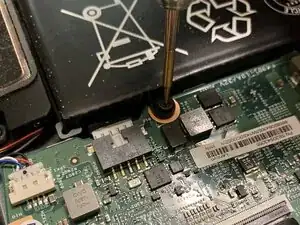
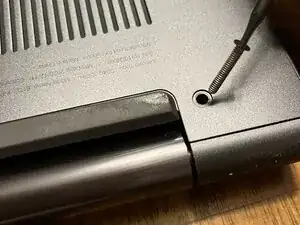
Using your T5 screwdriver, unscrew 1 screw from either side of the hinge (2 total screws). These 2 are the same size (M2 x L11) so you can set them together.
-
Using your T5 screwdriver, unscrew the 4 screws along the side opposite the hinge. These 4 screws are all the same size as each other (M2 x L4) so you can set them together.
-
Lift off the lower case.
-
-
-
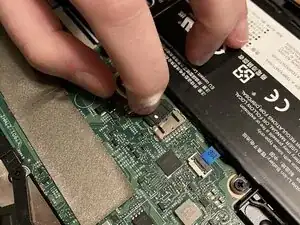
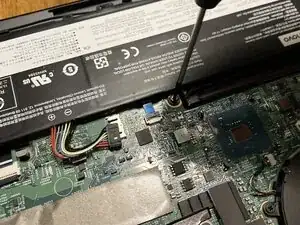
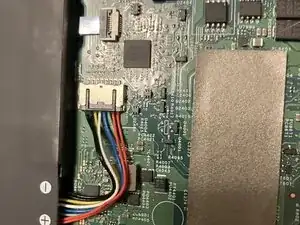
Disconnect the battery cable from the system board.
-
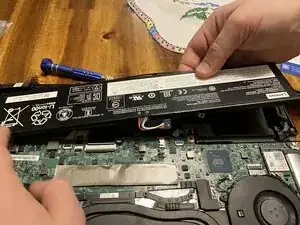
Remove the 5 Phillips-head screws holding the battery in place. These 5 screws are the same size as each other (M2 x L5) so you can set them together.
-
Lift out the battery pack. There is a small cable that is not attached to the battery, but is hooked around the back of the battery. Make sure not to snag it when removing the battery.
-
-
-
Set in the new battery pack.
-
Reattach the 5 Phillips-head screws that hold the battery in place.
-
Plug in the battery cable to the system board.
-
-
-
Place the bottom cover back on.
-
With your T5 screwdriver, reattach the 4 screws along the edge opposite the hinge.
-
With your T5 screwdriver, reattach the 2 screws on either side of the hinge.
-
Place pen back into its slot along the righthand side of the keyboard.
-
-
-
Charge your newly installed battery up to 100% and keep charging it for at least 2 more hours.
-
Then use your device until it shuts off due to low battery.
-
Finally, charge it uninterrupted to 100%.
-

Thank you for reading!
