Introdução
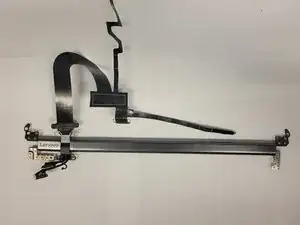
This guide includes all the steps, tools, and parts necessary to disassemble the Lenovo Yoga C930-13IKB to access and replace the hinge assembly.
-
-
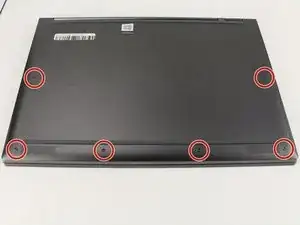
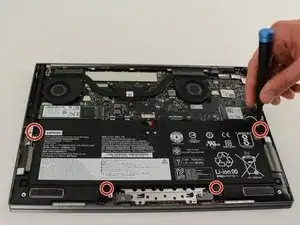
Flip the device over so that the underside is facing up.
-
Remove the six 3.5 mm T5 Torx screws.
-
-
-
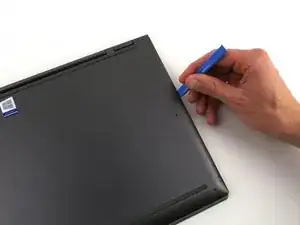
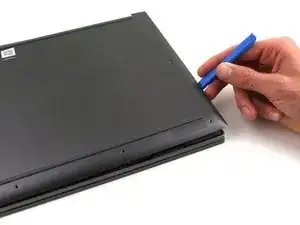
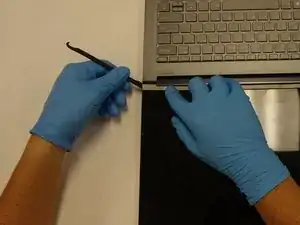
Pry off the back cover using the plastic opening tool.
-
Loosen the back cover in multiple spots using the opening tool, then remove the whole back.
-
-
-
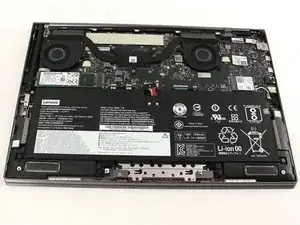
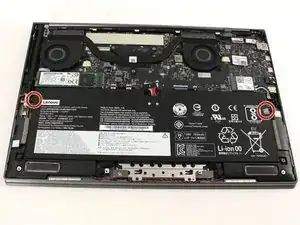
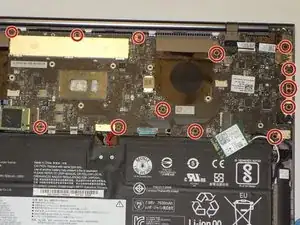
Unplug the battery from the motherboard by pinching the cables with your fingers and tugging out with force.
-
-
-
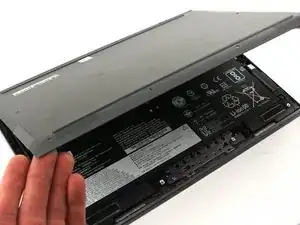
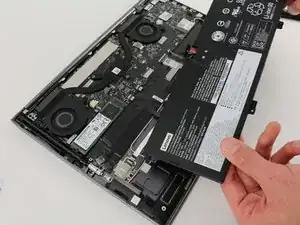
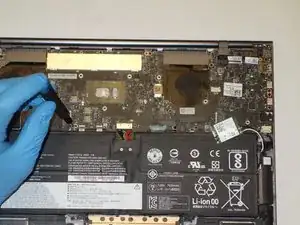
Use your fingers to pry up the clear plastic pull-tab for one of the stretch release adhesives.
-
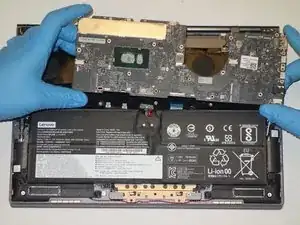
Grasp the pull-tab and slowly pull away from the battery at a shallow angle. The adhesive strip will stretch to many times its length and slowly release from underneath the battery.
-
Repeat the procedure for the second strip on the opposite side of the battery.
-
Remove the battery with your hands.
-
-
-
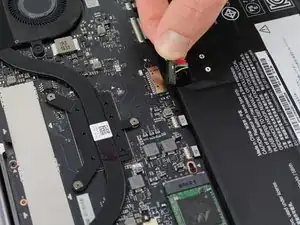
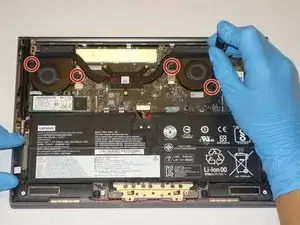
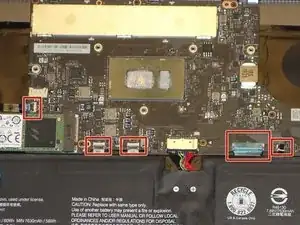
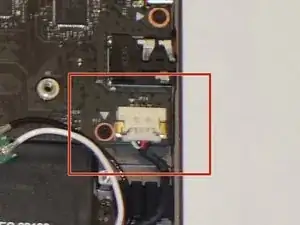
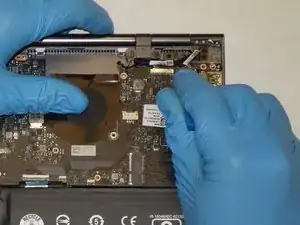
Use a plastic opening tool to remove the two small, white power cable connectors for each of the two fans.
-
-
-
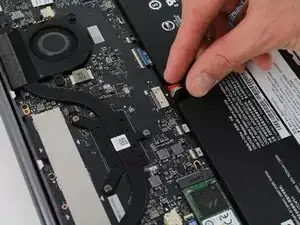
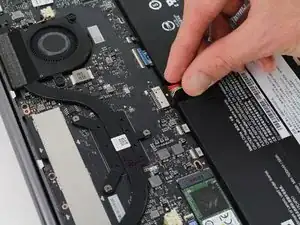
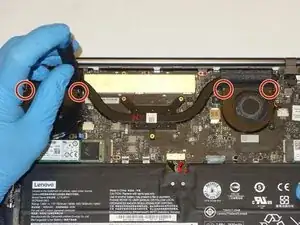
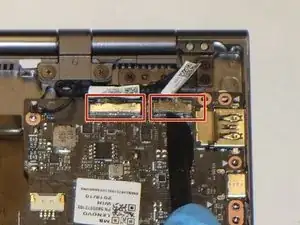
Using the Halberd Spudger, gently lift the black tab on top of each of the five ZIF connectors for the ribbon cables. Then pull the cables out from the connectors.
-
-
-
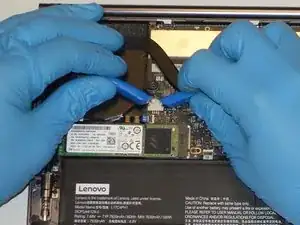
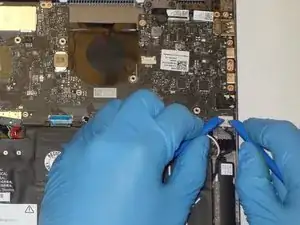
Using two plastic opening tools gently unplug the white speaker cable connector from the bottom left of the motherboard.
-
-
-
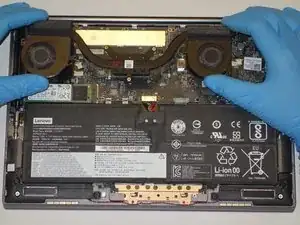
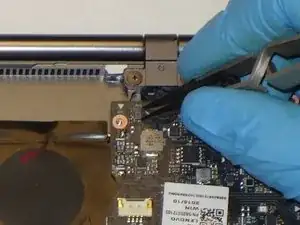
Using the plastic opening tool, gently pry up on the metal tabs of the two display cables to remove the cables from the top right corner of the motherboard.
-
-
-
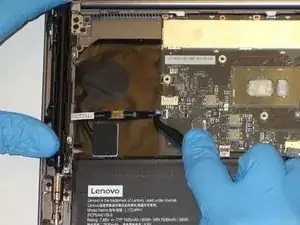
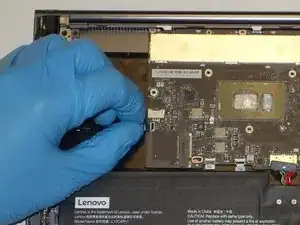
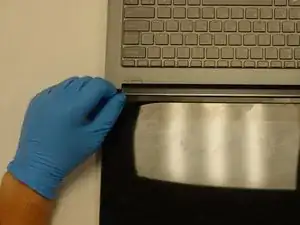
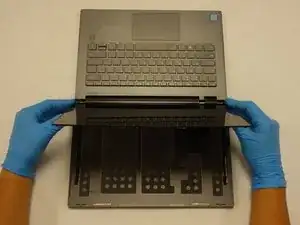
Using a halberd spudger, gently lift up the metal bezel that lines the lower edge of the display.
-
-
-
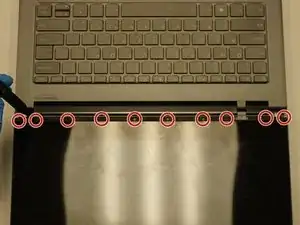
Remove the ten 3 mm screws along the bottom edge of the display with a Phillips #00 screwdriver.
-
-
-
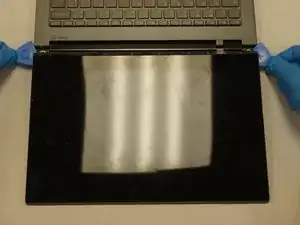
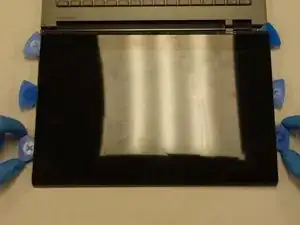
Gently wedge two opening picks underneath the display.
-
Slowly work the opening picks around the display.
-
Add opening picks as needed to keep display separated from the frame.
-
-
-
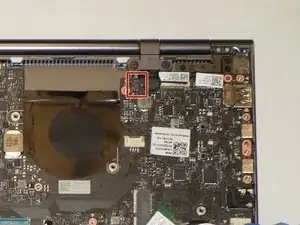
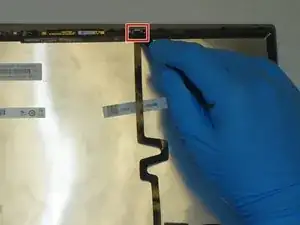
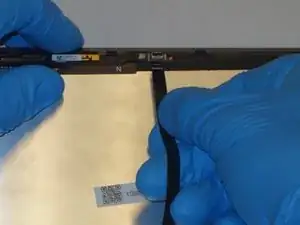
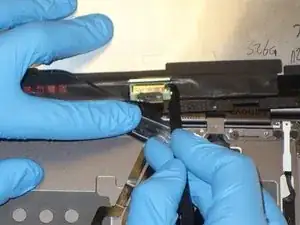
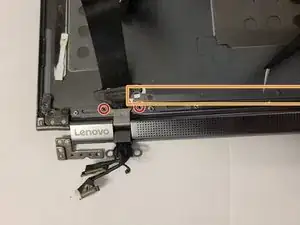
Use the halberd spudger to lift the locking tab of the ZIF connector holding the black ribbon cable that runs vertically across the display.
-
Pull out the black ribbon cable from the connector.
-
-
-
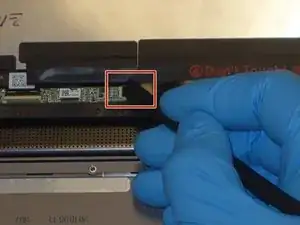
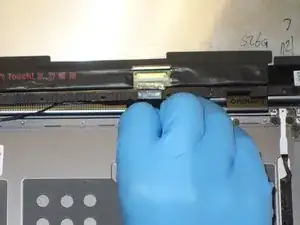
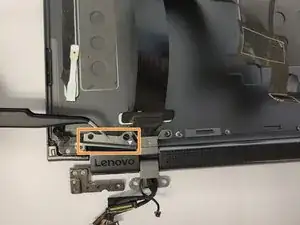
Use the halberd spudger to lift the latch on the ZIF connector of the horizontal black ribbon cable.
-
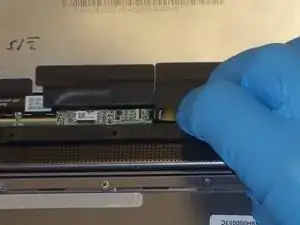
Pull out the horizontal black ribbon cable from the connector.
-
Gently pull the rest of the horizontal black ribbon cable from the back of the display.
-
-
-
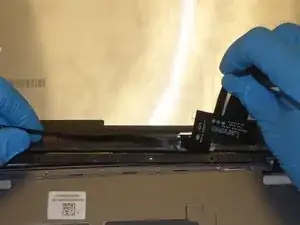
Use the halberd spudger to flip the metal latch of the display cable up.
-
Using the halberd spudger, gently pull the connector out of the display.
-
-
-
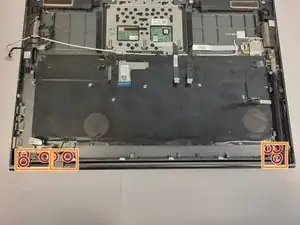
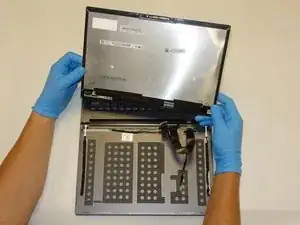
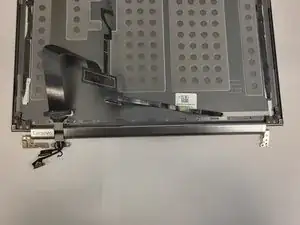
Remove the eight 3 mm screws from the hinge attachments on the back cover using the Phillips #00 screwdriver.
-
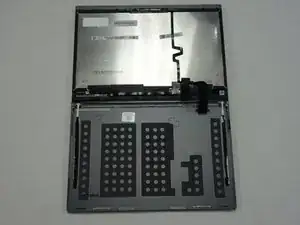
Carefully detach the hinge assembly connectors from the LCD cover to detach it from the back cover.
-
-
-
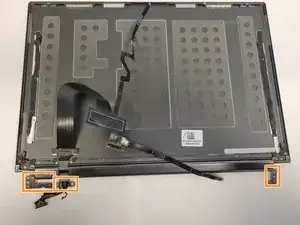
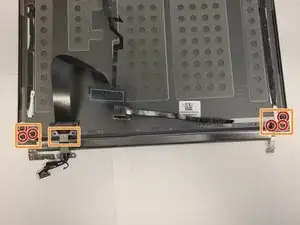
Using a Phillips #00 screwdriver remove the six 3 mm screws from the corners of the LCD cover.
-
Carefully lift the hinge assembly, detaching it from the LCD cover.
-


To reassemble your device, follow these instructions in reverse order.

Um comentário
Is it possible to just replace the hinge on the side that is broken, where the pin has snapped?
From a shaky, vision impaired, 78-year-old. Provided tool kit is a must. READ ALL DIRECTIONS AND COMMENTS BEFORE STARTING! Lots of good advice. Remove stickers from top of old battery and pull to release battery adhesion. SLOWLY pull battery up and it will come out. Unplug harness AFTER freeing battery. I had most trouble installing the new battery on the two small posts under upper screw holes. Just be patient and it will work. Took me a total of 30 minutes to remove and install. Very happy with new battery and battery performance.
TVB -