Introdução

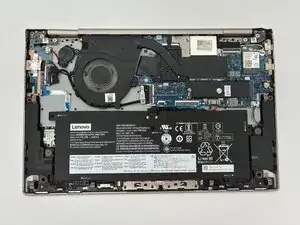
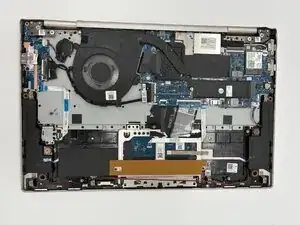
The fan in a Lenovo Yoga C740-14IML provides the laptop with air to cool its system.

A fan may go bad naturally by wear on the device over time. This may be accelerated due to lots of dust and debris being sucked in, causing more strain on the fan motor. A faulty or stuck fan may need to be replaced.

Lenovo C740-14IML laptops have a single fan assembly with one fan in the assembly, whereas C740-15IML laptops also have a single fan assembly, but have two fans. In this guide a C740-14IML model is used.

Common symptoms of a bad fan are:

  • Excessive Heat
  • Frequent and Unexpected Shutdowns
  • Slow Performance
  • Unusual Noises Like Whirring or Grinding

All of these symptoms are good indicators of a bad fan, but you will need to disassemble the device to be sure.

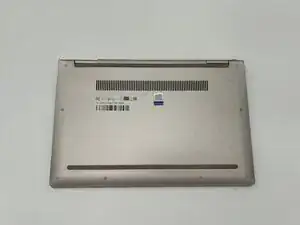
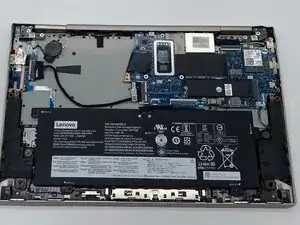
Before you begin, power off your laptop and disconnect the charger.

  1. mZX1F2WlEEYqJW2n
    • Before dealing with internal components, make sure the device has been turned off completely and its power adapter is unplugged.

    • Place the laptop bottom-side up on a flat surface.

  2. iUjXVSv6JLg2qHmk
    • Use a Phillips #00 screwdriver to remove the nine 3 mm screws from the bottom cover.

  3. TnmFlNPAPI1AxnZO
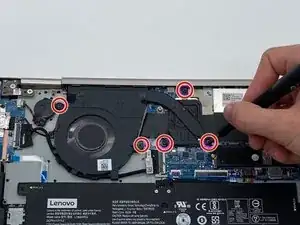
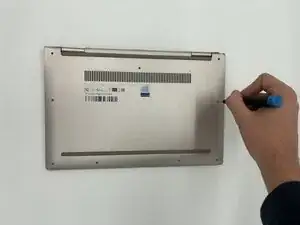
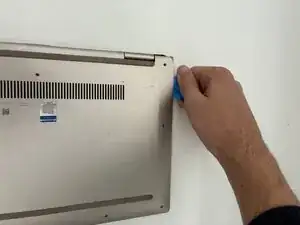
    • Insert an opening pick or opening tool between the top and bottom covers, then slide it around the perimeter to release the clips.

  4. v1fUL6PYtU12aSex
    v1fUL6PYtU12aSex
    1K4mQJo1UcYYHwGC
    • Use a Phillips #00 to remove the five 3.5 mm screws securing the battery.

  5. AFeAQQuwxhCskRTC
    AFeAQQuwxhCskRTC
    cKM4C4dWkWgRh4Vi
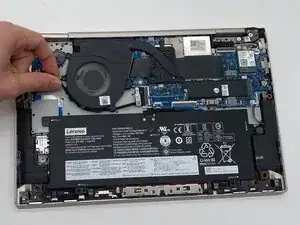
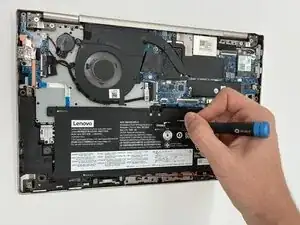
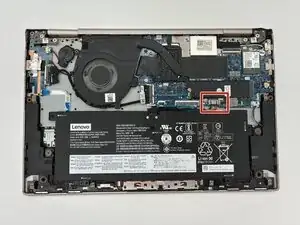
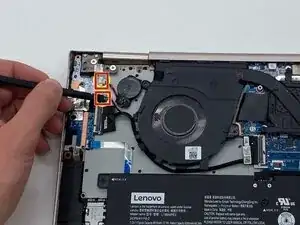
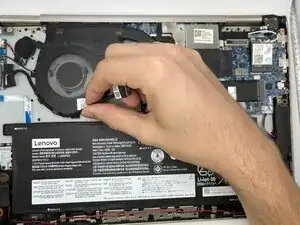
    • Use the point of a spudger to push on alternating sides of the connector to "walk" it out of its socket.

    • It may take a lot of alternating before the connector comes out.

    • Be patient, and don't pull on the cables.

  6. xTunV1C2h45ijHM1
    xTunV1C2h45ijHM1
    uQkIIR1IDthJkDwH
    • Remove the battery from the laptop.

  7. DvjK2CpCvcWkF4ch
    DvjK2CpCvcWkF4ch
    blBRROaHkvhJTytO
    • Disconnect the fan connectors from the Input/Output board.

    • When disconnecting the cable connectors, avoid pulling or tugging at the cables, as it may damage them.

  8. 6qcH3X1fPn1OABex
    6qcH3X1fPn1OABex
    cf6Xfc5eUGoxaBMG
    • Remove five 3.5 PH#00 screws along the perimeter of the fan and heat sink.

  9. 5e3KQNkYh2mYTZaW
    5e3KQNkYh2mYTZaW
    NKeSXTNjaorGNbrx
    • Gently disconnect the wiring to the motherboard that rests under the edge of the fan.

  10. EYmK2v6IlHRVROnp
    EYmK2v6IlHRVROnp
    IAtfEycDODJNwHJr
Conclusão

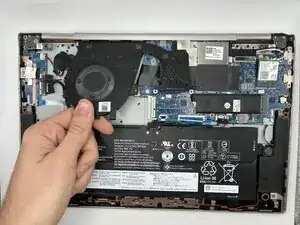
To reassemble your device, follow these instructions in reverse order. Take your e-waste to an R2 or e-Stewards certified recycler.

Art Speers

Membro desde: 12/09/25

159 Reputação

0 comentários