Introdução
Use this guide to replace the fan assembly in your Lenovo Yoga C640-13IML. The fan and heatsink plays a crucial role in cooling your laptop by drawing heat away from the CPU. If your device is overheating, shutting down under load, or if the thermal paste has dried out, replacing the heatsink can help restore normal thermal performance.
- Caution: The fan and heatsink may become extremely hot during or after use. Allow the laptop to cool completely before starting the repair to avoid burns. Always power off the device and disconnect the battery before handling internal components.
- Note: Replacing the heatsink usually involves removing the cooling fan and reapplying thermal paste to ensure proper heat transfer. Make sure to replace the thermal paste before you replace the heat sink.
- Reminder: Take note of screw placement and fan cable routing during disassembly. Apply the new thermal paste evenly when installing the new heatsink to ensure effective cooling.
-
-
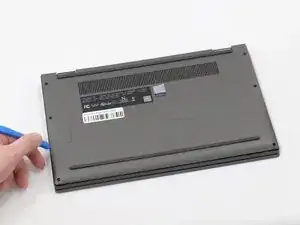
Insert a plastic spudger or opening pick into the seam between the bottom panel and the chassis.
-
Gently slide the tool along the edges to release the internal clips and lift the panel off.
-
-
-
Use the flat end of a spudger to lift and unclip the outer edges of the connector. You may need to use your fingers to pull the connector completely out of its socket.
-
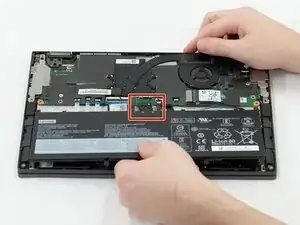
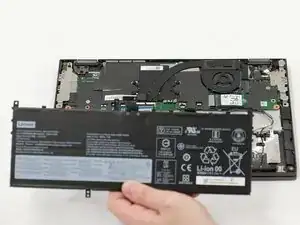
Lift the battery out of the laptop.
-
-
-
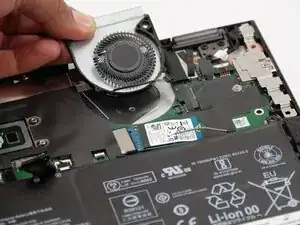
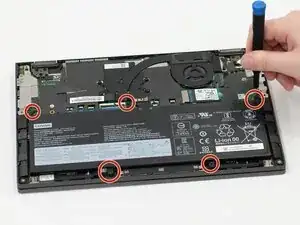
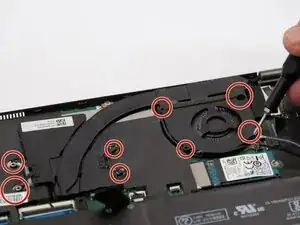
Use a Phillips #0 screwdriver to remove the screws securing the fan assembly
-
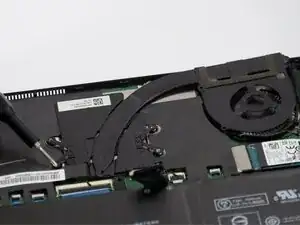
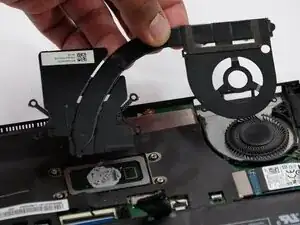
Lift and remove the housing and heat sink from your device to access the fan underneath.
-
-
-
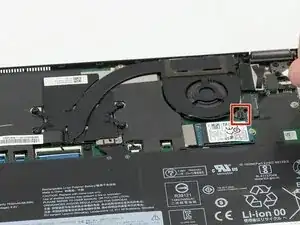
Use the point of a spudger to push on alternating sides of the fan assembly connector to "walk" it out of its socket.
-


To reassemble your device, follow these instructions in reverse order. Take your e-waste to an R2 or e-Stewards certified recycler.