Introdução
-
-
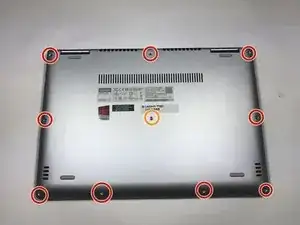
Use a Torx T4 screwdriver to unscrew the nine 5 mm screws holding the cover in place.
-
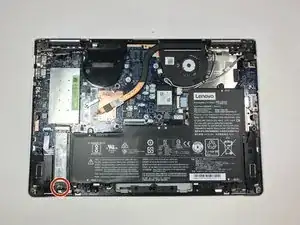
Use a Torx T4 screwdriver to unscrew the 8 mm screw in the center.
-
-
-
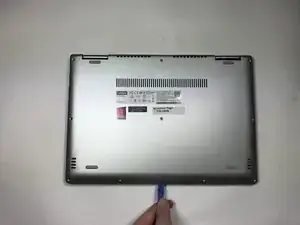
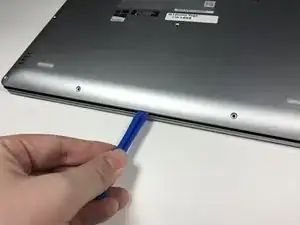
Use the plastic opening tool to pry the cover up and away from the laptop, starting at one end and working your way around the cover.
-
-
-
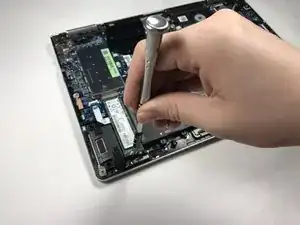
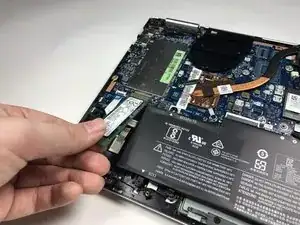
Use your fingers to lift up the SSD and pull away from the socket removing it from the laptop.
-
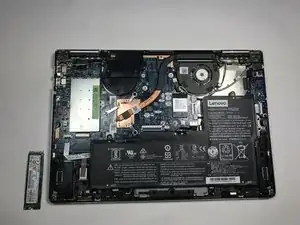
To reassemble your device, follow these instructions in reverse order.
Um comentário
Wie habt ihr die NVME zum Laufen bekommen?
Mein Yoga 710 war nicht zu überreden, das er eine NVME M2 als Medium erkennen wollte🙄. Verbaut war ab Werk eine SATA M2, gibt's eine BIOS Einstellung, die die NVME Kompatibilität freischaltet? Ich befürchte, das ihr hier etwas beschreibt, was in der Realität nicht funktioniert.
Don Kiel -