Introdução

Your computer screen is your gateway to the digital world, but accidents and wear can turn that clear view into a frustrating blur. Whether it's a cracked display, flickering issues, or a complete blackout, replacing a faulty screen can seem daunting at first. The good news? With the right tools, a clear guide, and a bit of patience, you can restore your computer's functionality without breaking the bank.

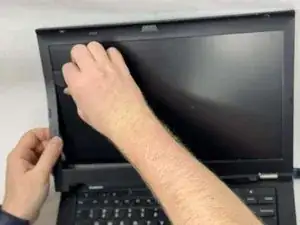
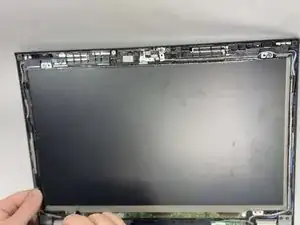
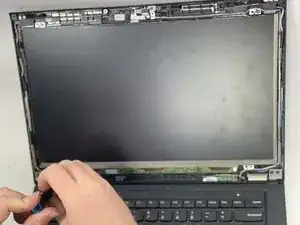
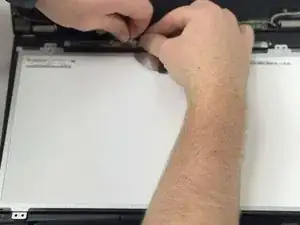
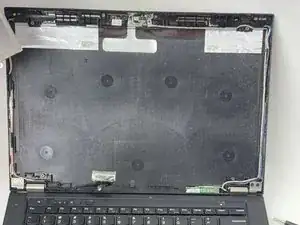
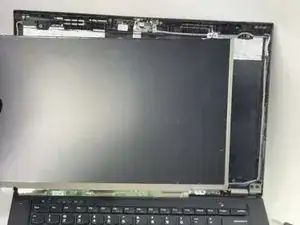
This guide will walk you through the process of replacing the screen on your Lenovo Thinkpad T430 laptop.

  1. aZVPoBGPlWZ6TOIP
    aZVPoBGPlWZ6TOIP
    sMII2tFLiddkCbkE
    RYEngrDBoqZMAxri
    • Open the computer and remove the screen bezel using a Jimmy to separate the cover clips.

  2. nuSBwqGP3JYQ43HJ
    • Remove the four screws from the screen using a JIS #00 screwdriver.

  3. s5EoOlZkcJTCO1Uk
    s5EoOlZkcJTCO1Uk
    vgkErHvB5xhjCiBB
    CQE5h1J1jT3t3yxi
    • Carefully pull the ribbon cable off the back of the screen and remove the screen.

    • Use caution when disconnecting the ribbon cable. It is easy to damage if you are not careful.

    If anything should be changed, it is that the display ribbon cable should be pulled straight downwards from the display connector. It's a bit abiguitious in this part of the guide which direction the display cable is pulled relational to the display itself.

    I initially presumed based on photos in this article, and having done display change in Apple laptop before, it would be a "top connector" where person pulls upwards. Instead it was much simpler "socket connector" where downwards is the right direction. I don't know the proper technical terminology for these. But in anyways this was very helpful.

    Peltipupu -

Conclusão

To reassemble your device, follow these instructions in reverse order.

Jarrett Rousseau Jr.

Membro desde: 18/10/24

125 Reputação

Um comentário

Thank you. This was helpful.

Peltipupu -