Introdução
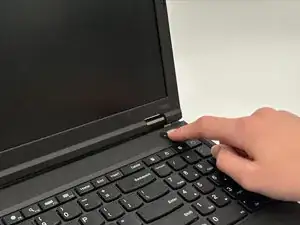
If your ThinkPad T540p laptop keyboard is missing keys, having connection issues, or is jamming, use this guide to replace the laptop's keyboard with minimal tools.
As we interface with the keyboard, spills can occur, debris can accumulate, or damage can result from physical trauma. After a while, this can start to negatively affect the keyboard, causing its keys to jam or fall off, and in worst cases, connectivity issues to the motherboard.
Before you begin, please make sure to power off the laptop completely and disconnect it from the charger.
Ferramentas
-
-
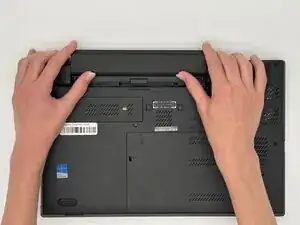
Flip the laptop over so the bottom is showing.
-
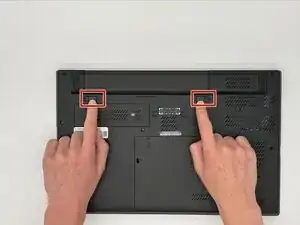
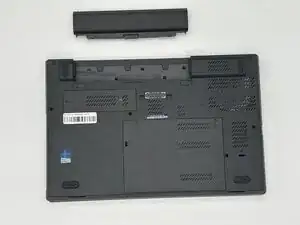
Orient the laptop so that the the battery bump is facing away from you.
-
-
-
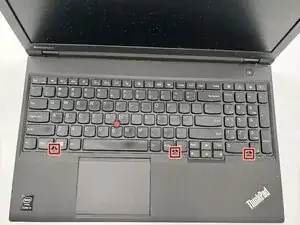
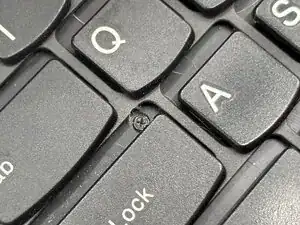
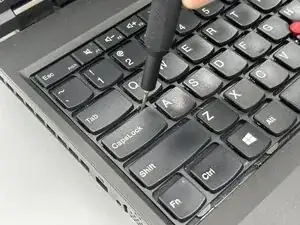
Use a spudger to push in the three tabs on the lower edge of the keyboard, toward the display.
-
-
-
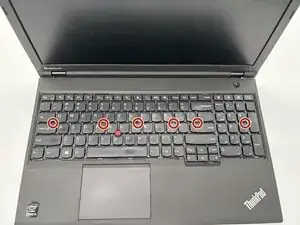
Unscrew all six M2 x 2.5 mm captive screws in the keyboard with a Phillips #000 screwdriver.
-
-
-
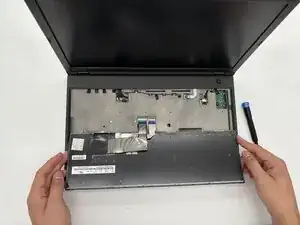
Gently lift and rotate the keyboard so the the far edge is now the closest edge to you and the back side of the keyboard is showing.
-
-
-
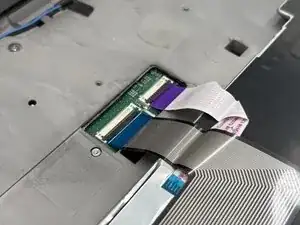
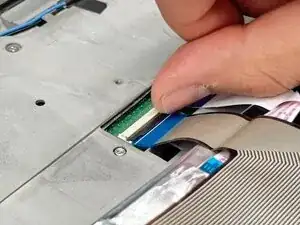
Flip up the black locking flap that secures the keyboard ribbon cable to the motherboard.
-
Disconnect the ribbon cable.
-
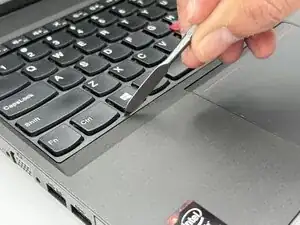
Remove the keyboard.
-


To reassemble your device, follow the above steps in reverse order.
Take your e-waste to an R2 or e-Stewards certified recycler.
Repair didn’t go as planned? Try some basic troubleshooting or ask our Answers community for help.