Introdução

If you want to upgrade or replace your ThinkPad T540p laptop's hard drive use this guide.

As we use our devices, we create files and download things all the time. Over time these actions use up our devices storage, and eventually we run out of space left on our device. Additionally, older laptops that still use traditional hard disk drives (HDDs) may experience performance issues or complete drive failure as they age.

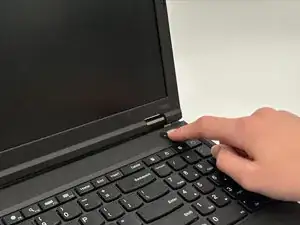
Before beginning, make sure to power off the laptop completely and disconnect it from the charger.

  1. A4r2tSTYIcJYutqH
    A4r2tSTYIcJYutqH
    cKHJqSGClVfaSfFM
    • Before proceeding, power down the laptop and unplug the device from the power supply / charger.

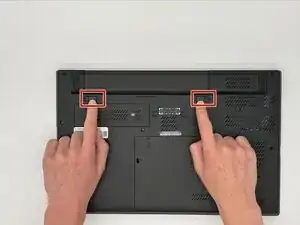
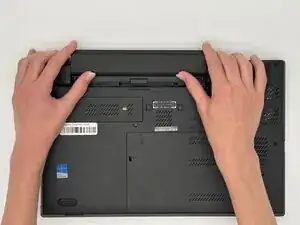
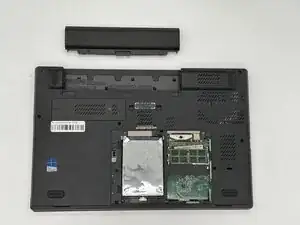
    • Flip the laptop over so the bottom is showing.

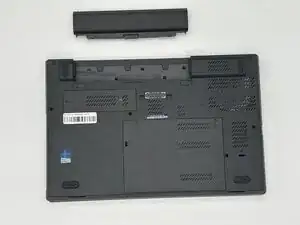
    • Orient the laptop so that the the battery bump is facing away from you.

  2. vYQ6D1lkkDXUOleY
    • On the back of the laptop are two sliding locks for the battery. These are located just beneath the battery and are marked with a little lock icon on either end.

    • Using both hands, pull these sliding locks away from each other.

    • They will stay in place once they have been fully engaged.

  3. KeqVE4ZP16LPyK4c
    KeqVE4ZP16LPyK4c
    wFHfD5EBZWLBFUqF
    • Push the battery in the direction away from where the sliding tabs are.

    • If the battery does not slide out, make sure the sliding locks are fully engaged.

    • To install a new battery, slide the battery back in with the sticker side of the battery facing down, and in the same orientation that it came out in.

  4. MeSaPPvIXTyUDpDT
    MeSaPPvIXTyUDpDT
    FAXnyxsnRdblJZO4
    qUh51EV5mFbGBgUH
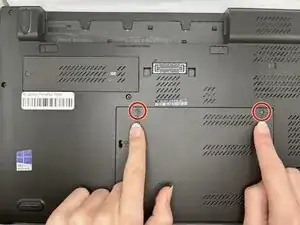
    • Loosen the two M2 x 5mm captive screws on the large back panel with a Phillips #1 screwdriver.

  5. WM2XNNeuV6jDICVl
    • Locate the hard drive and the single Phillips screw holding it in place.

  6. po4oYs2i3khC6qqD
    po4oYs2i3khC6qqD
    faCJLw4DIXGw6UPk
    • This screw is not captive, so keep track of where you place it.

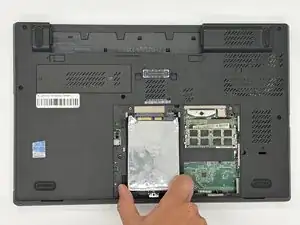
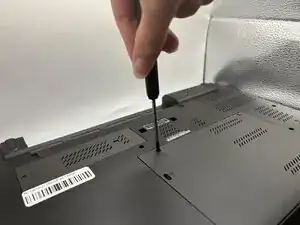
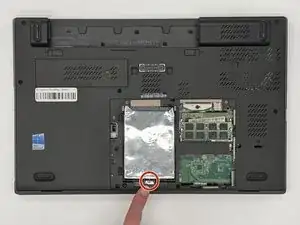
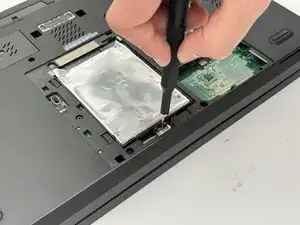
    • Remove the single M2 x 3 mm screw that is holding the hard drive in place with a #1 Phillips screwdriver.

  7. q1cnd2ECc1KX16UL
    q1cnd2ECc1KX16UL
    OohOfVsk5IDp5Ljb
    • Pull back the hard drive and lift it up and out of the laptop.

Conclusão

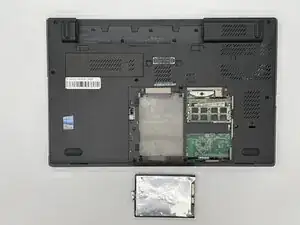
To reassemble your device, follow the above steps in reverse order.
Take your e-waste to an R2 or e-Stewards certified recycler.
Repair didn’t go as planned? Try some basic troubleshooting or ask our Answers community for help.

AndrewH

Membro desde: 12/09/25

235 Reputação

0 comentários