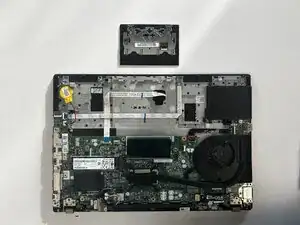
Introdução

  1. BZAcqyIIc5IhiAmH
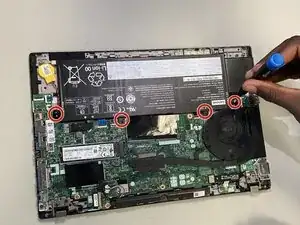
    • Loosen the screws from the base plate.

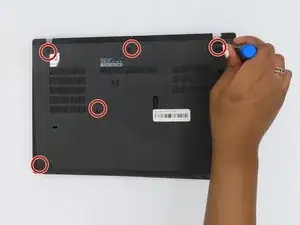
    • Using a Philips #1 screwdriver fully loosen the six screws on the back cover.

    • These screws are captive - they will not fully come out after being unscrewed.

  2. nFbjVnc3sN2opNDC
    • Insert the iFixit opening tool into the space between the base plate and the chassis.

    • Glide the tool along the perimeter of the case in order to release the clips holding the case and chassis together.

  3. YNyASC21lLhYadQQ
    • Grab the edge of the cover and lift the cover away from you.

    • There may be additional clips holding the cover in place. These remaining clips will release easily as you remove the cover.

  4. XXB1PmwsEfFDvFEa
    XXB1PmwsEfFDvFEa
    TjOJSnBCIlFBrEfd
    evZLNDn63ZIqOt5g
    • Remove the four 3 mm screws securing the battery with a Phillips #00 screwdriver.

  5. SWwMTkGrfs32MBgv
    • Use tweezers or your fingernails to disconnect the battery from its motherboard socket.

  6. NxWR4v2stdFVKWGv
    • Lift up and remove the battery from the device.

  7. yFotfIK16I55AhRp
    yFotfIK16I55AhRp
    RByPZLvoKYMM2hbD
    crXUEp5WiRkjooLD
    • Use a Phillips #00 screwdriver to remove the four screws securing the touchpad.

  8. b1LDBHDFSOJP2EQy
    • Use a pair of tweezers to flip up the black locking flap securing the touchpad ribbon cable.

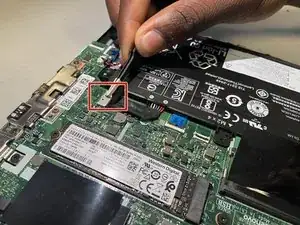
    • Disconnect the ribbon cable.

  9. GetLfuvOPiEFNvxh
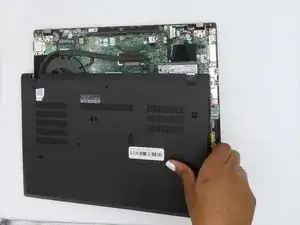
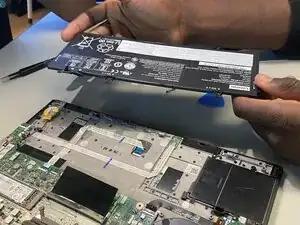
    • Carefully lift the laptop's base from the monitor. The touchpad will be left on the computer's screen.

Conclusão

To reassemble your device, follow the above steps in reverse order.
Take your e-waste to an R2 or e-Stewards certified recycler.
Repair didn’t go as planned? Try some basic troubleshooting or ask our Answers community for help.

Bryce Scholten

Membro desde: 27/10/25

277 Reputação

0 comentários